Create and Add Tables to a Page
Last updated: September 20, 2026
Learn how to create a new table, add content, and insert it into a webpage. This guide covers table creation, content management, and publishing.
Header Title
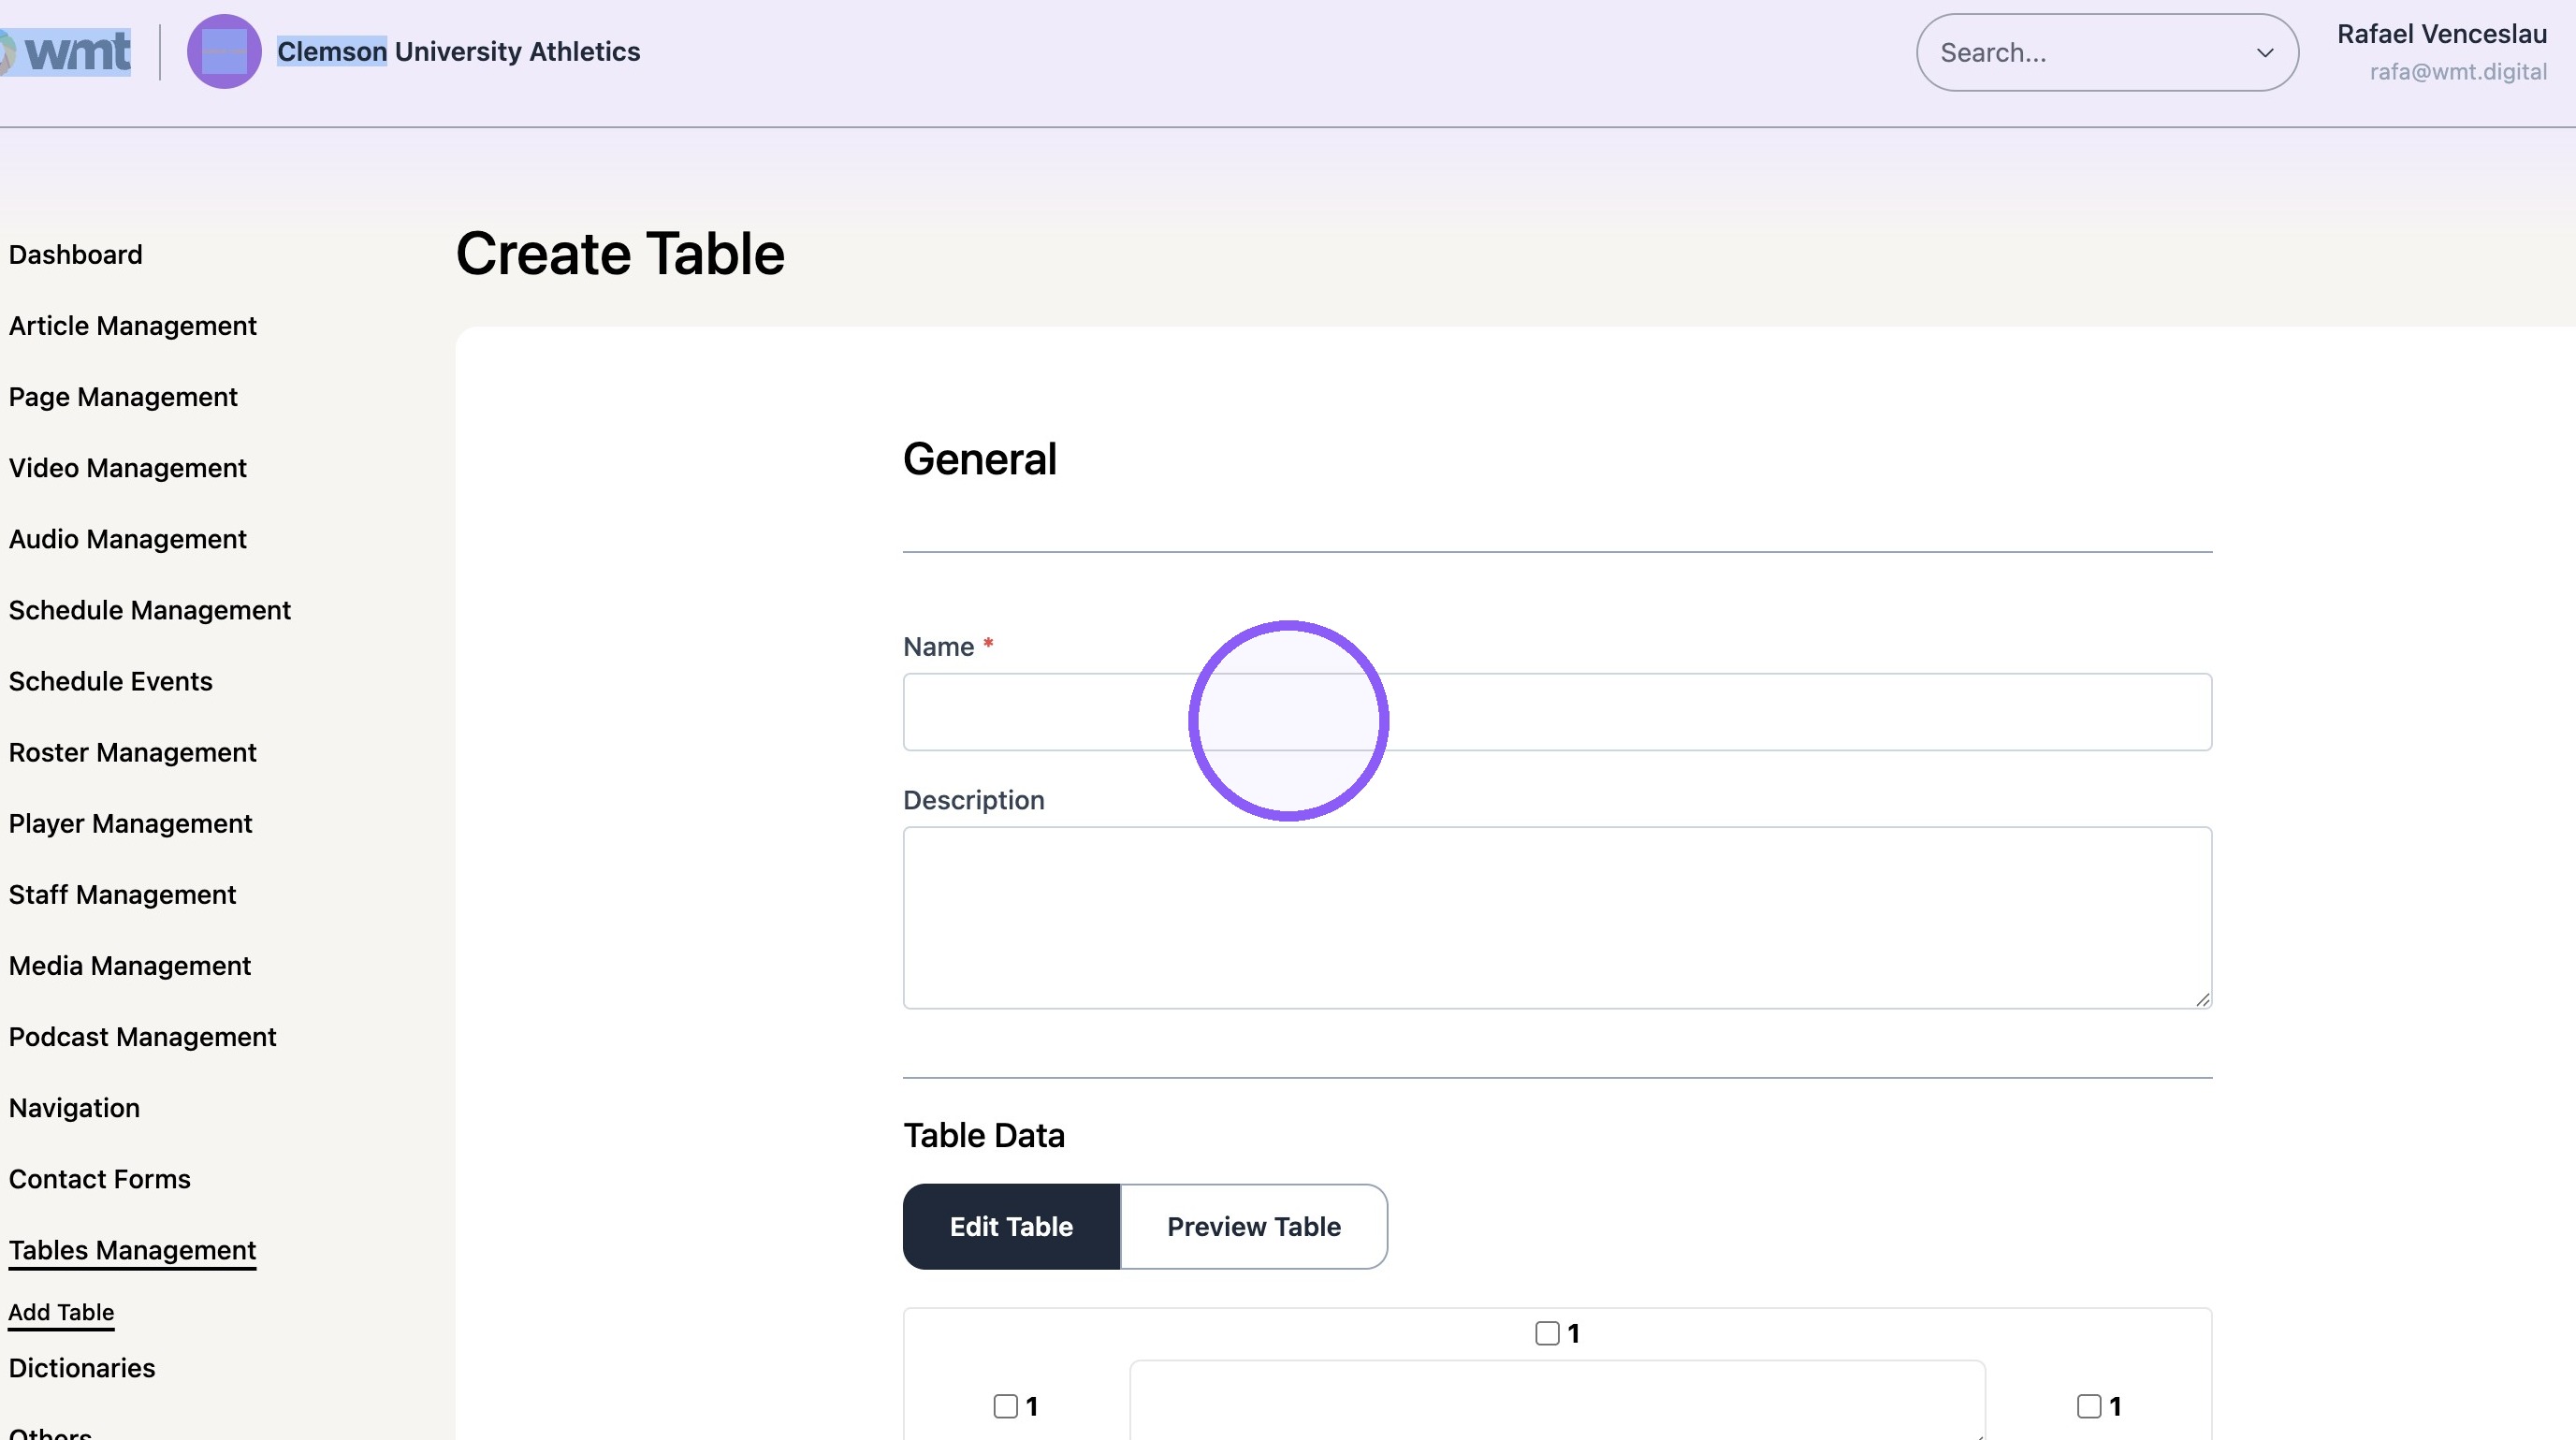
1. Click "Tables Management"

2. Click "Add Table" or "create table" on top right corner of the screen.


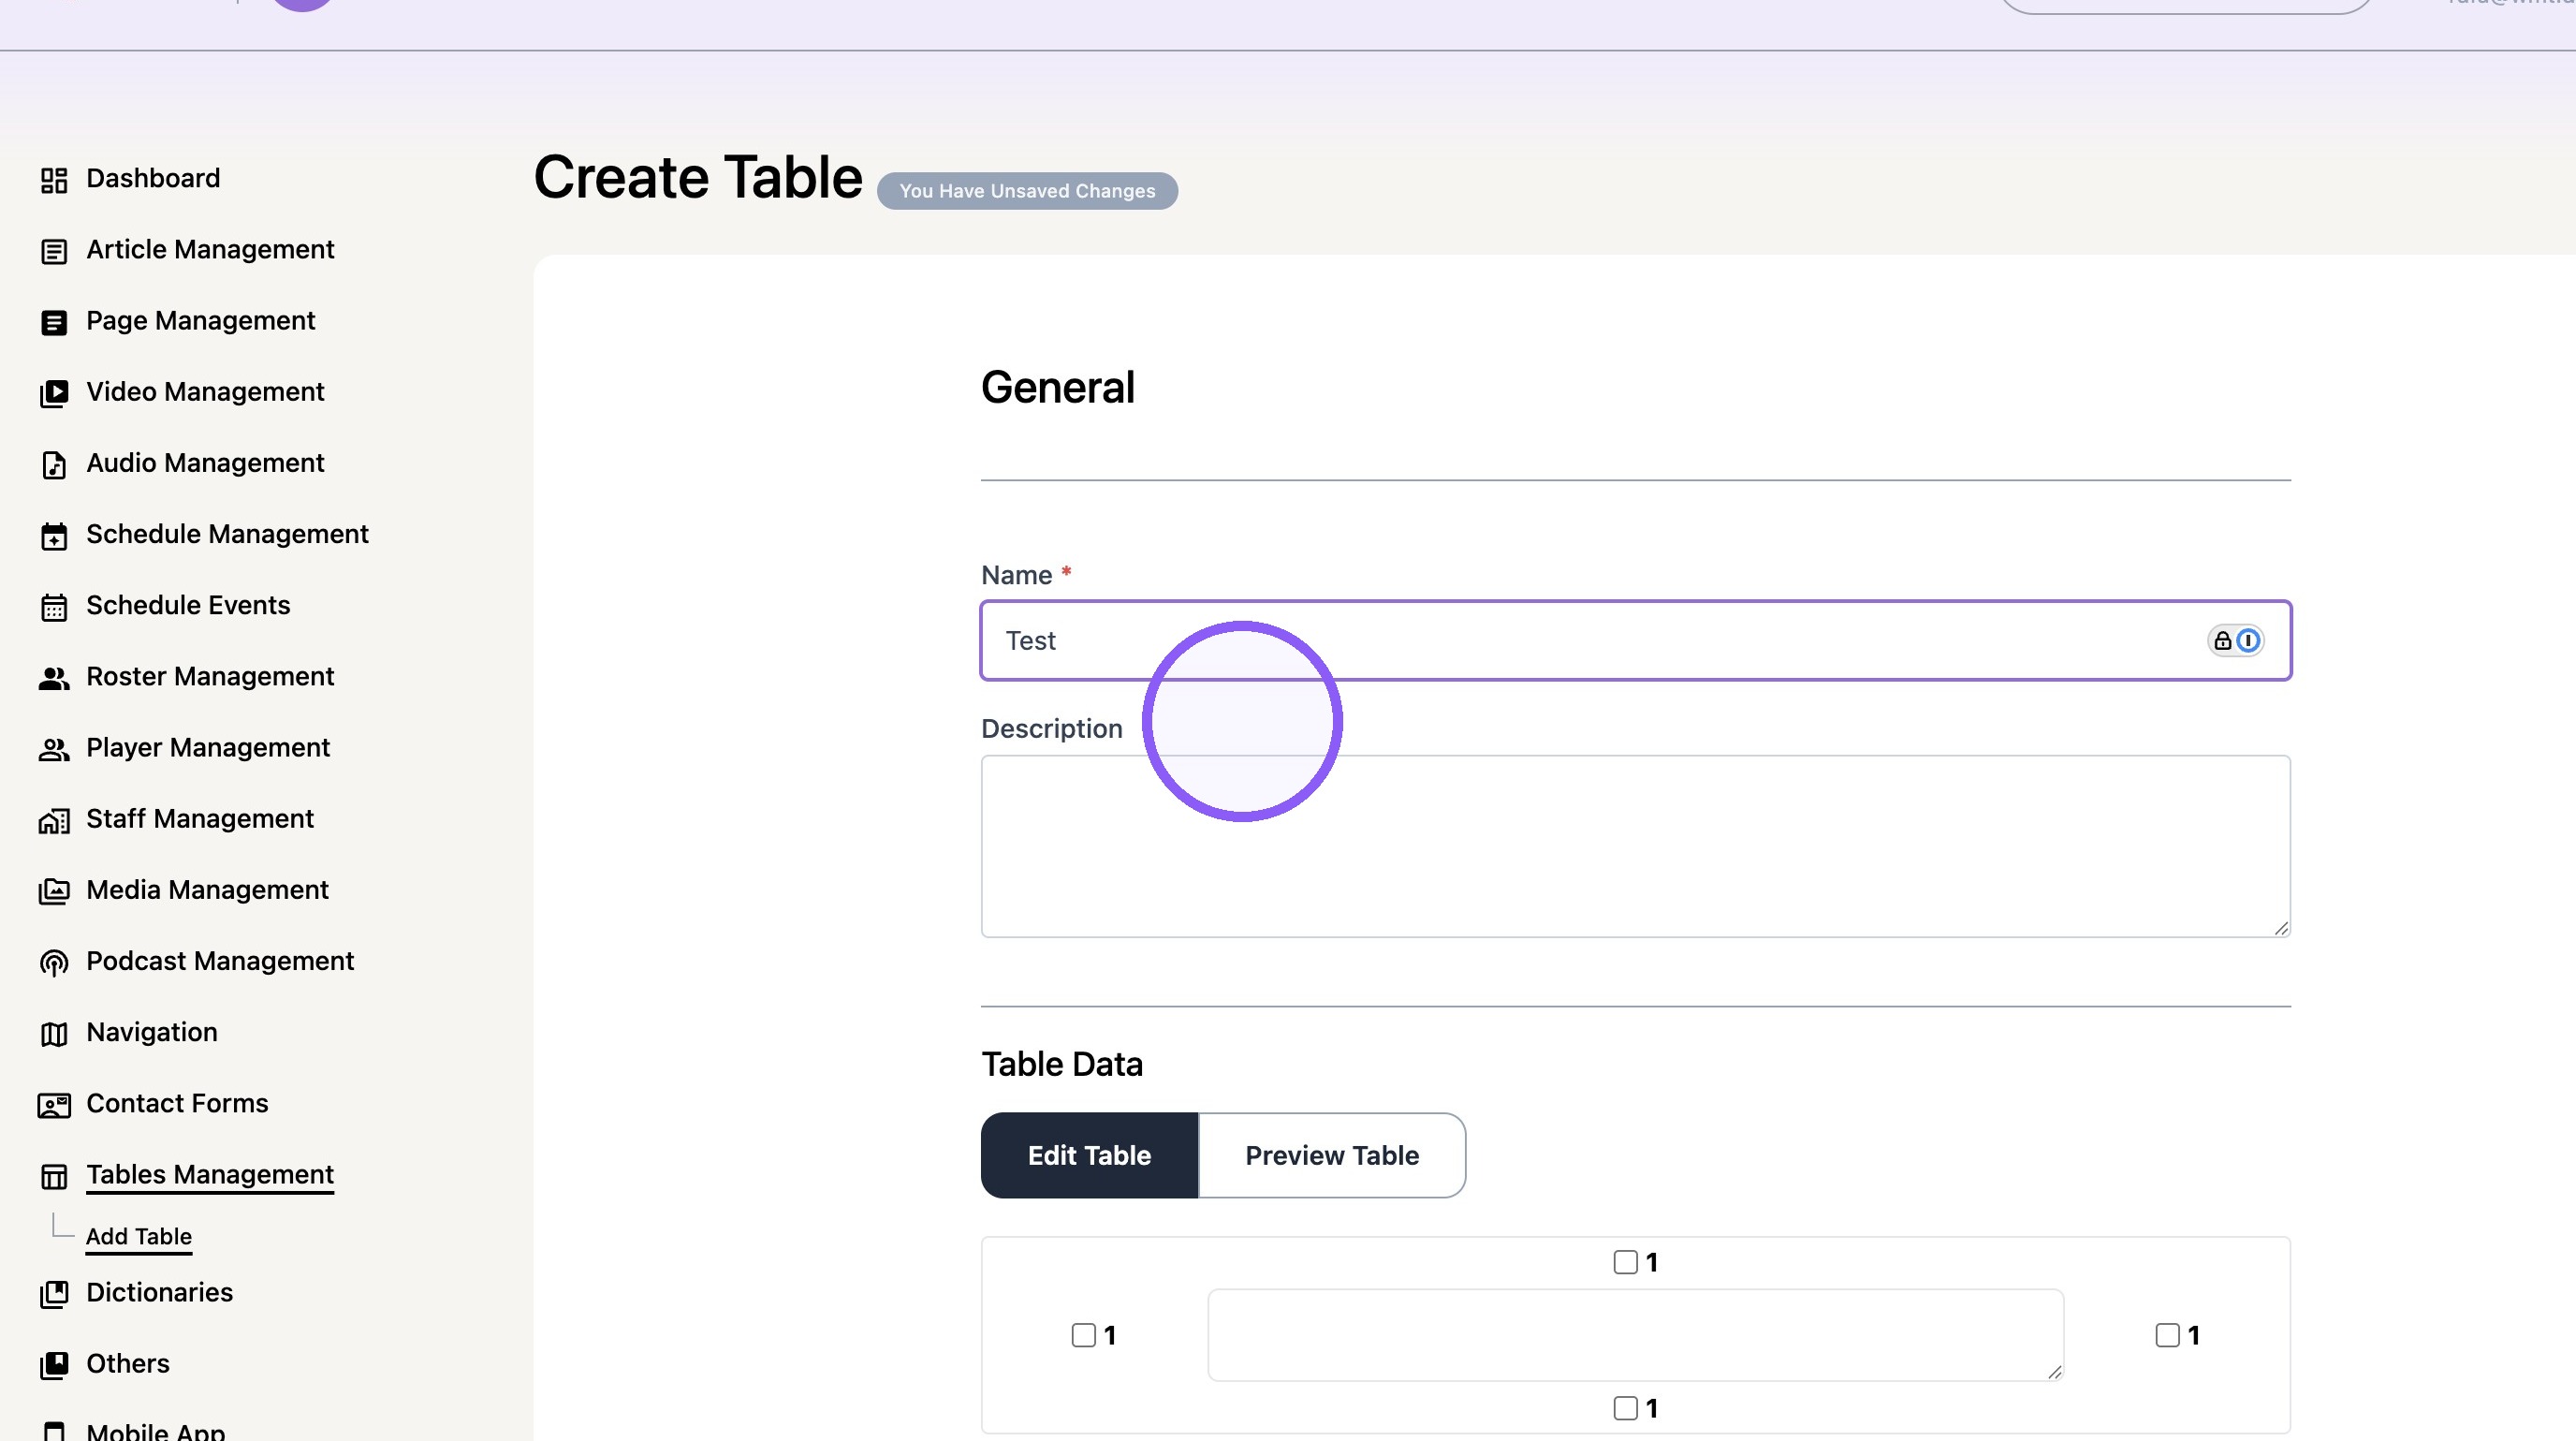
3. Add Table name and description (info is not fan facing).
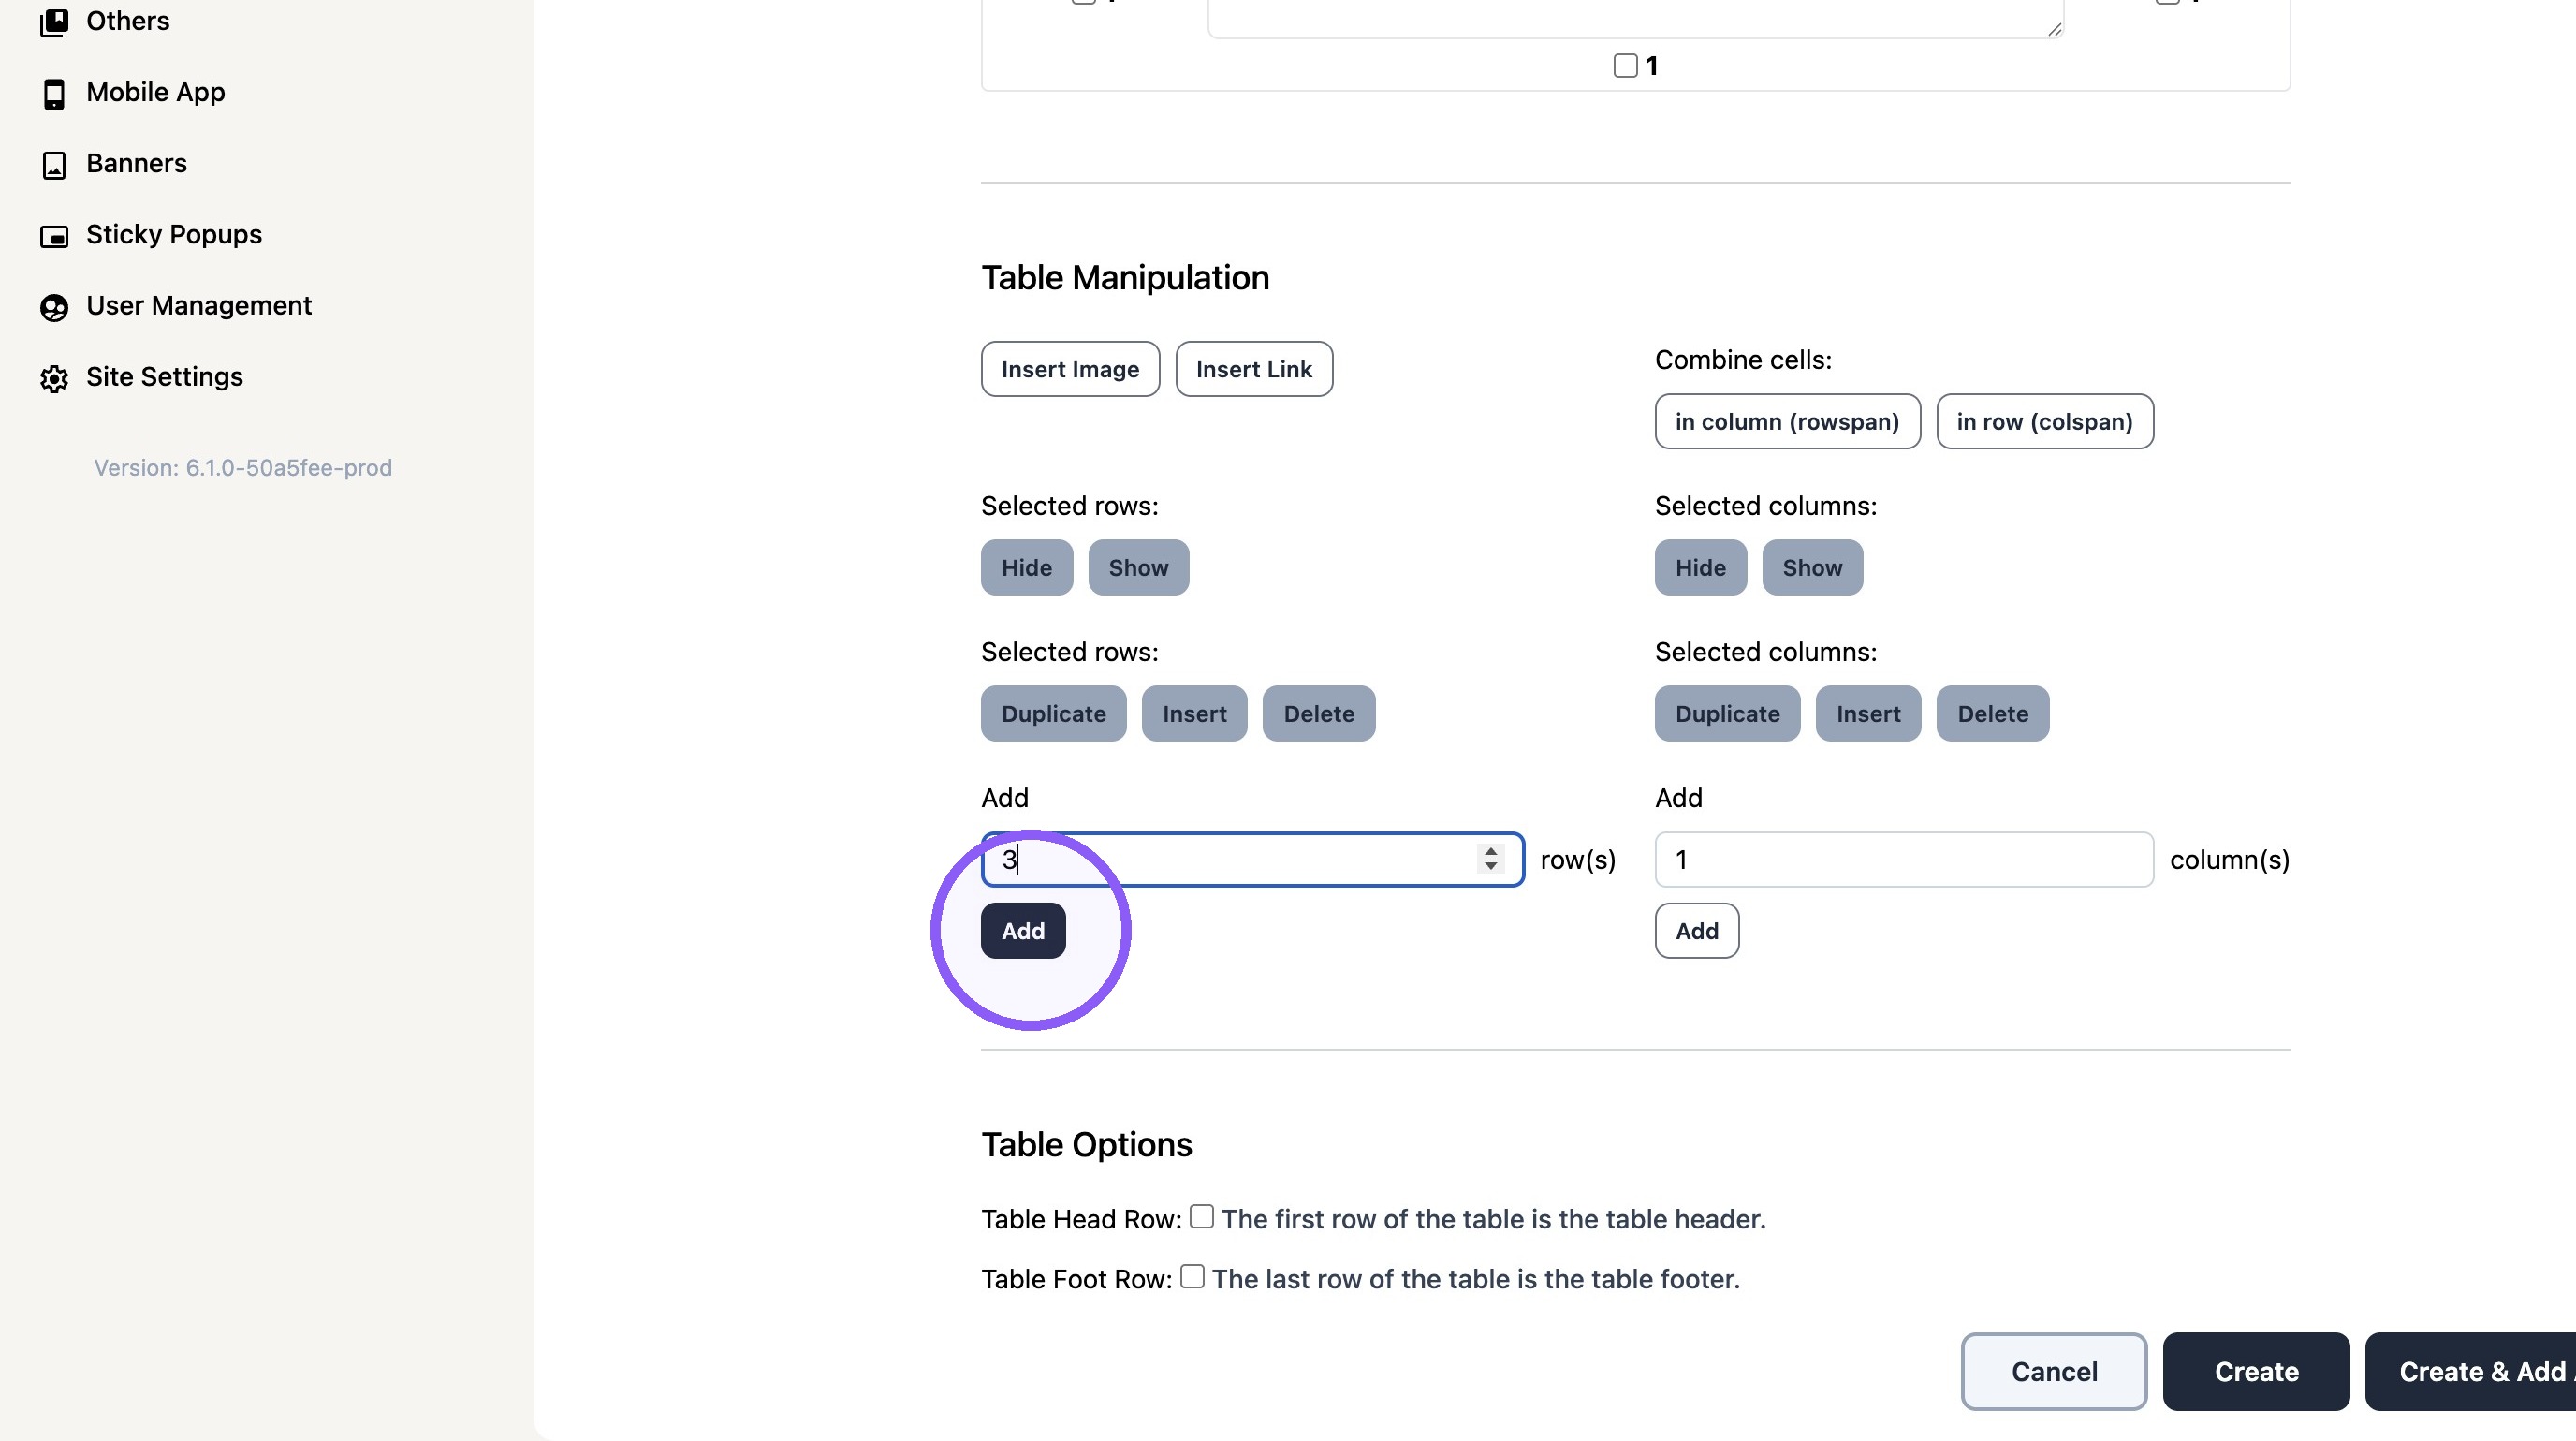
4. Add the desired initial number of rows
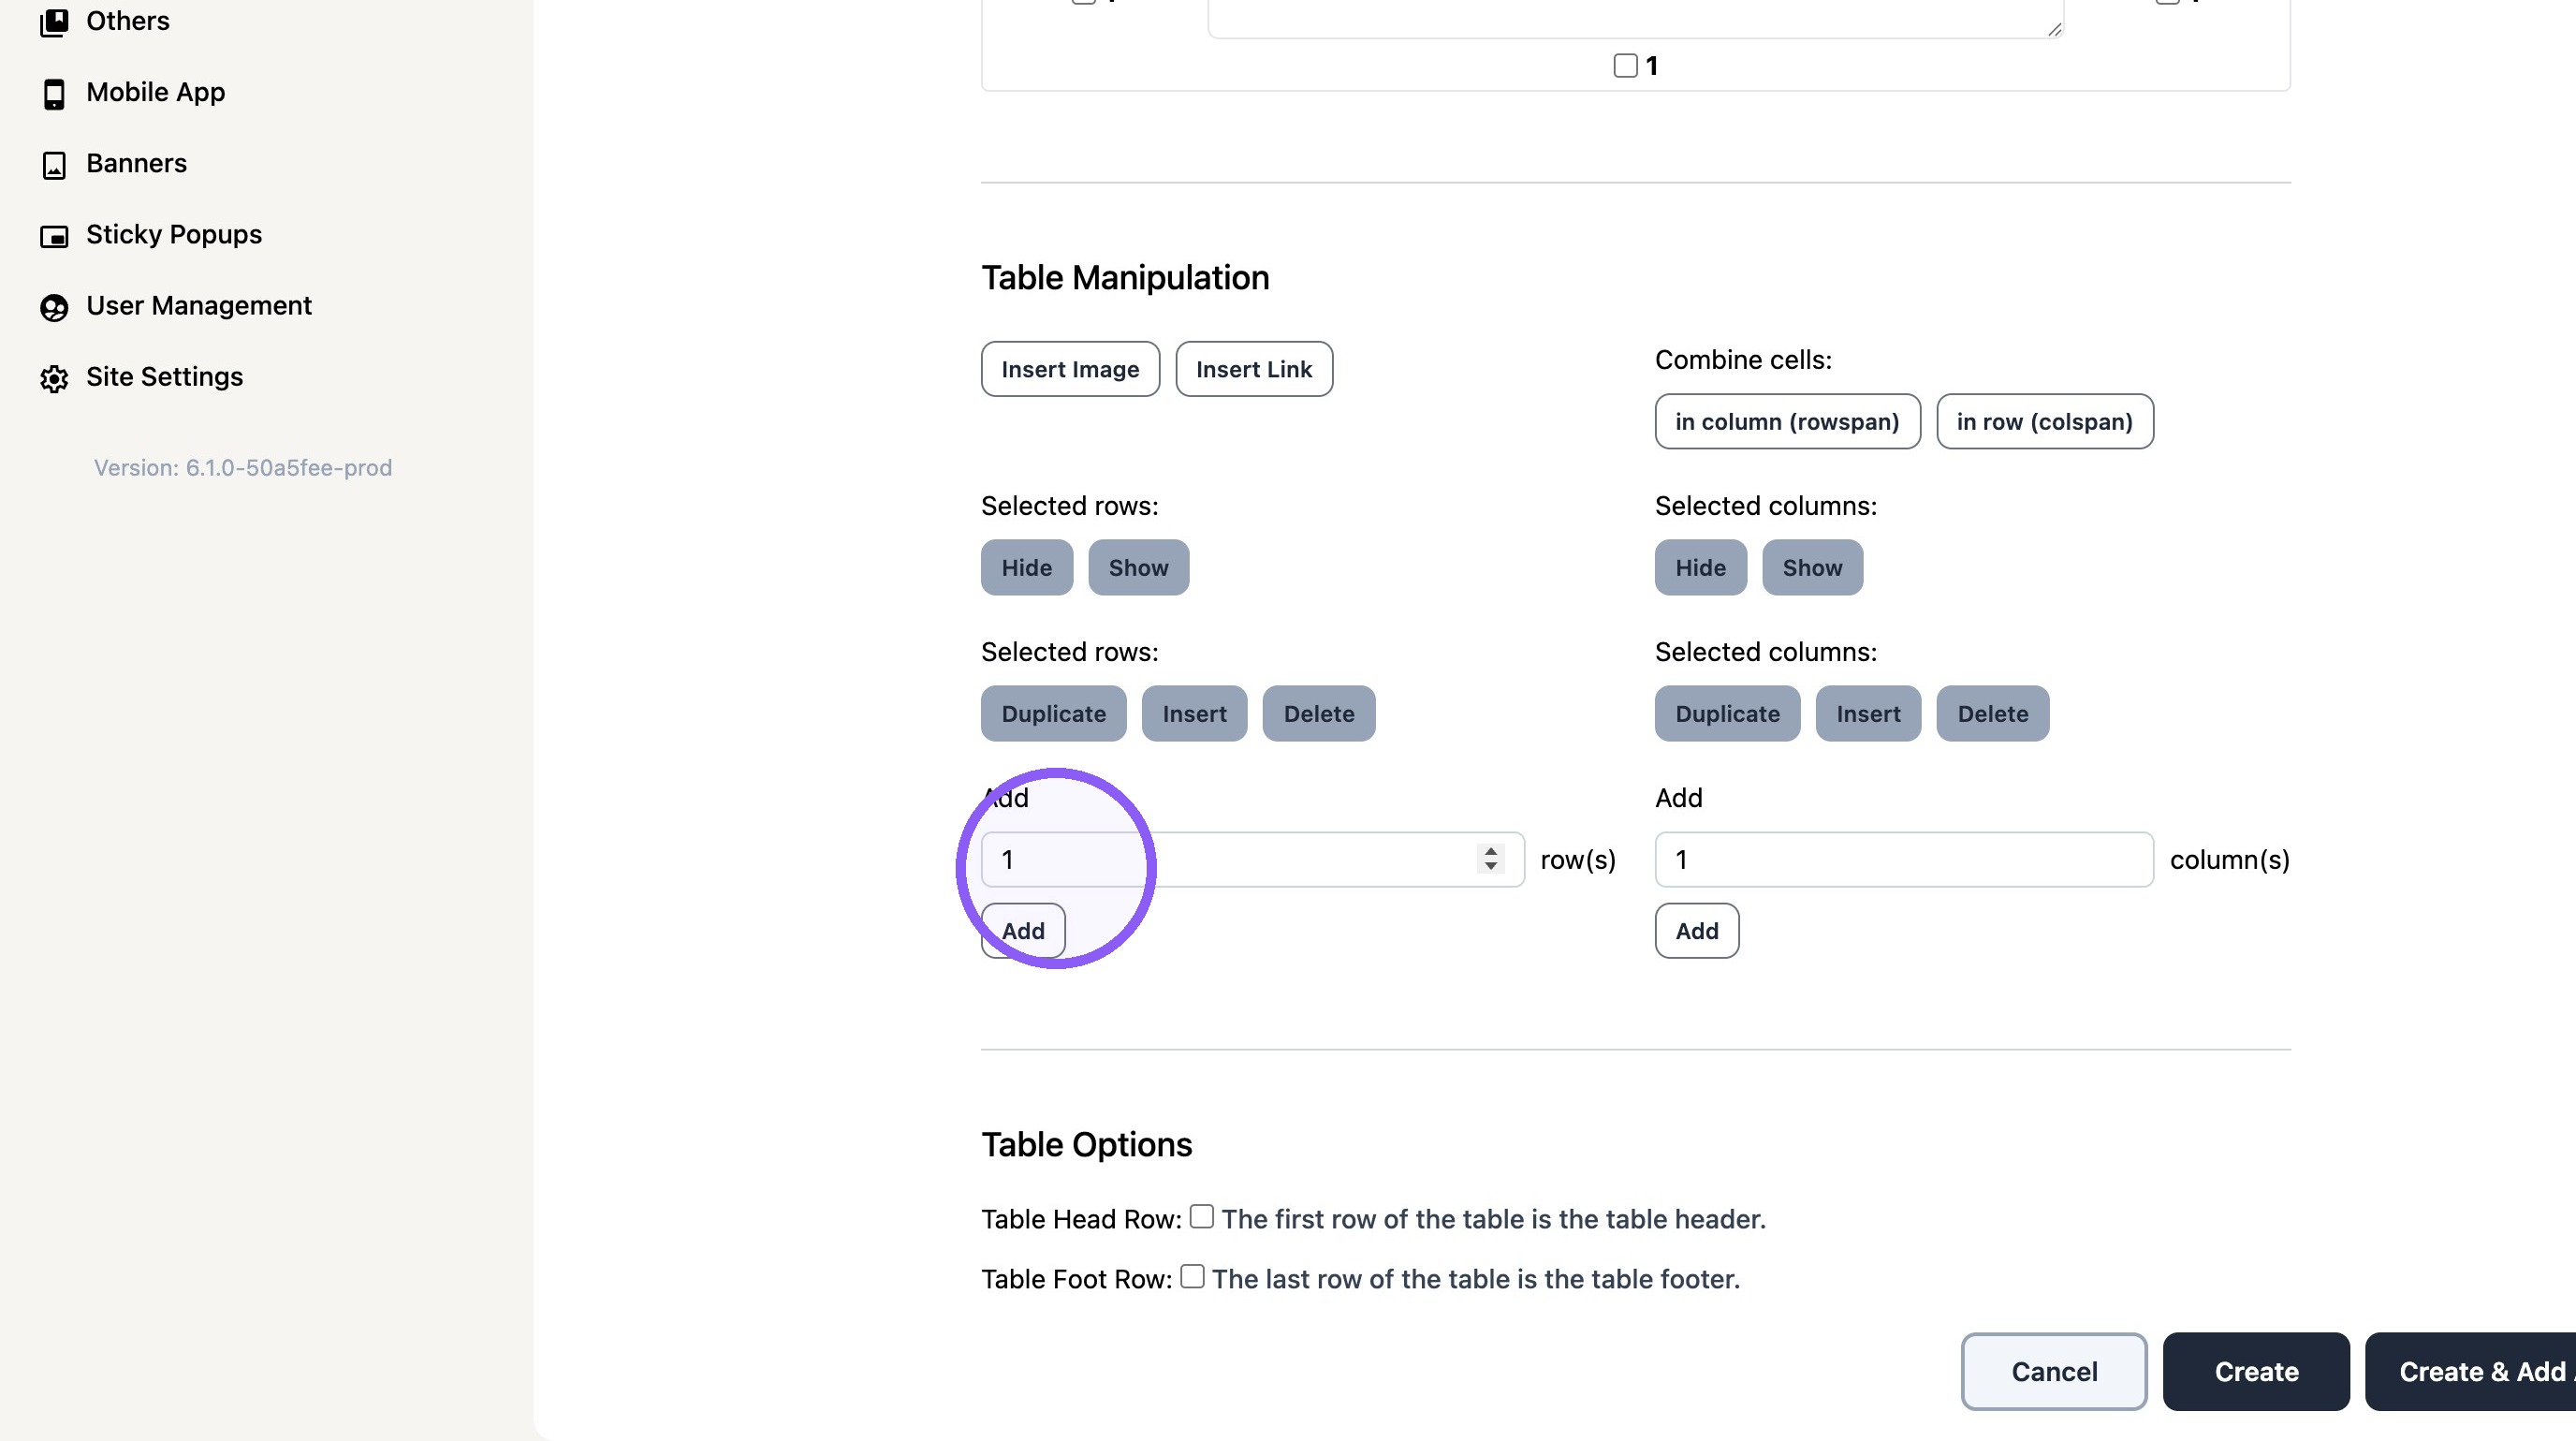
5. Click "Add"
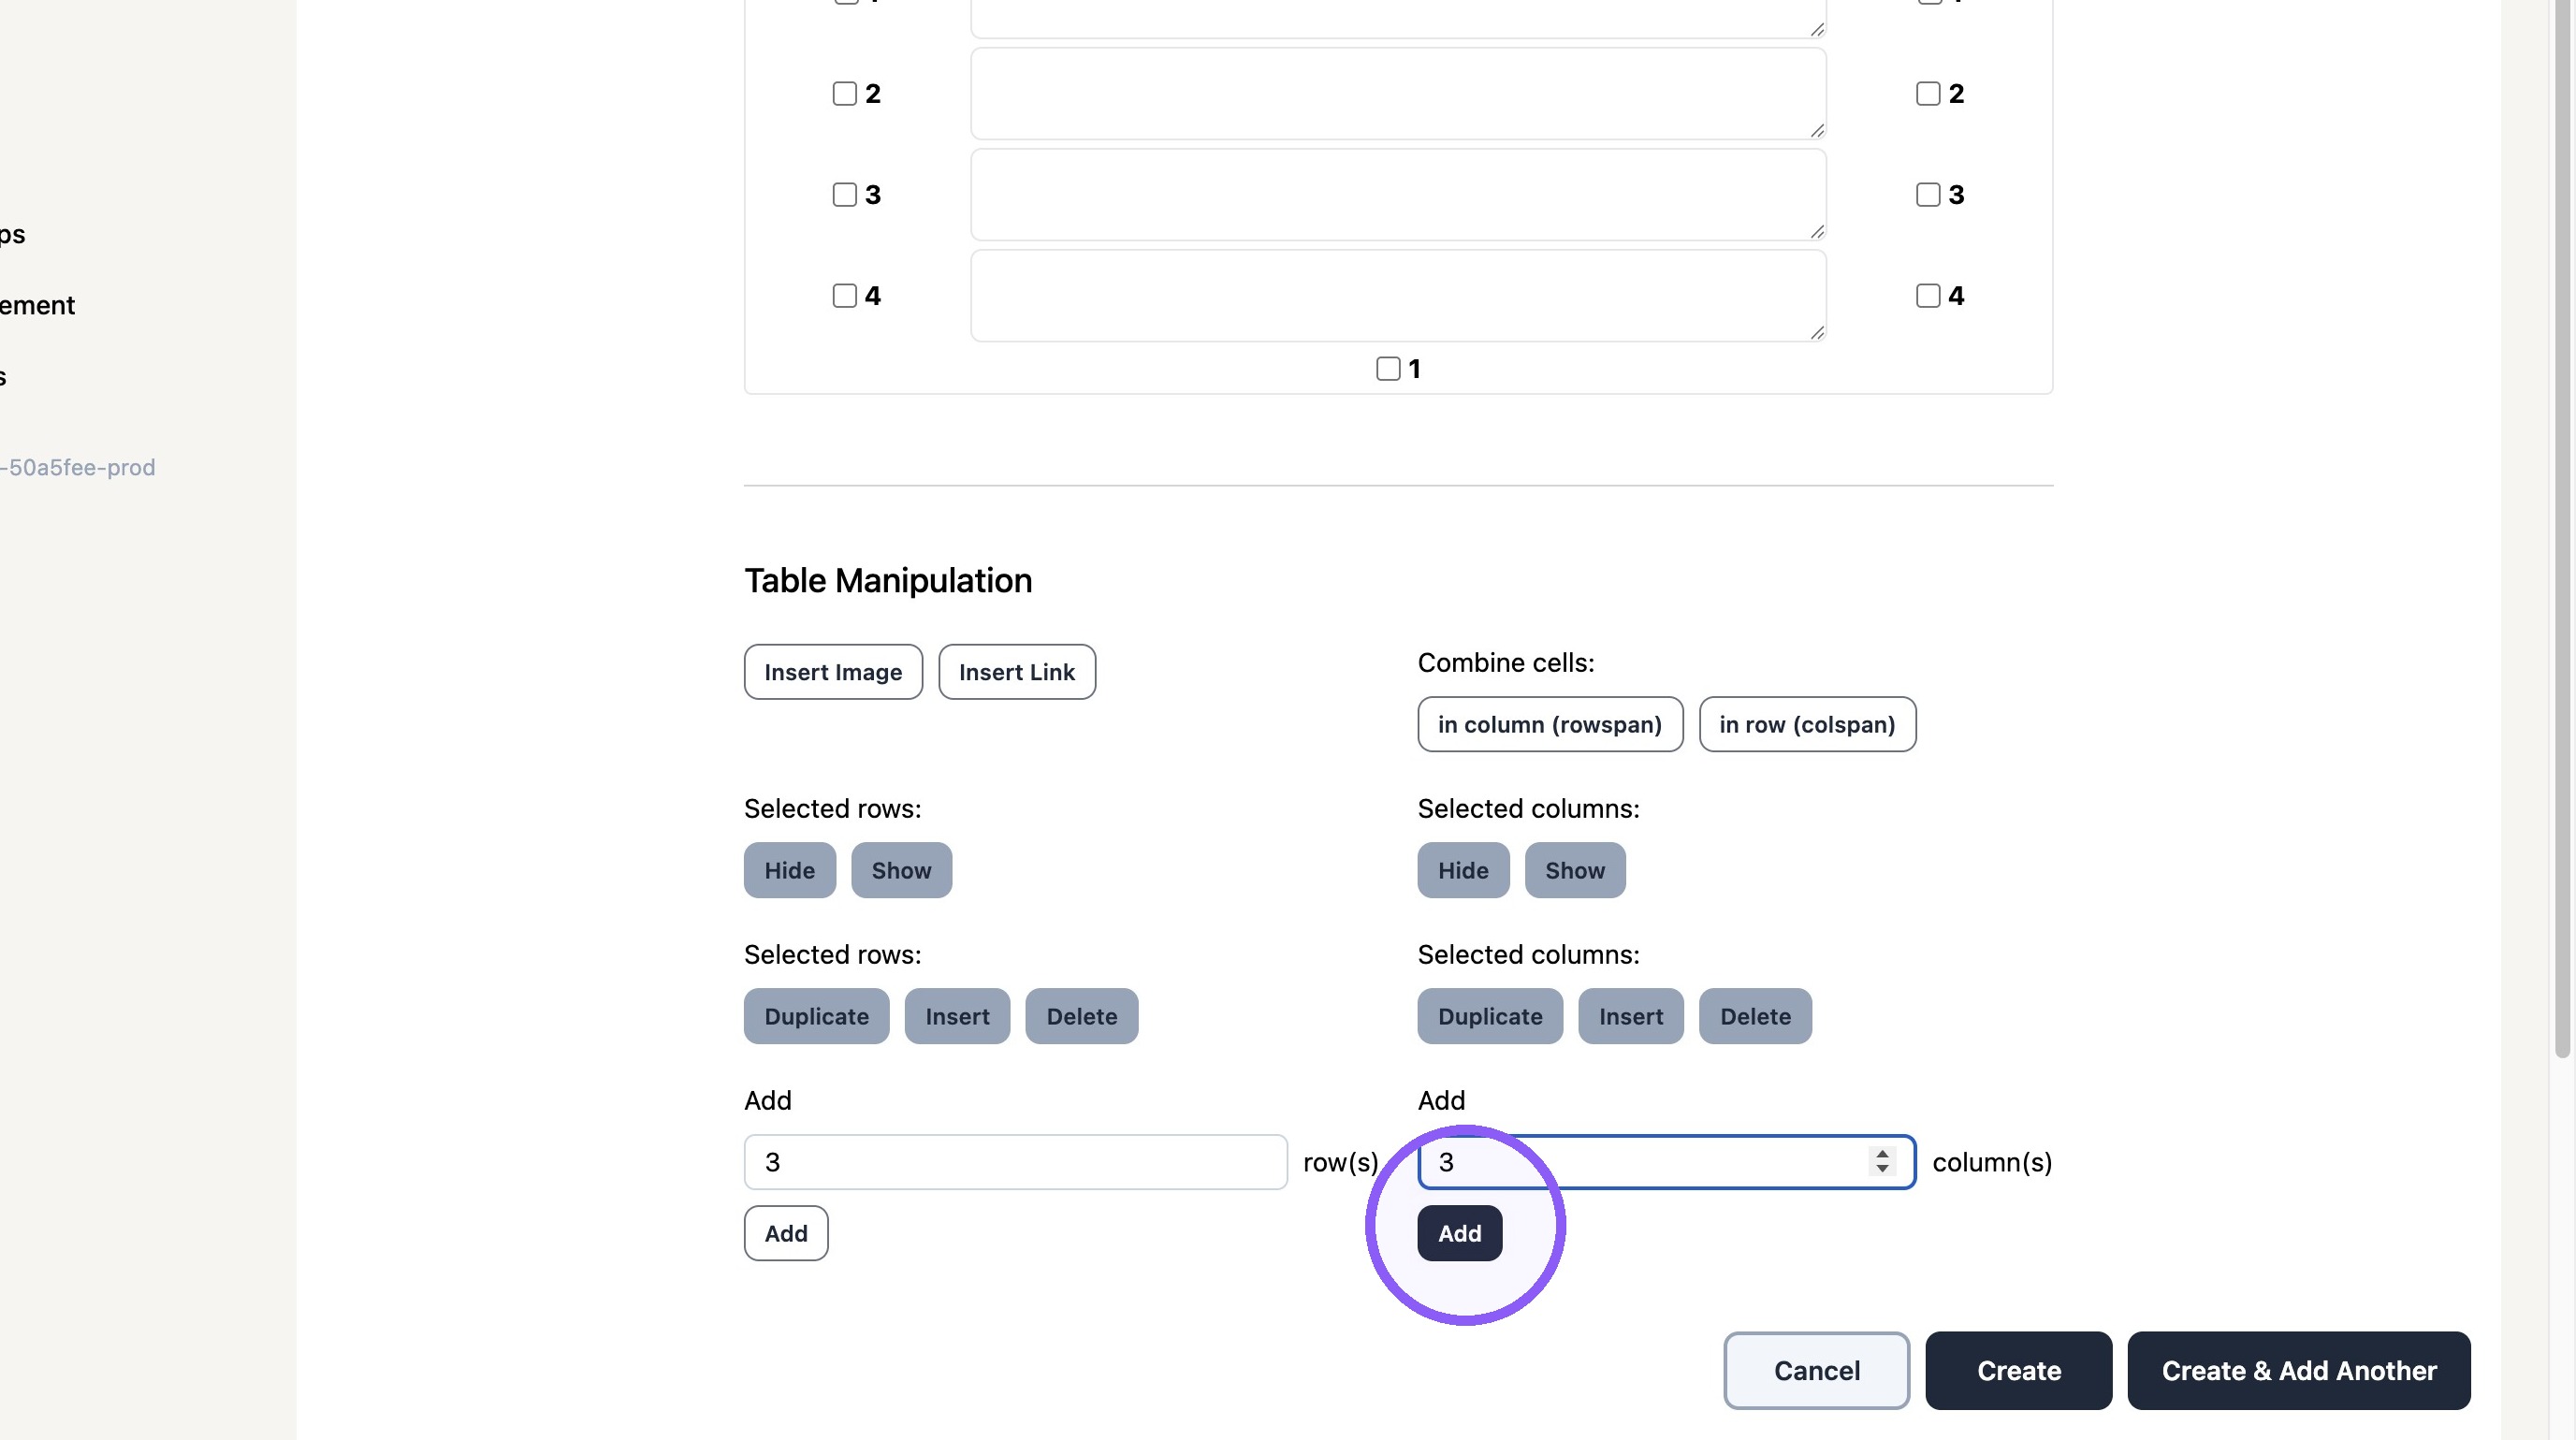
6. Add the desired initial number of columns

7. Click "Add"
8. Add contents to table
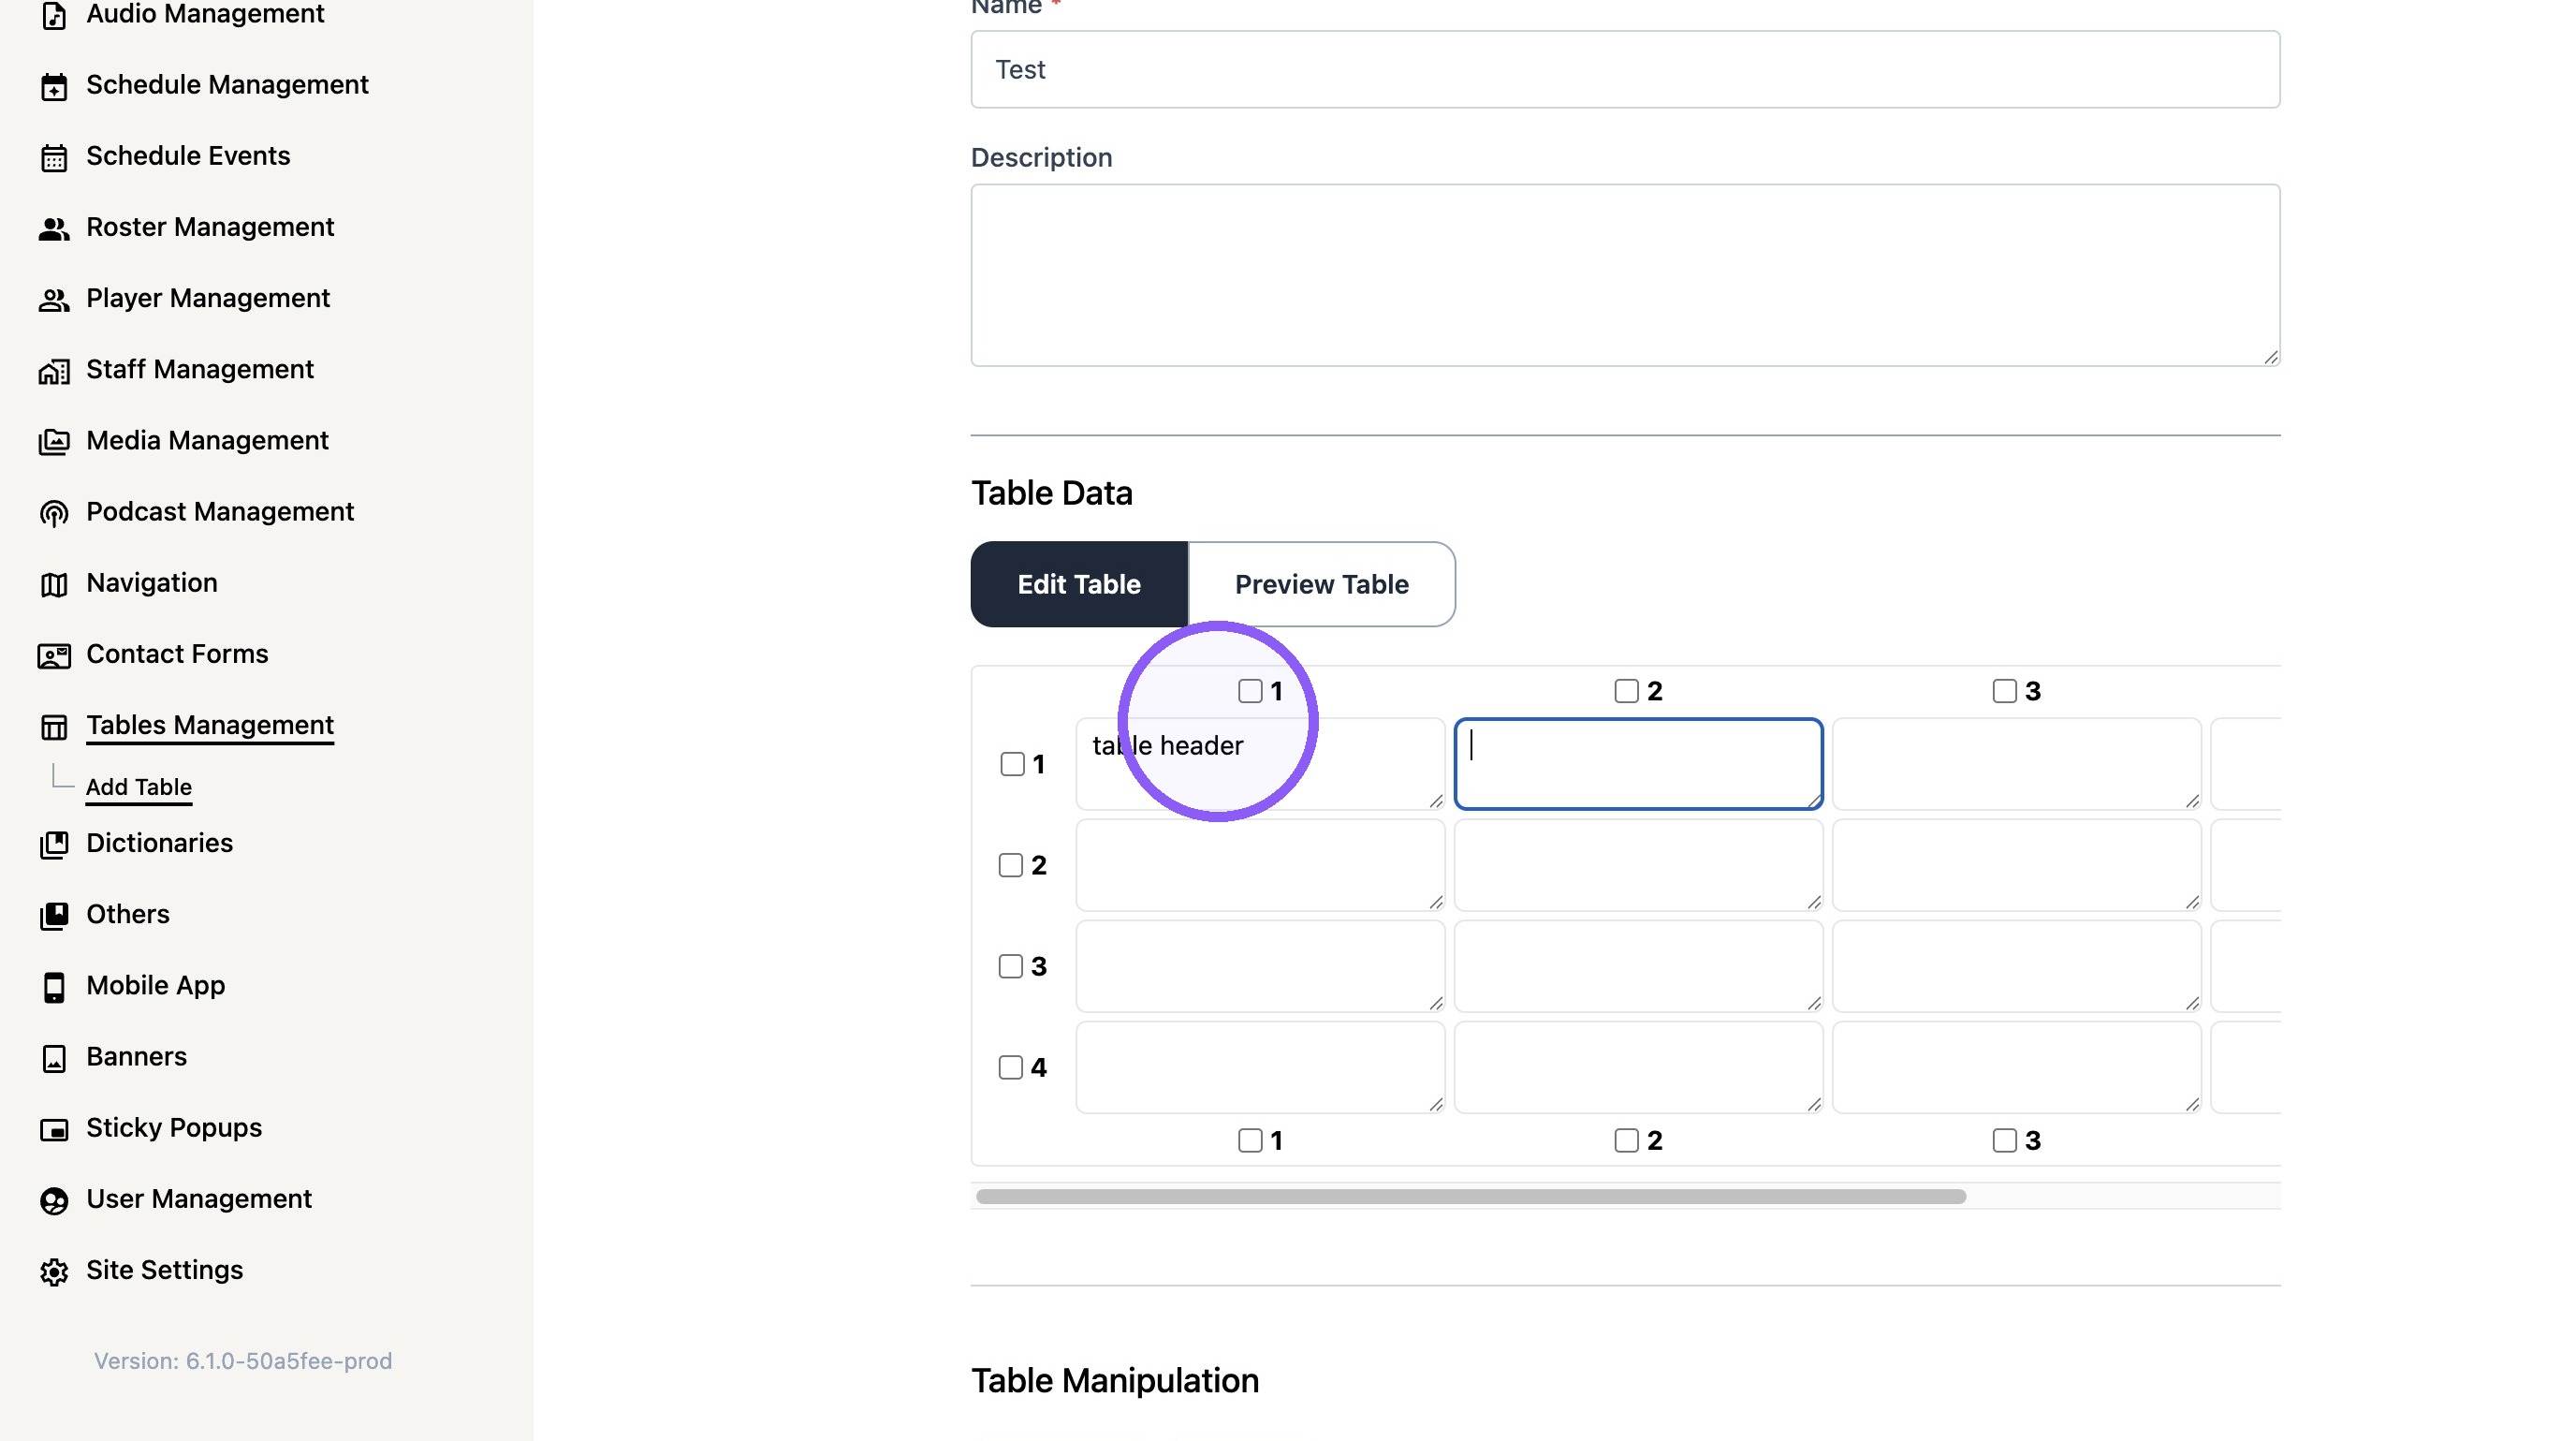
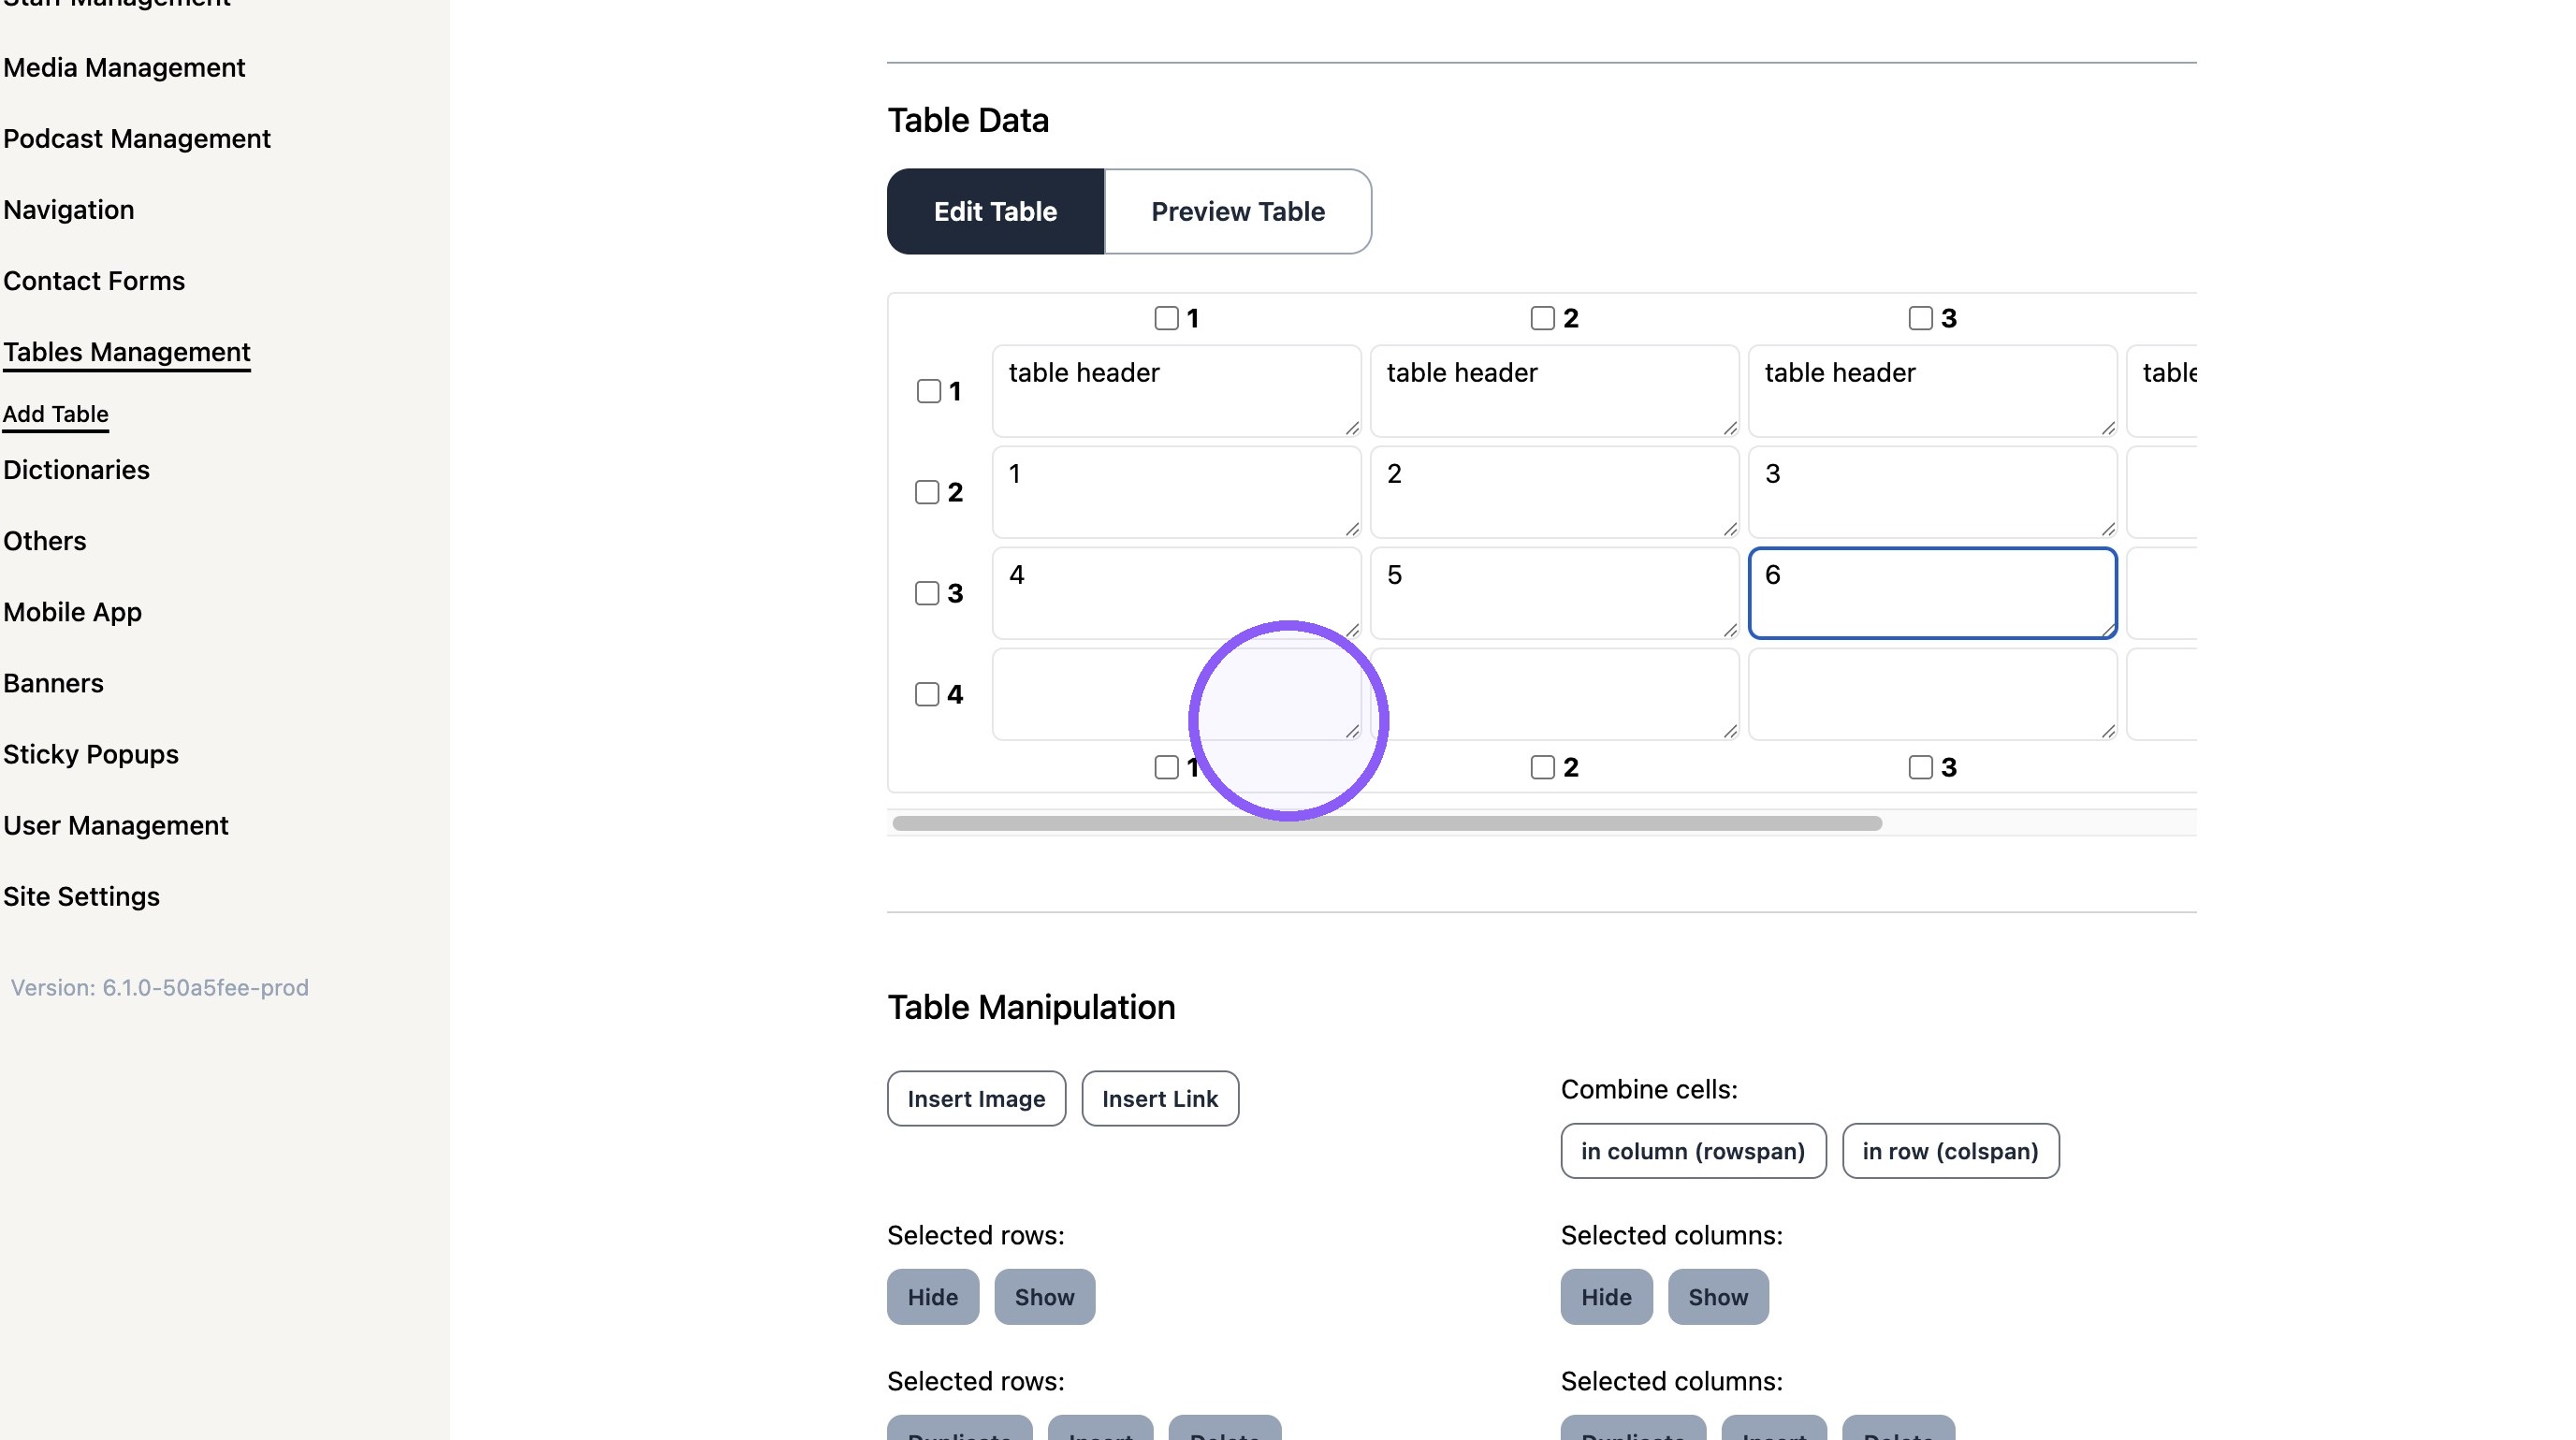
Table Editing Options
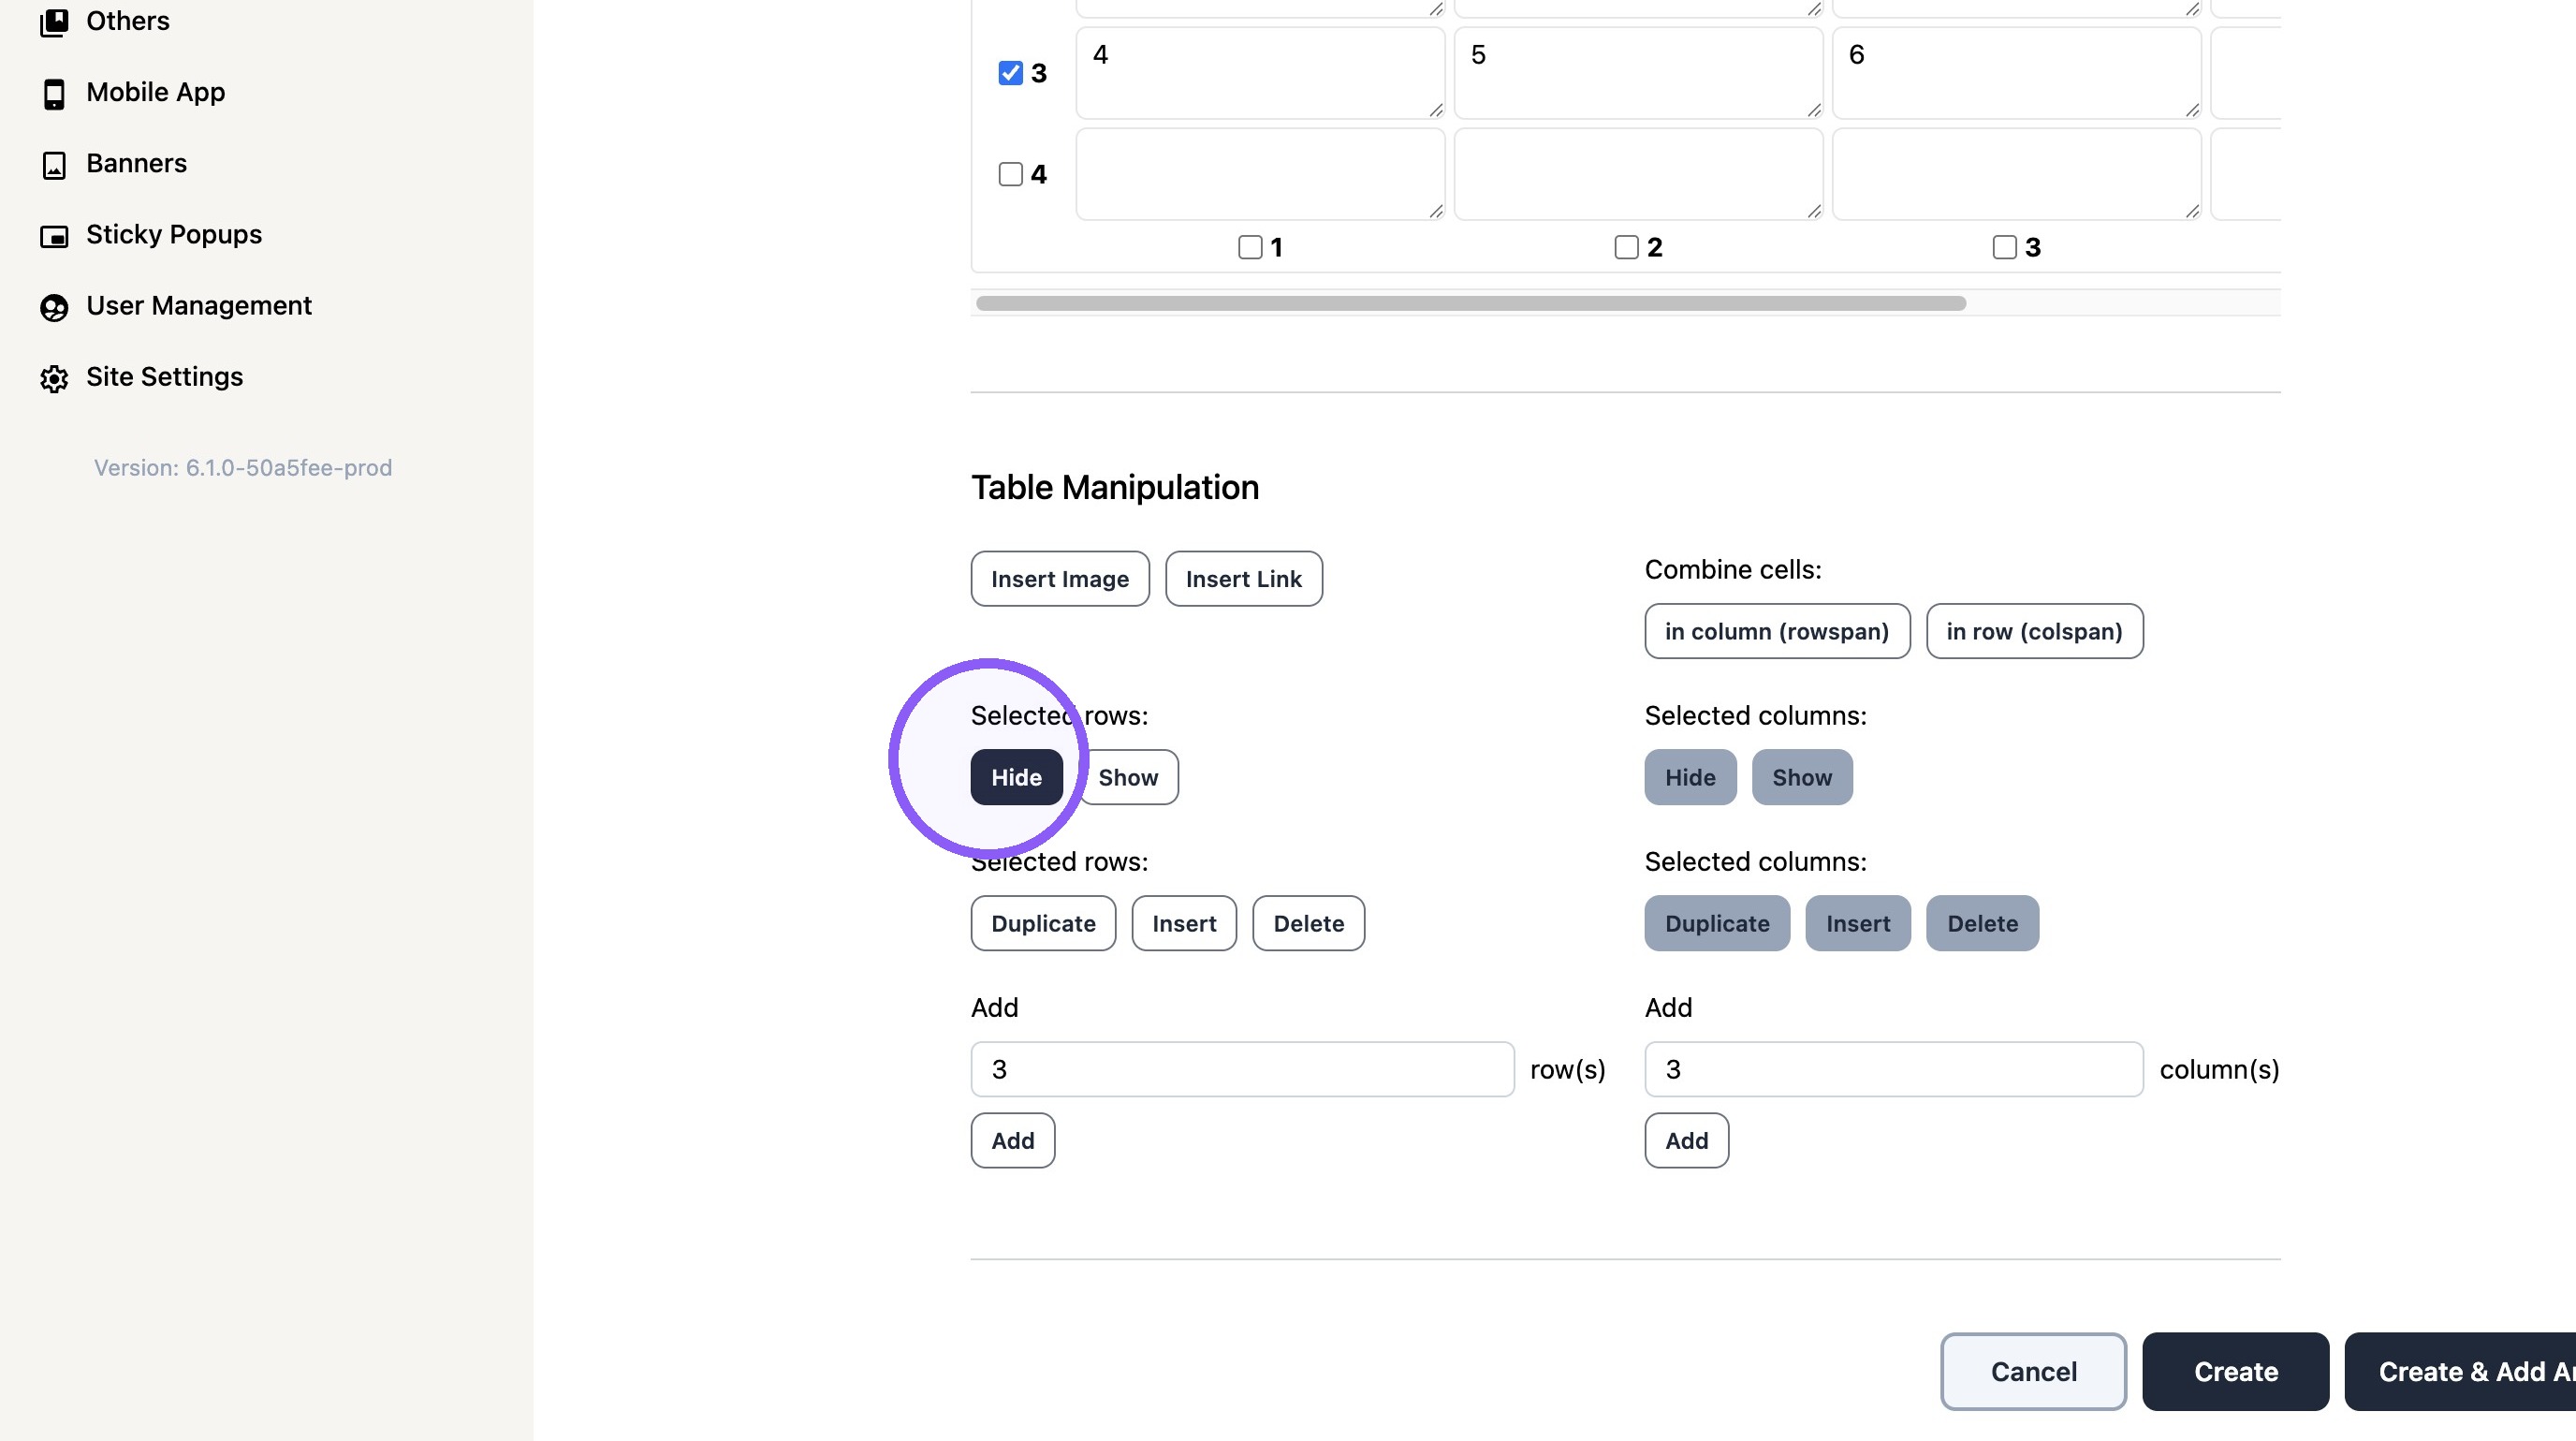
9. Select a column or row and click "Hide" to hide the specific part of the table only
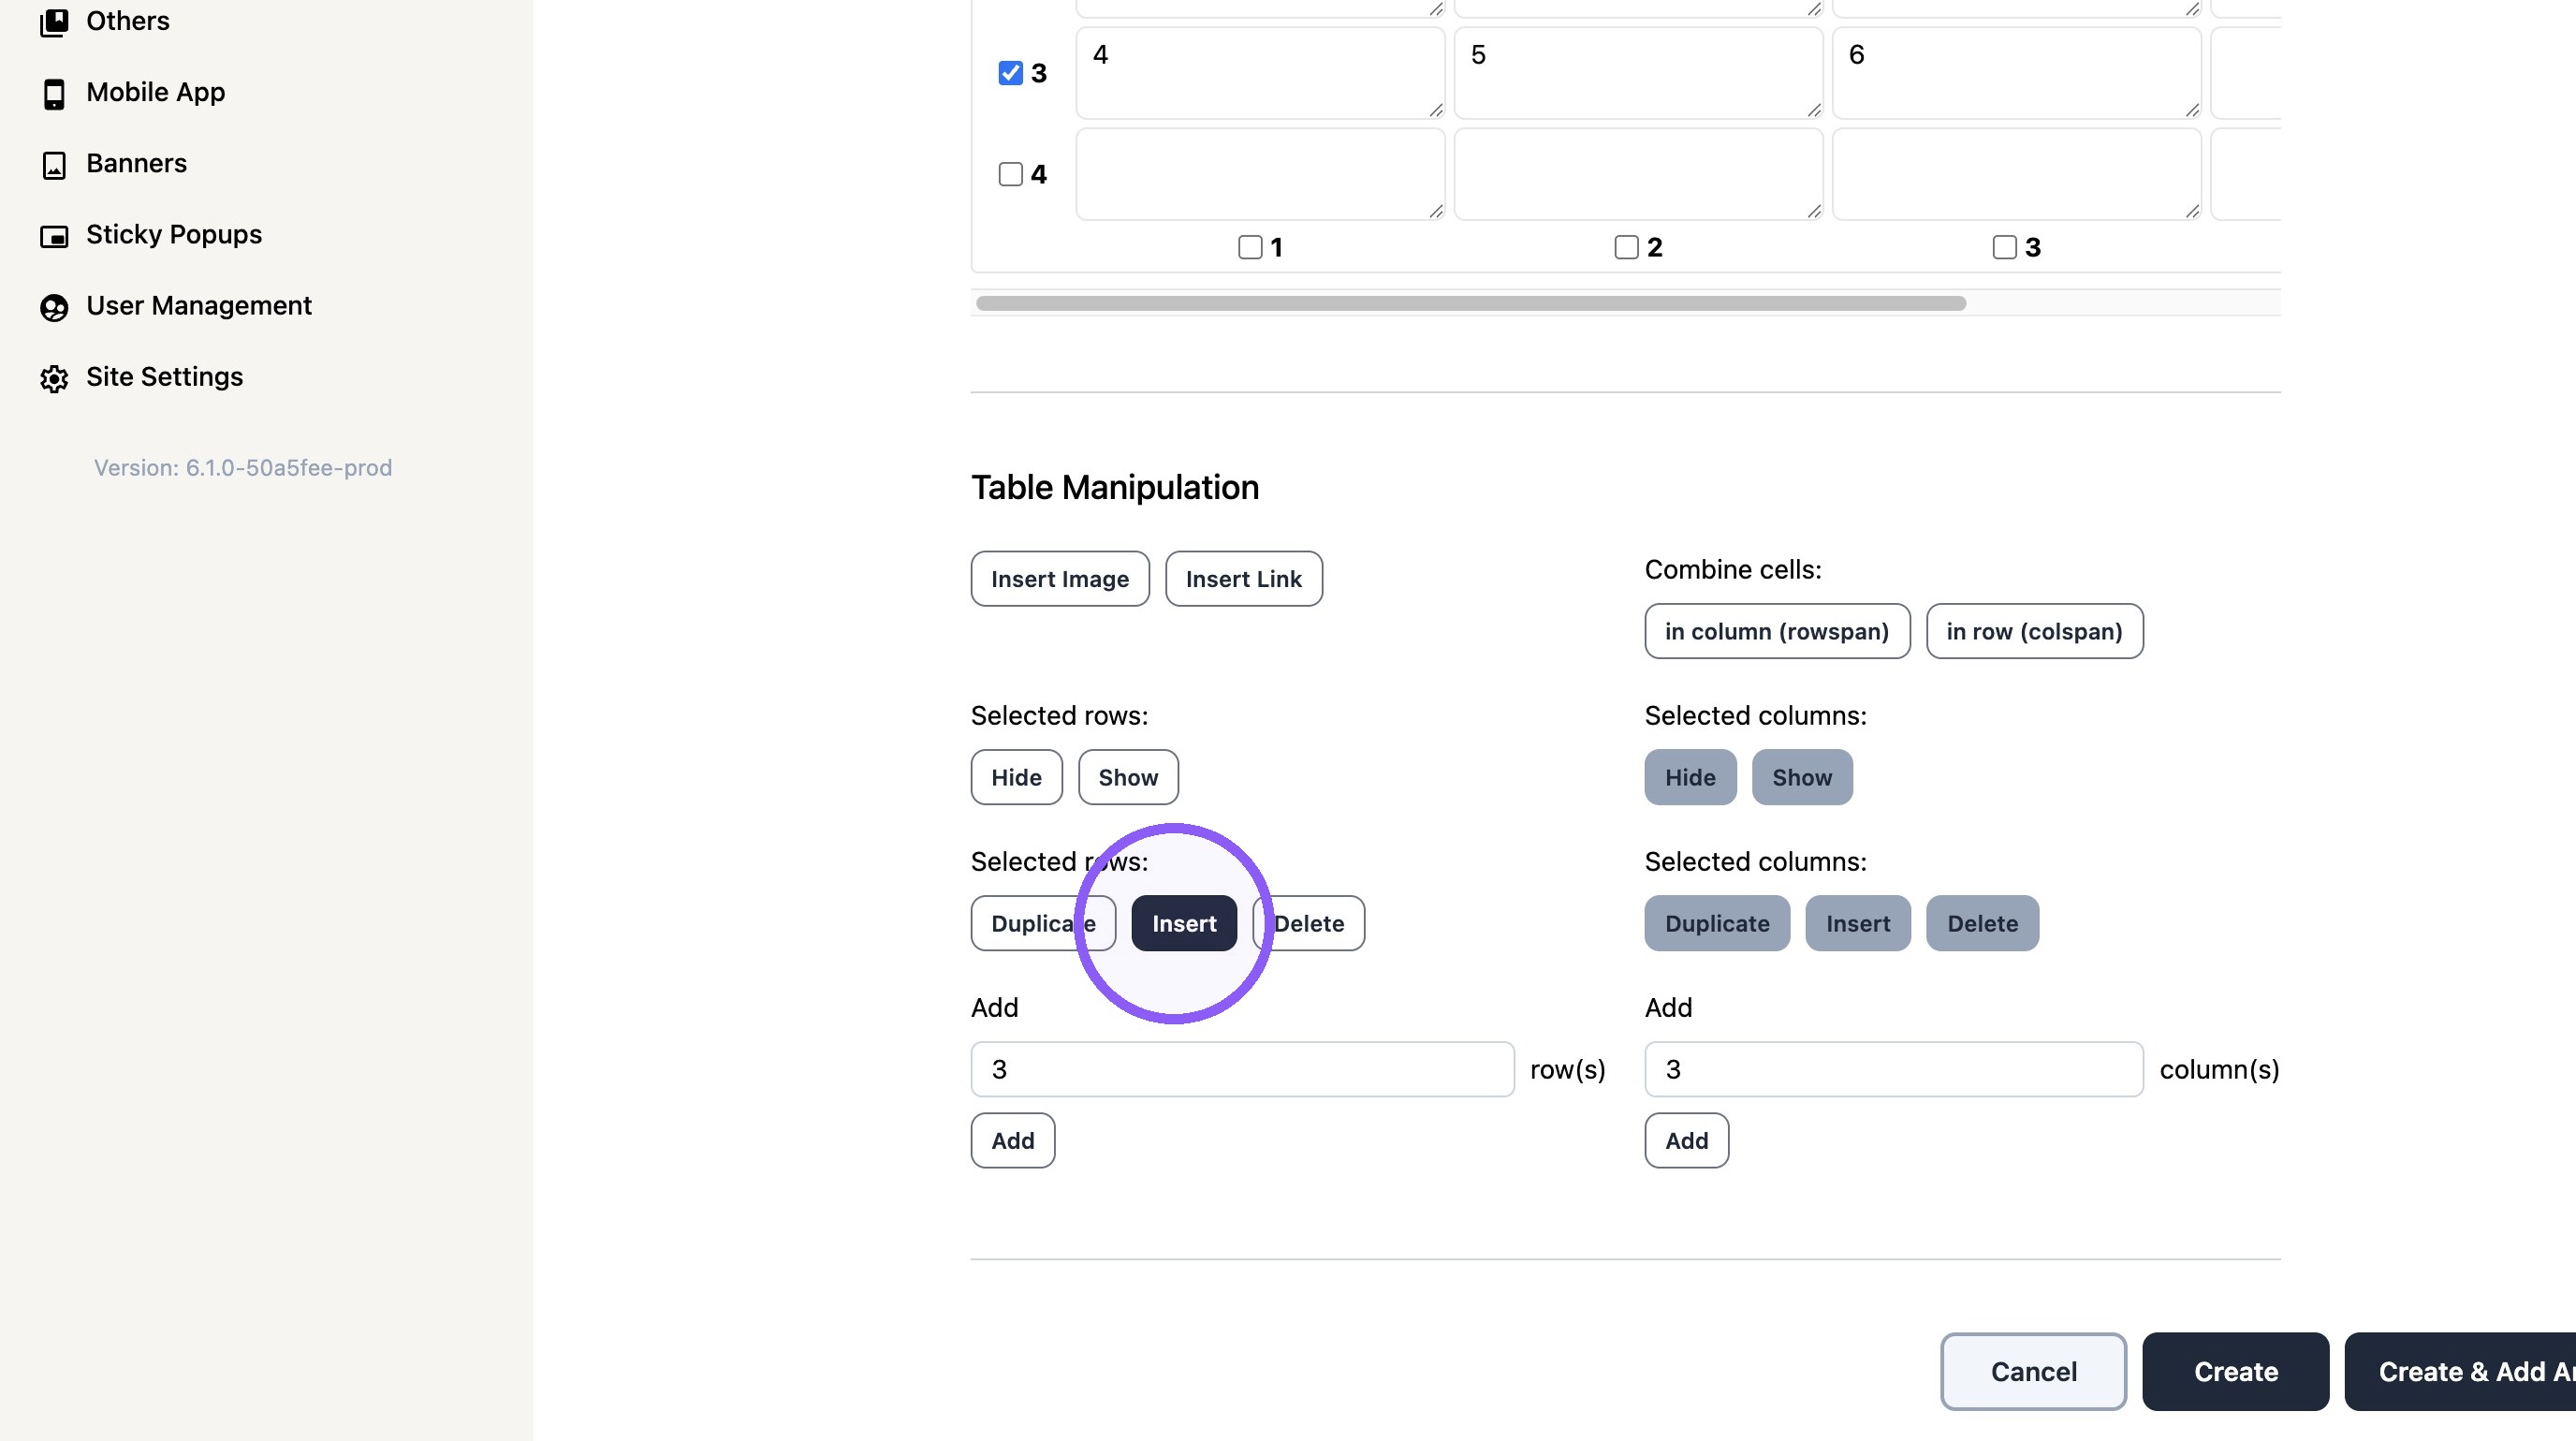
10. Select a row or column and click "Insert" to add a new row/ column to the table
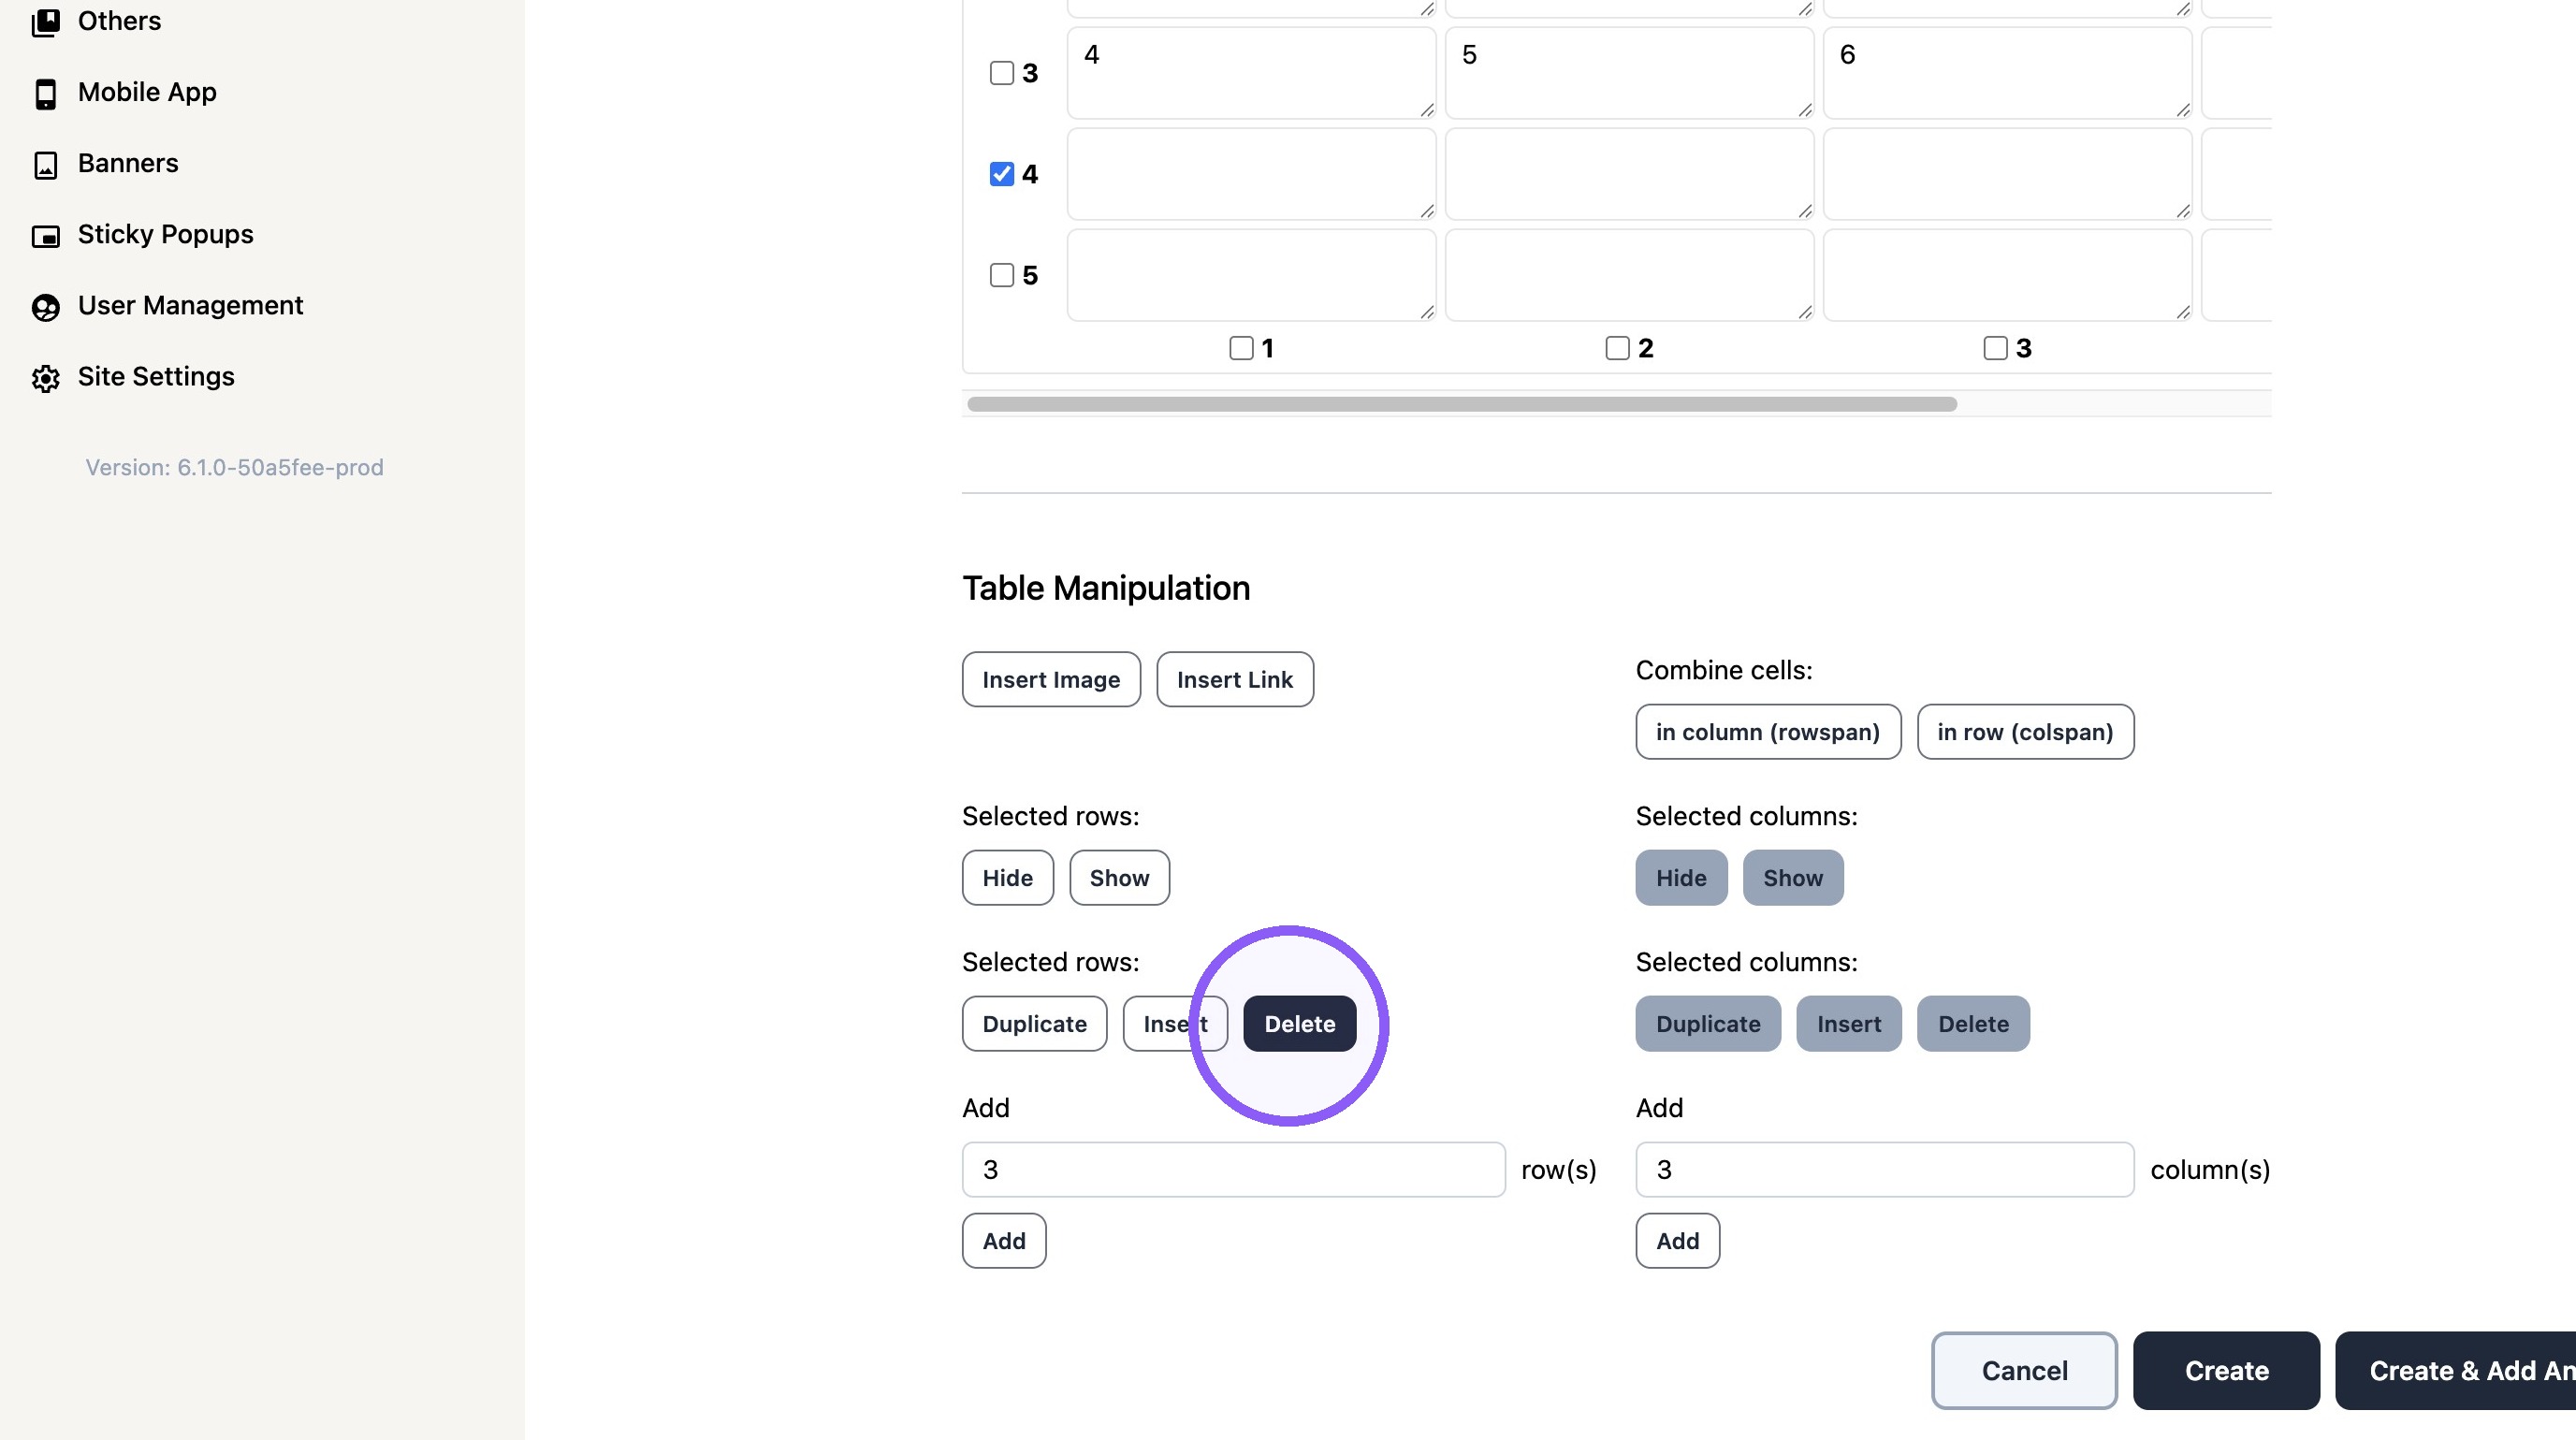
11. Select a row or column and click "Delete" to delete a row/ column to the table
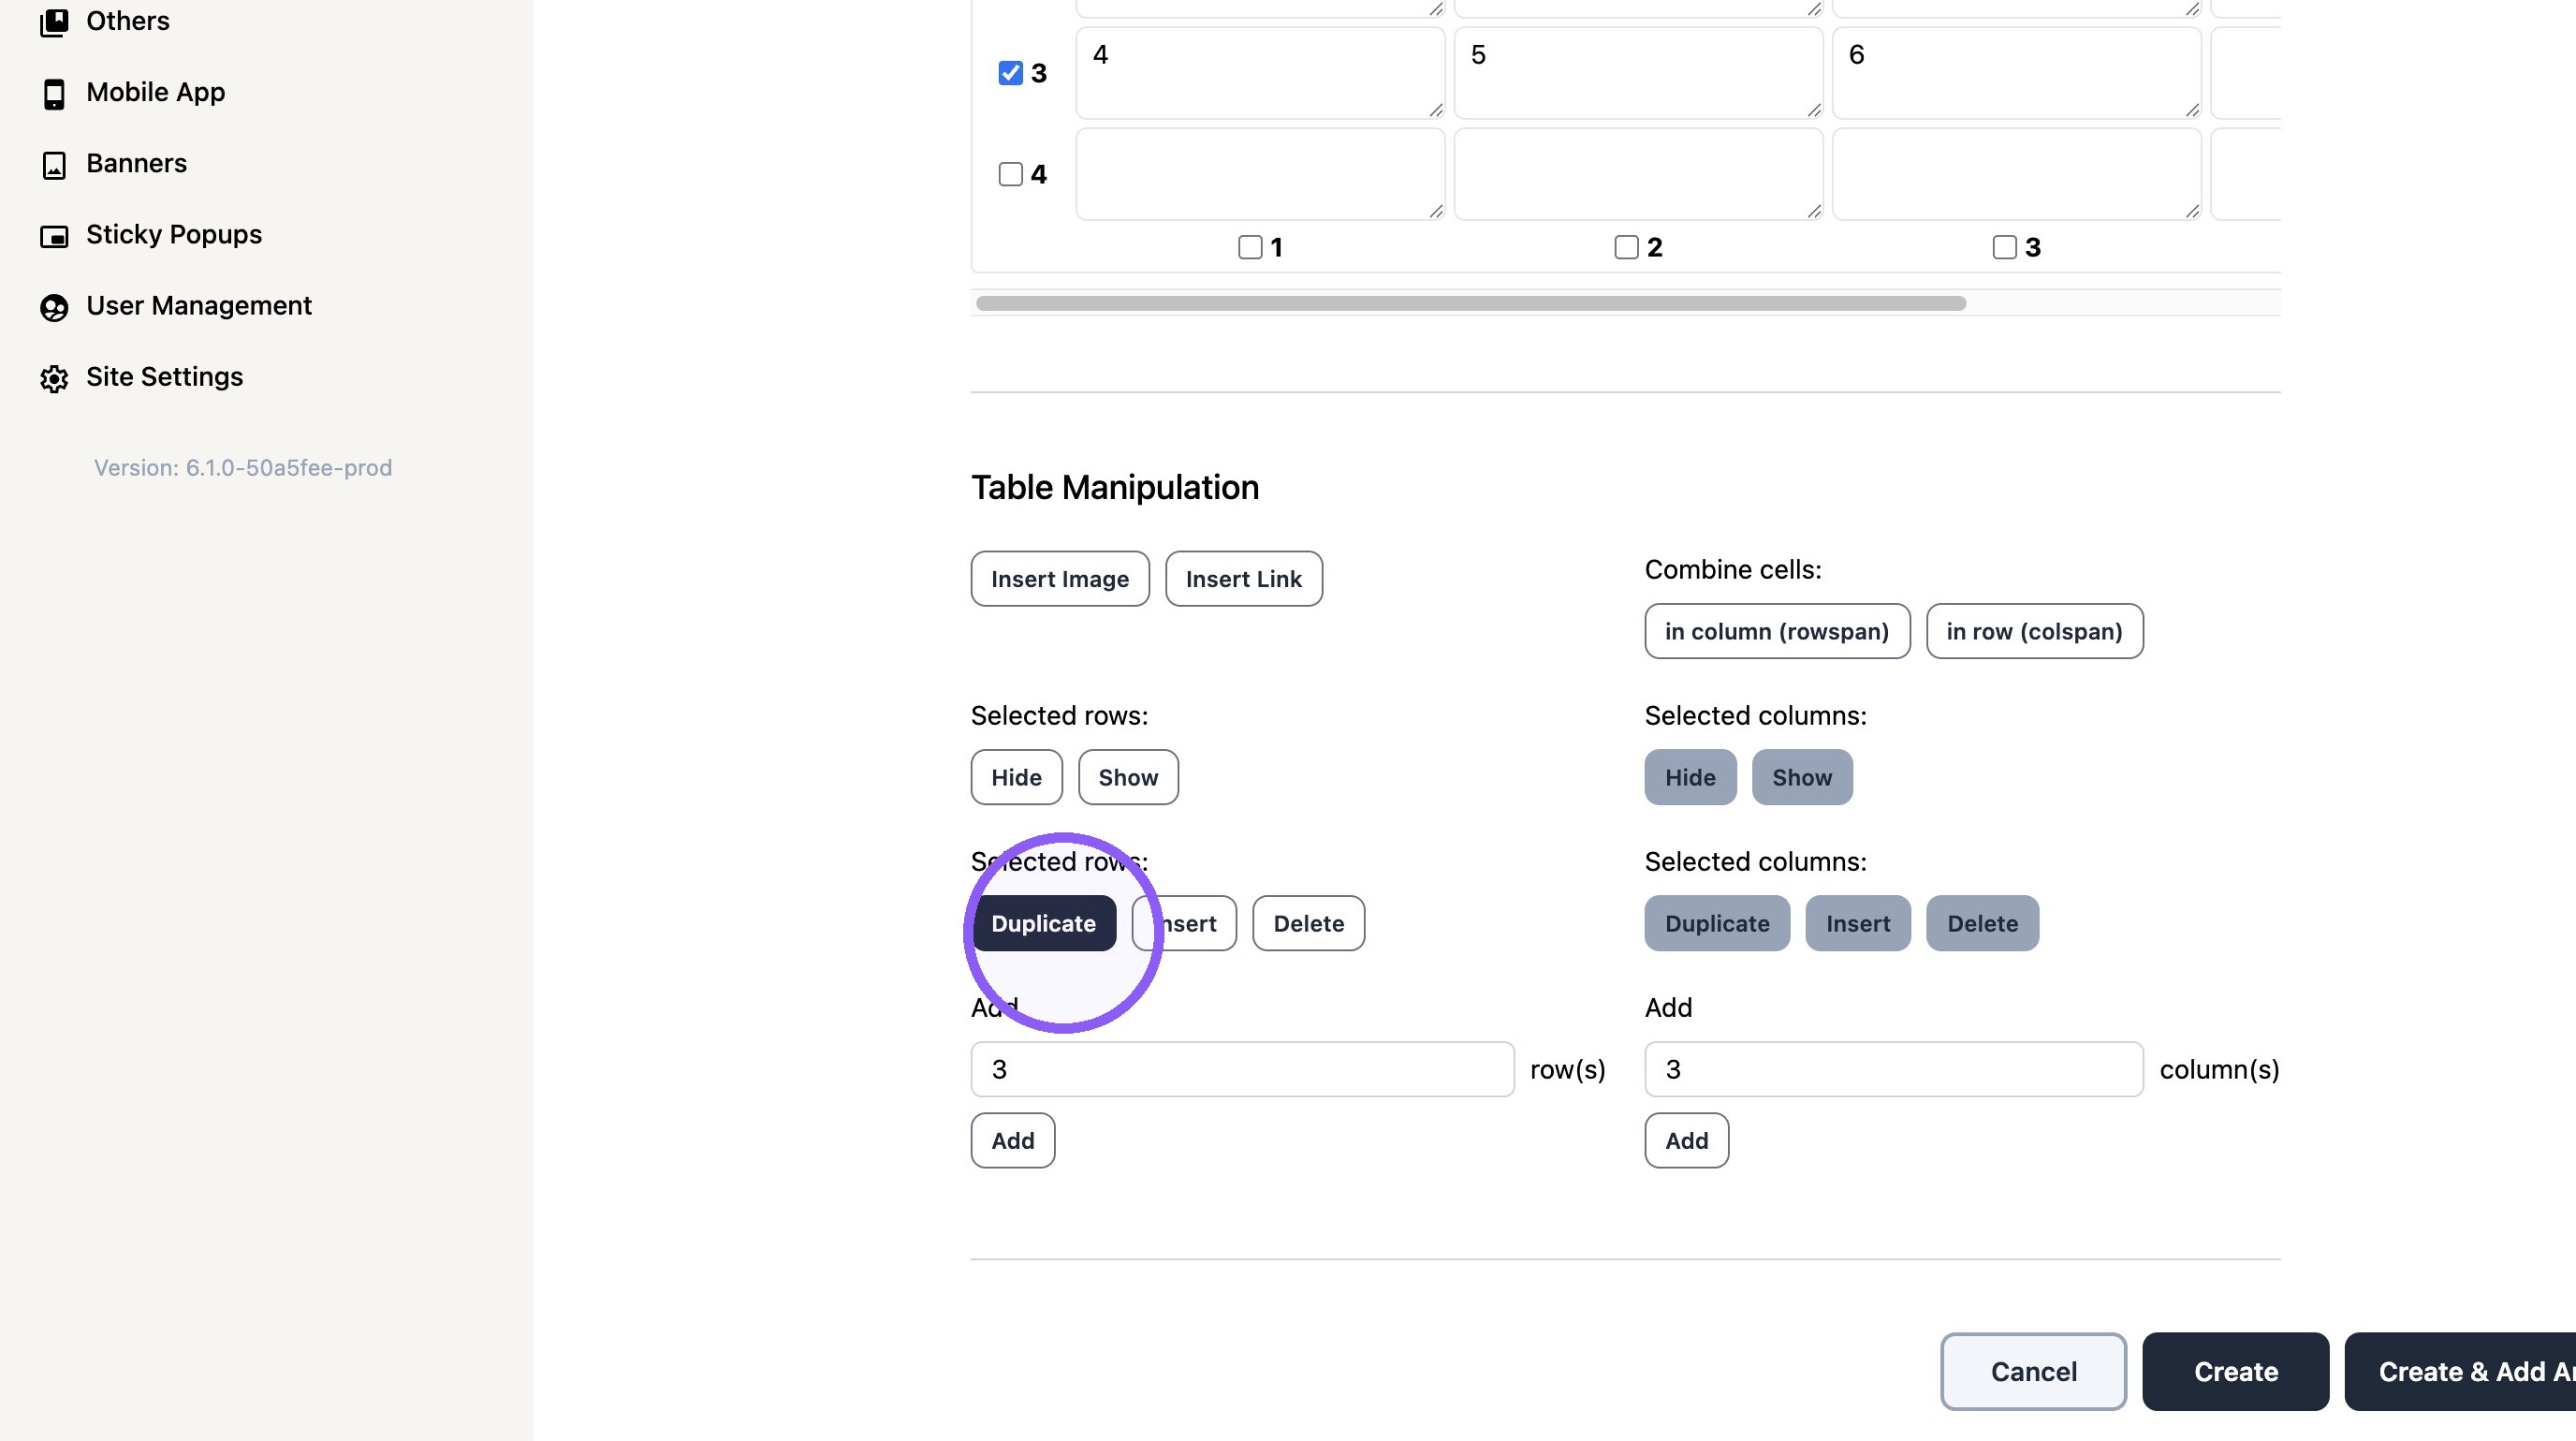
12. Select a row or column and click "Duplicate" to duplicate the selected row/ column
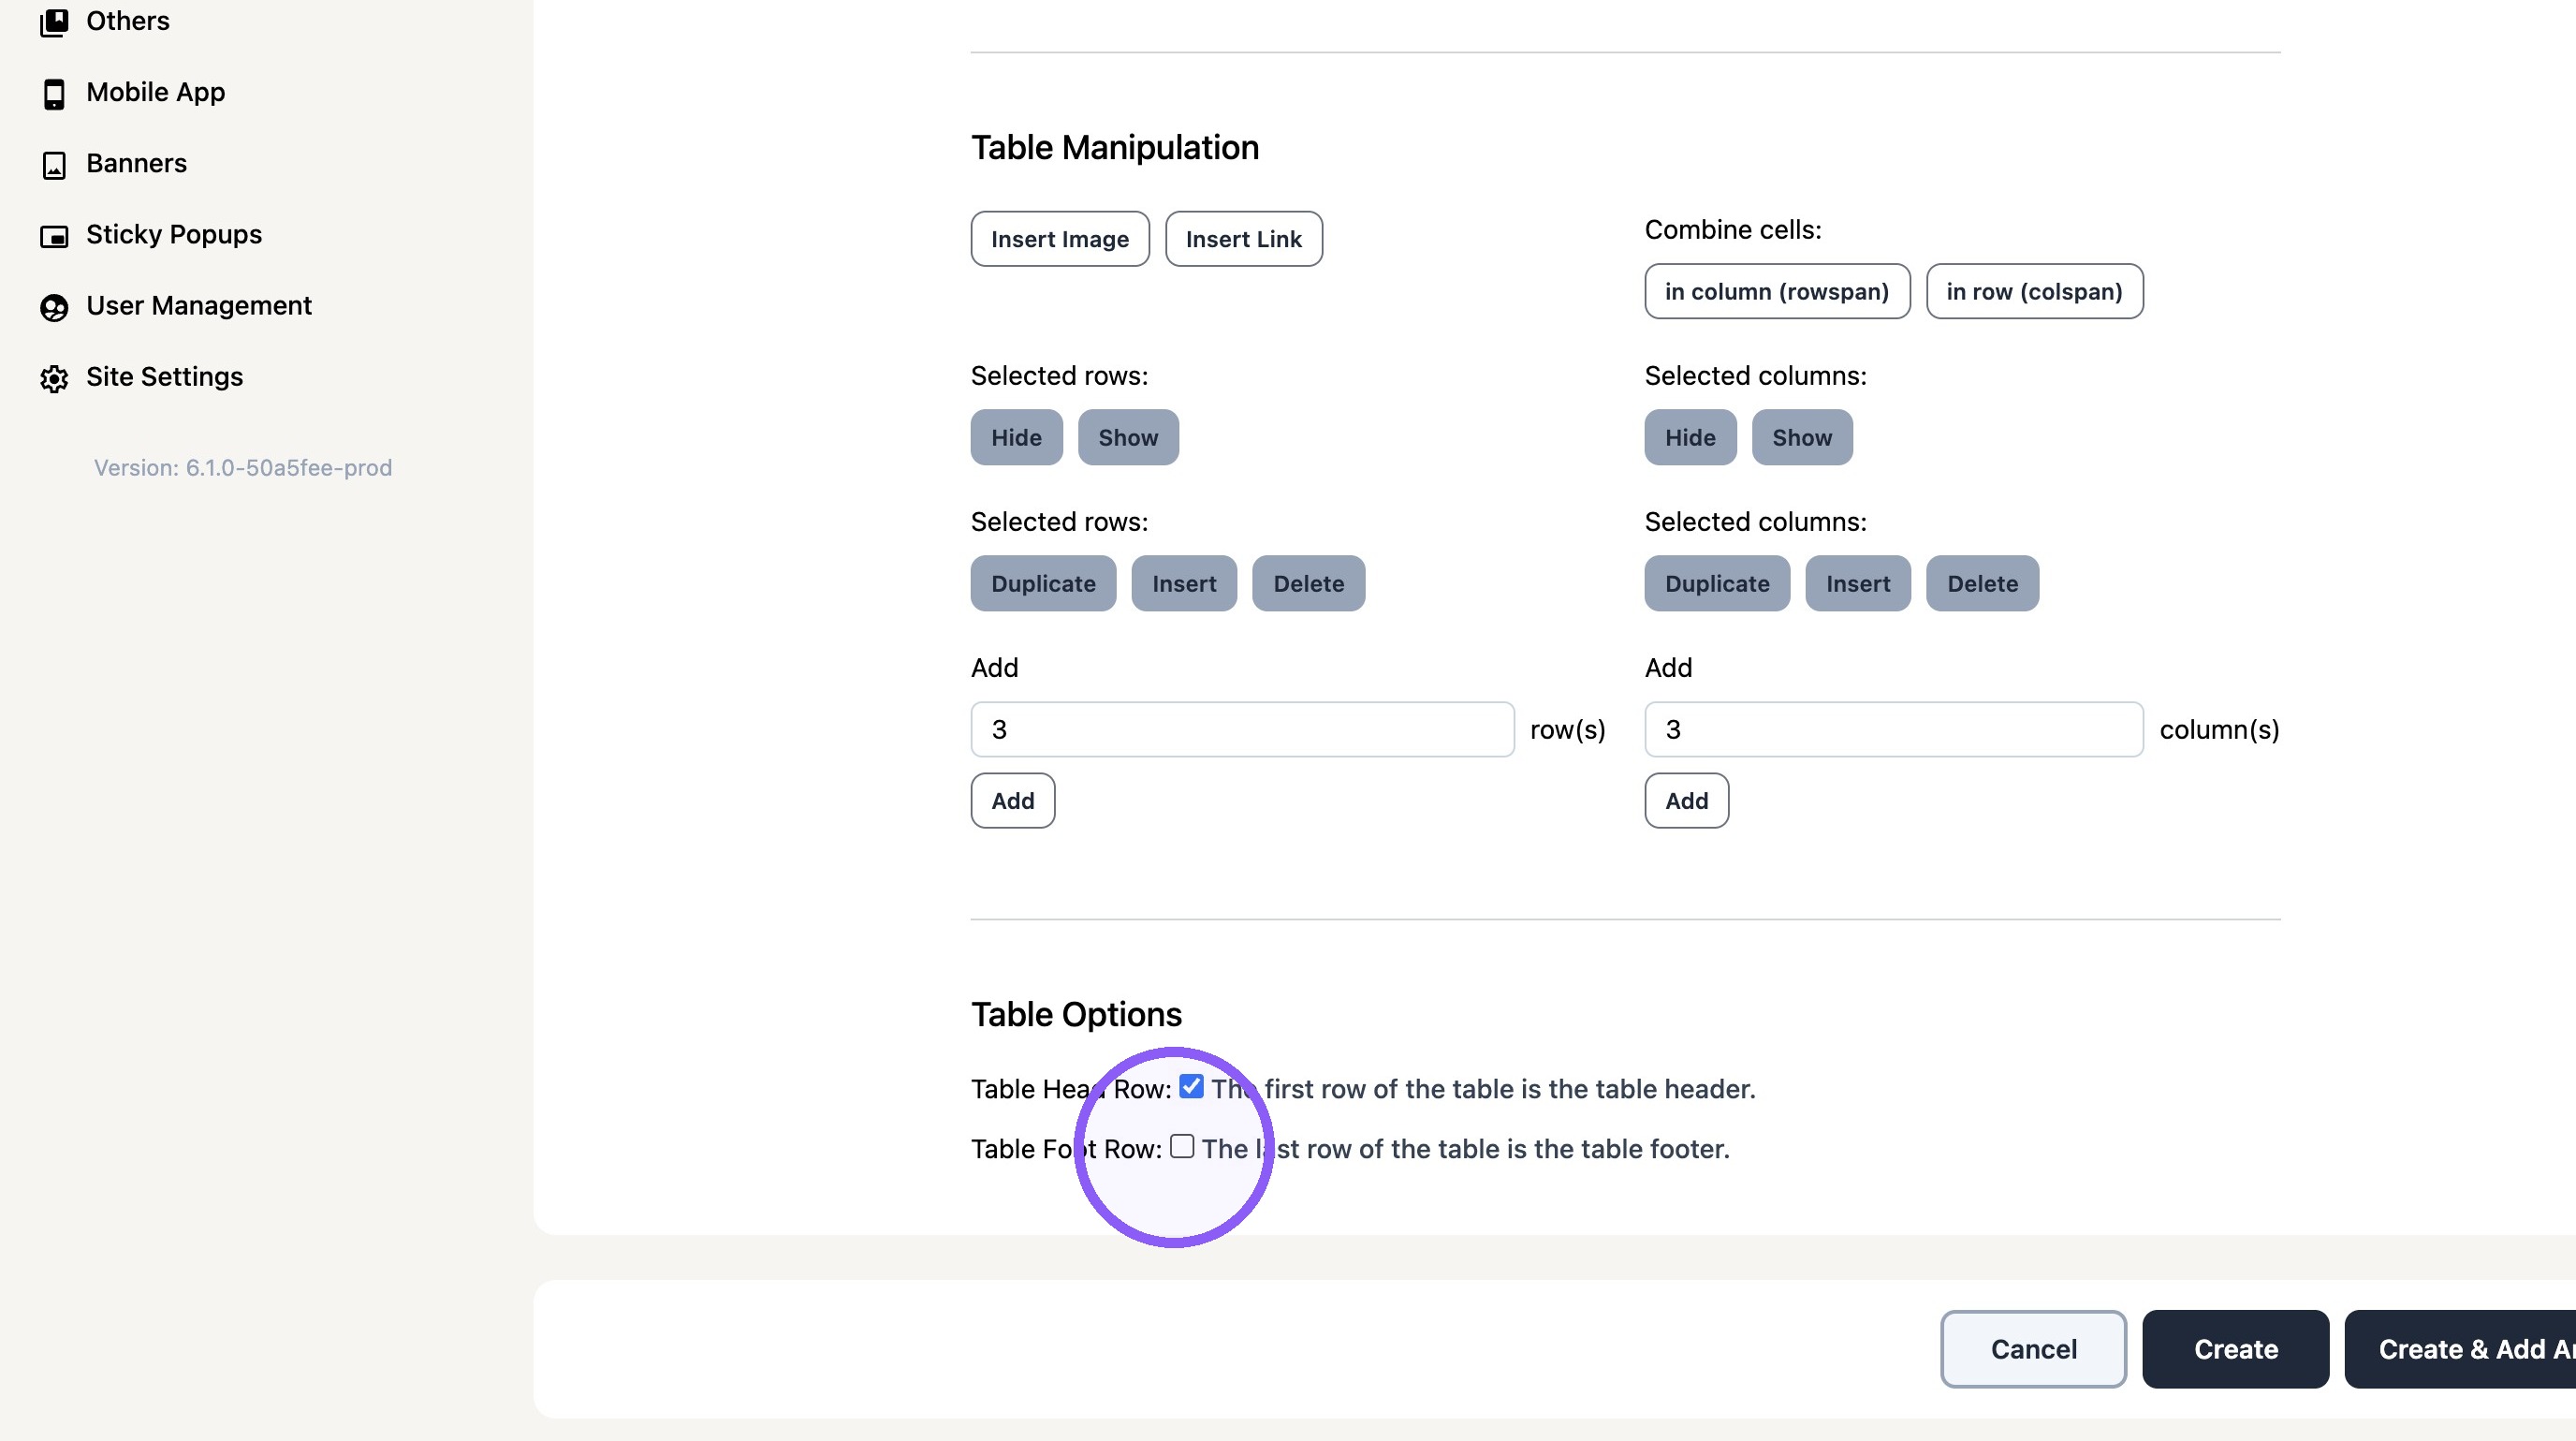
13. Click the "The first row of the table is the table header." to use the first table row a a table header
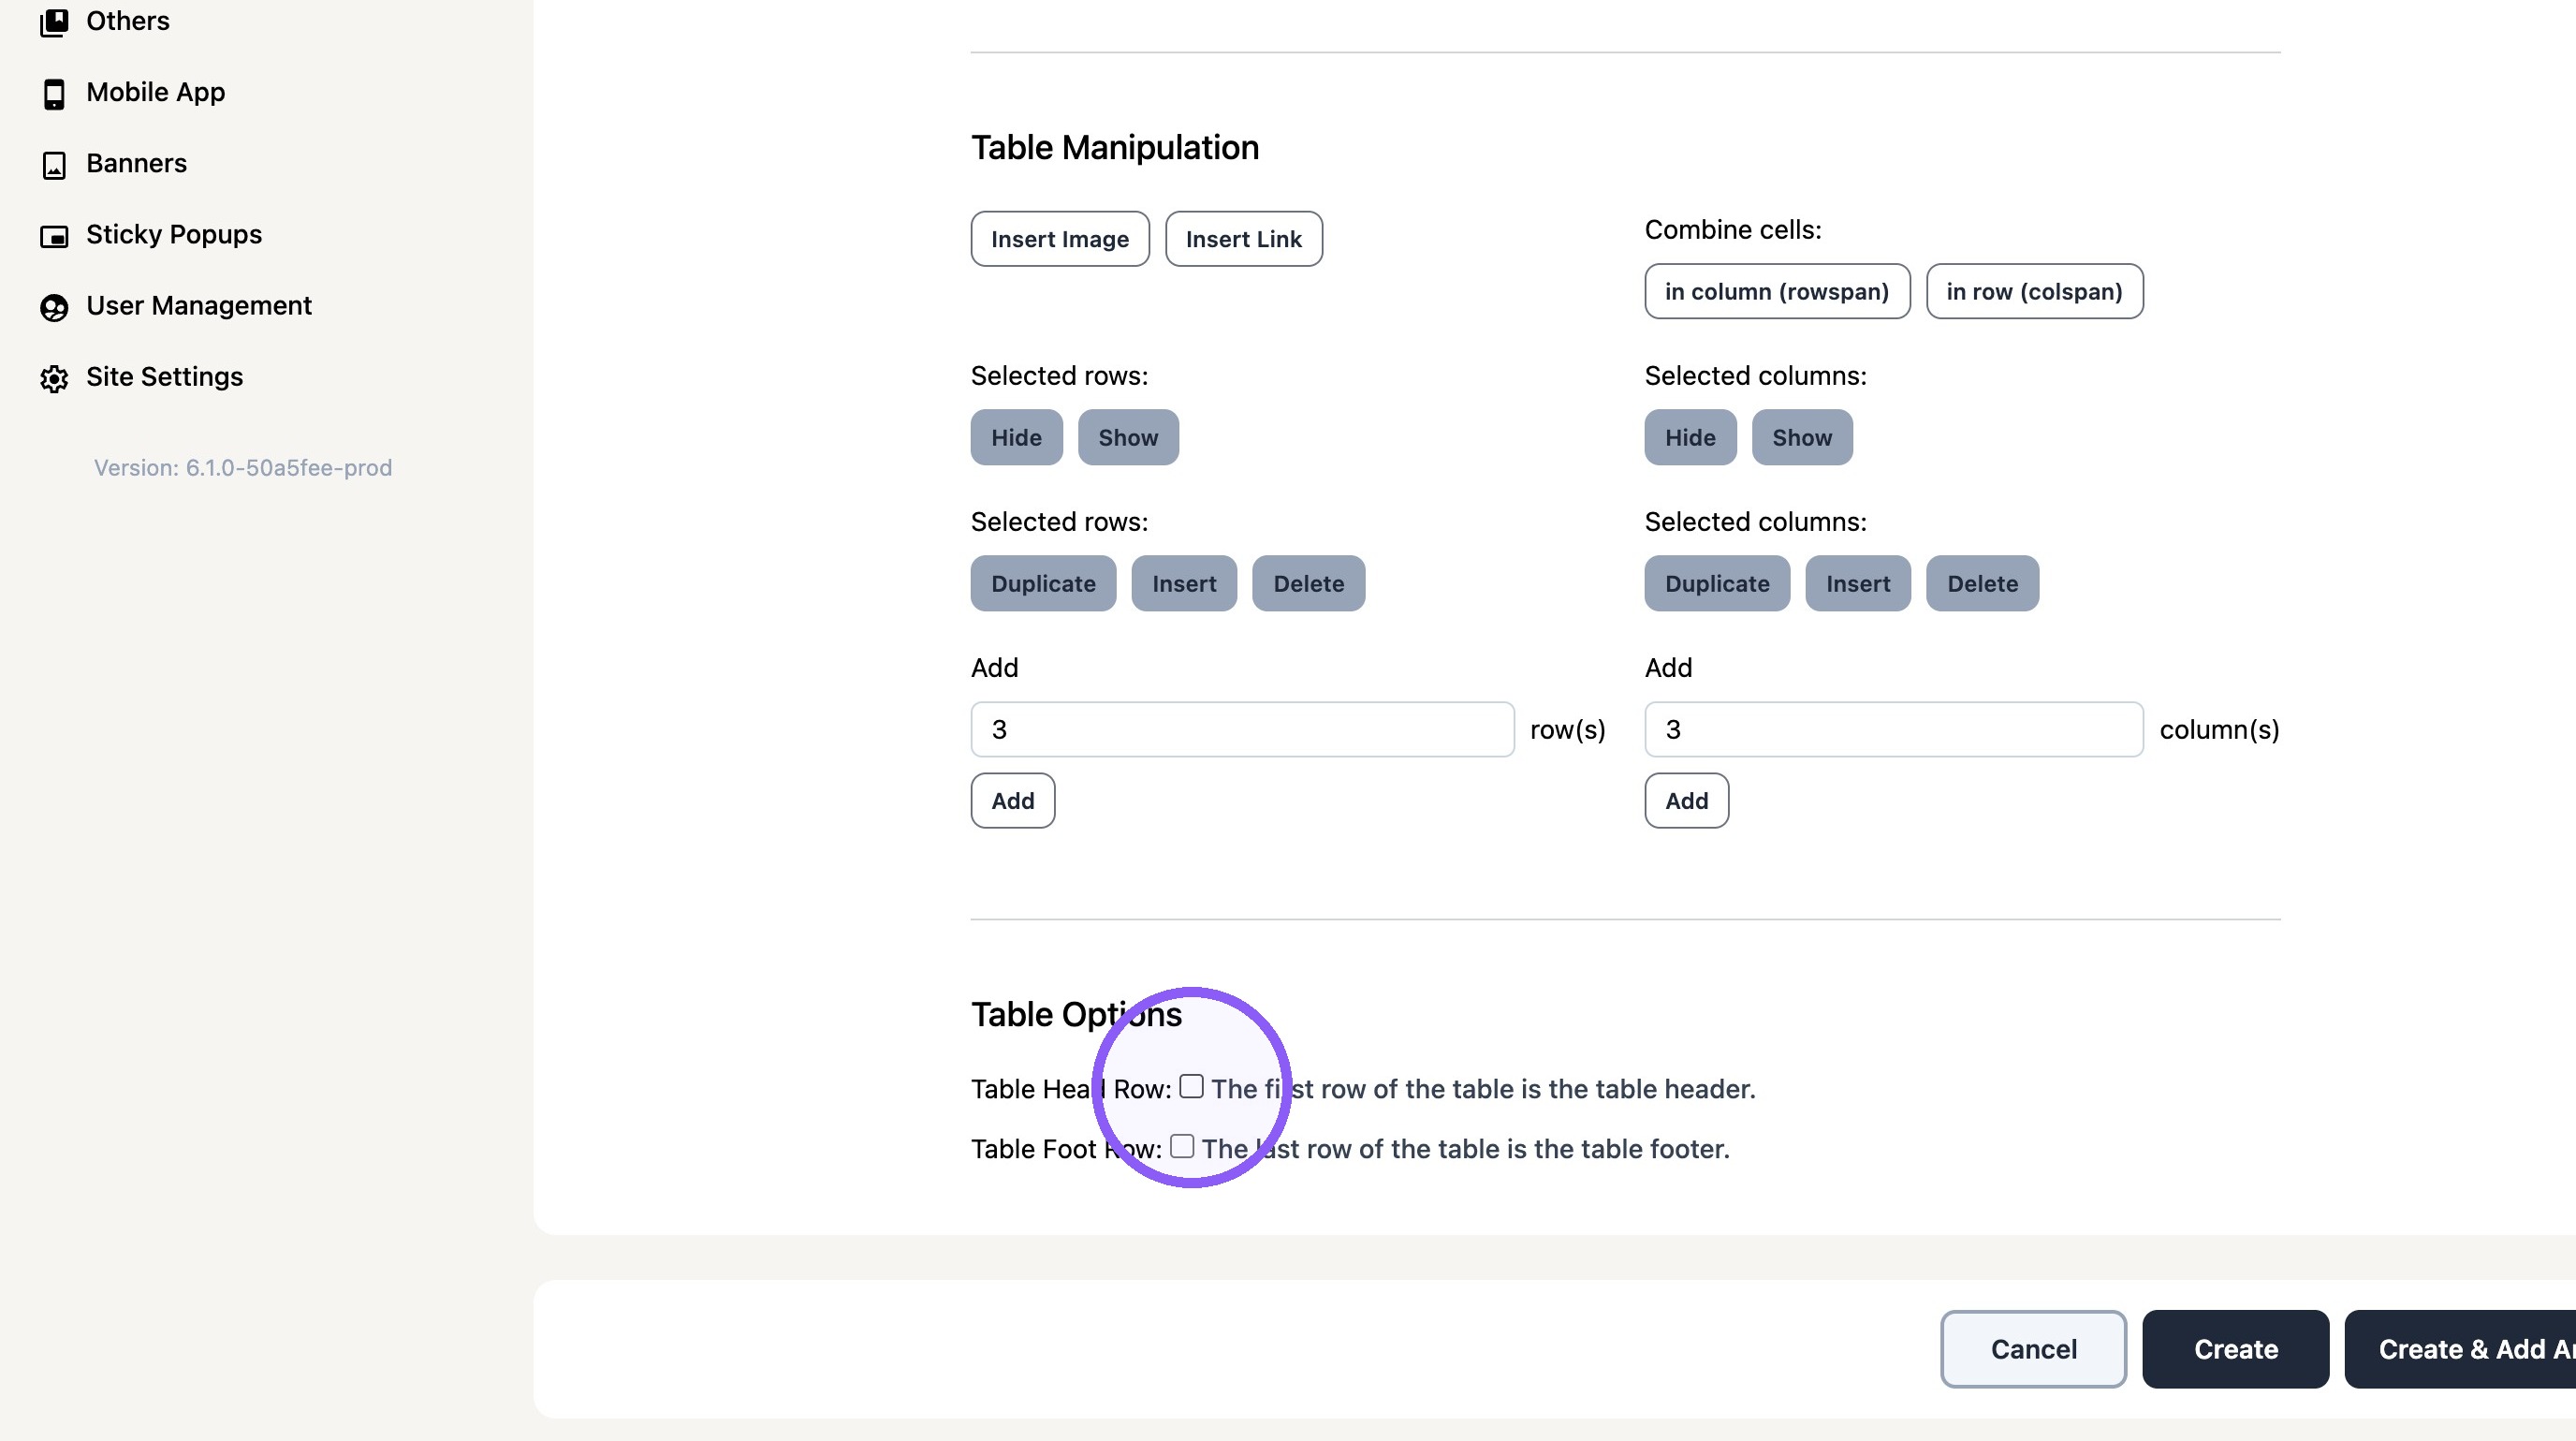
14. Click the "The last row of the table is the table footer." field. to use the last table row a a table footer
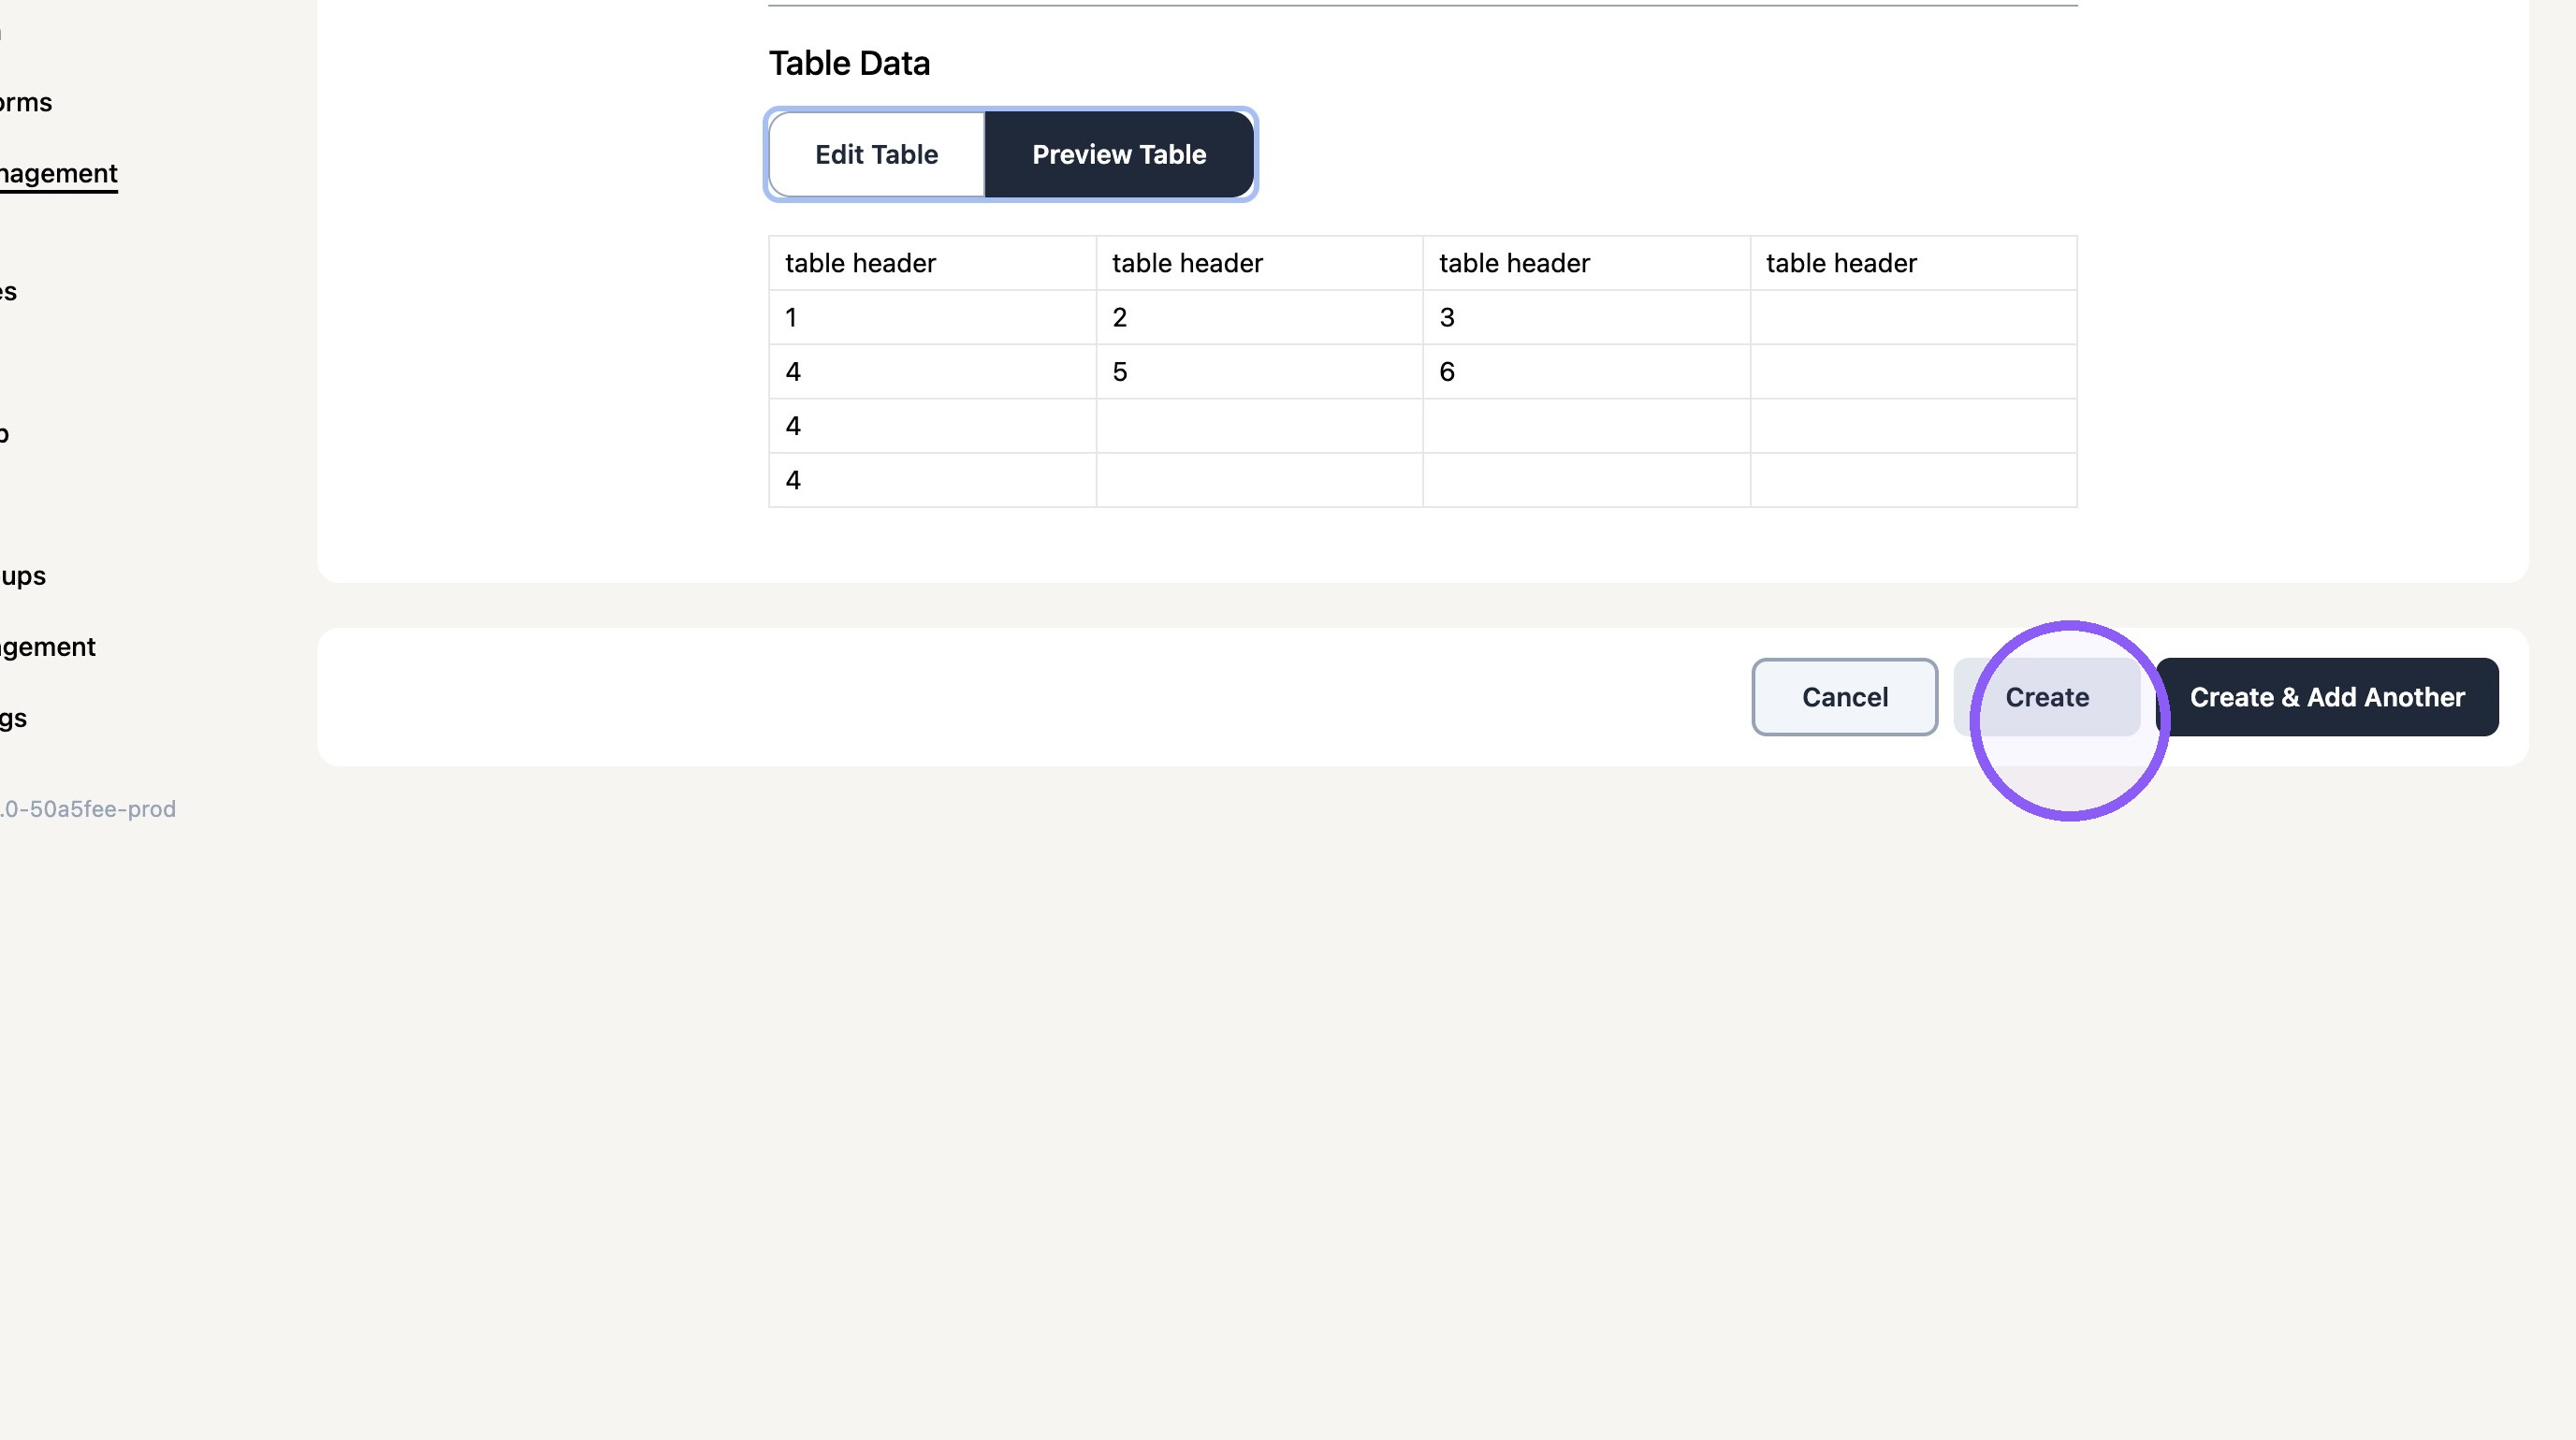
15. Click "Create"
Adding Table to a Page
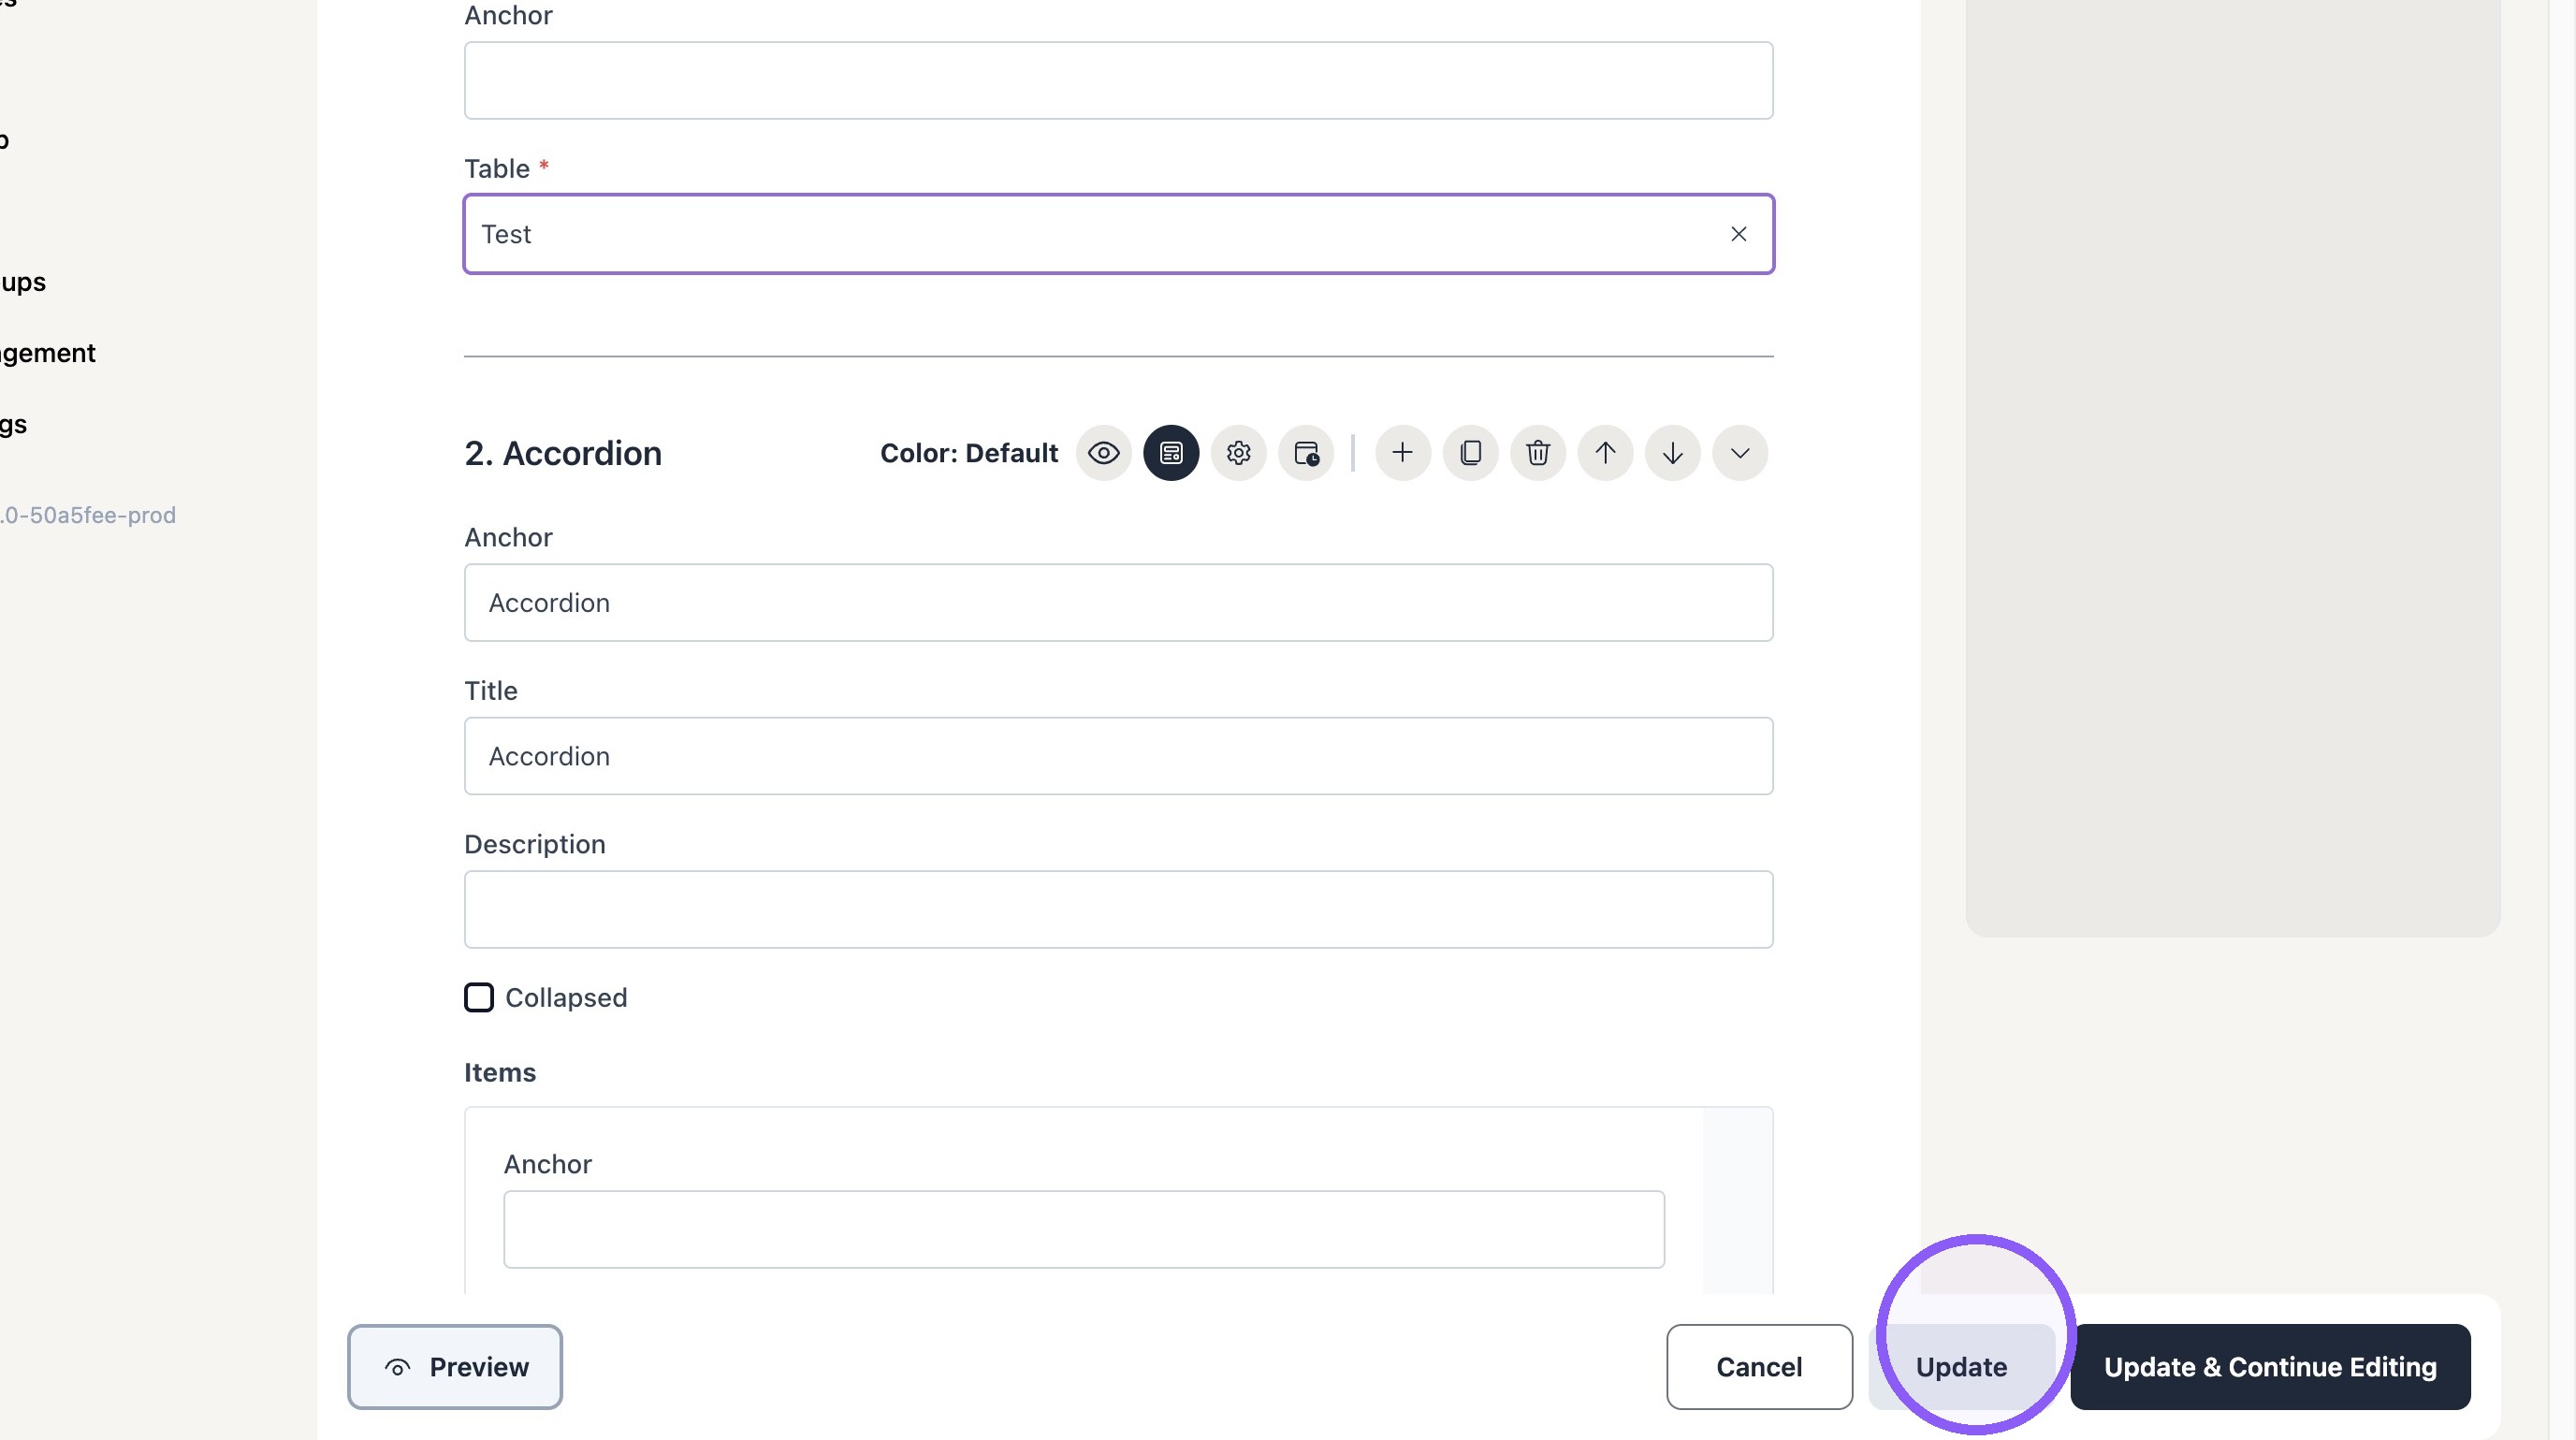
16. Find the desired page and click "Content Blocks"
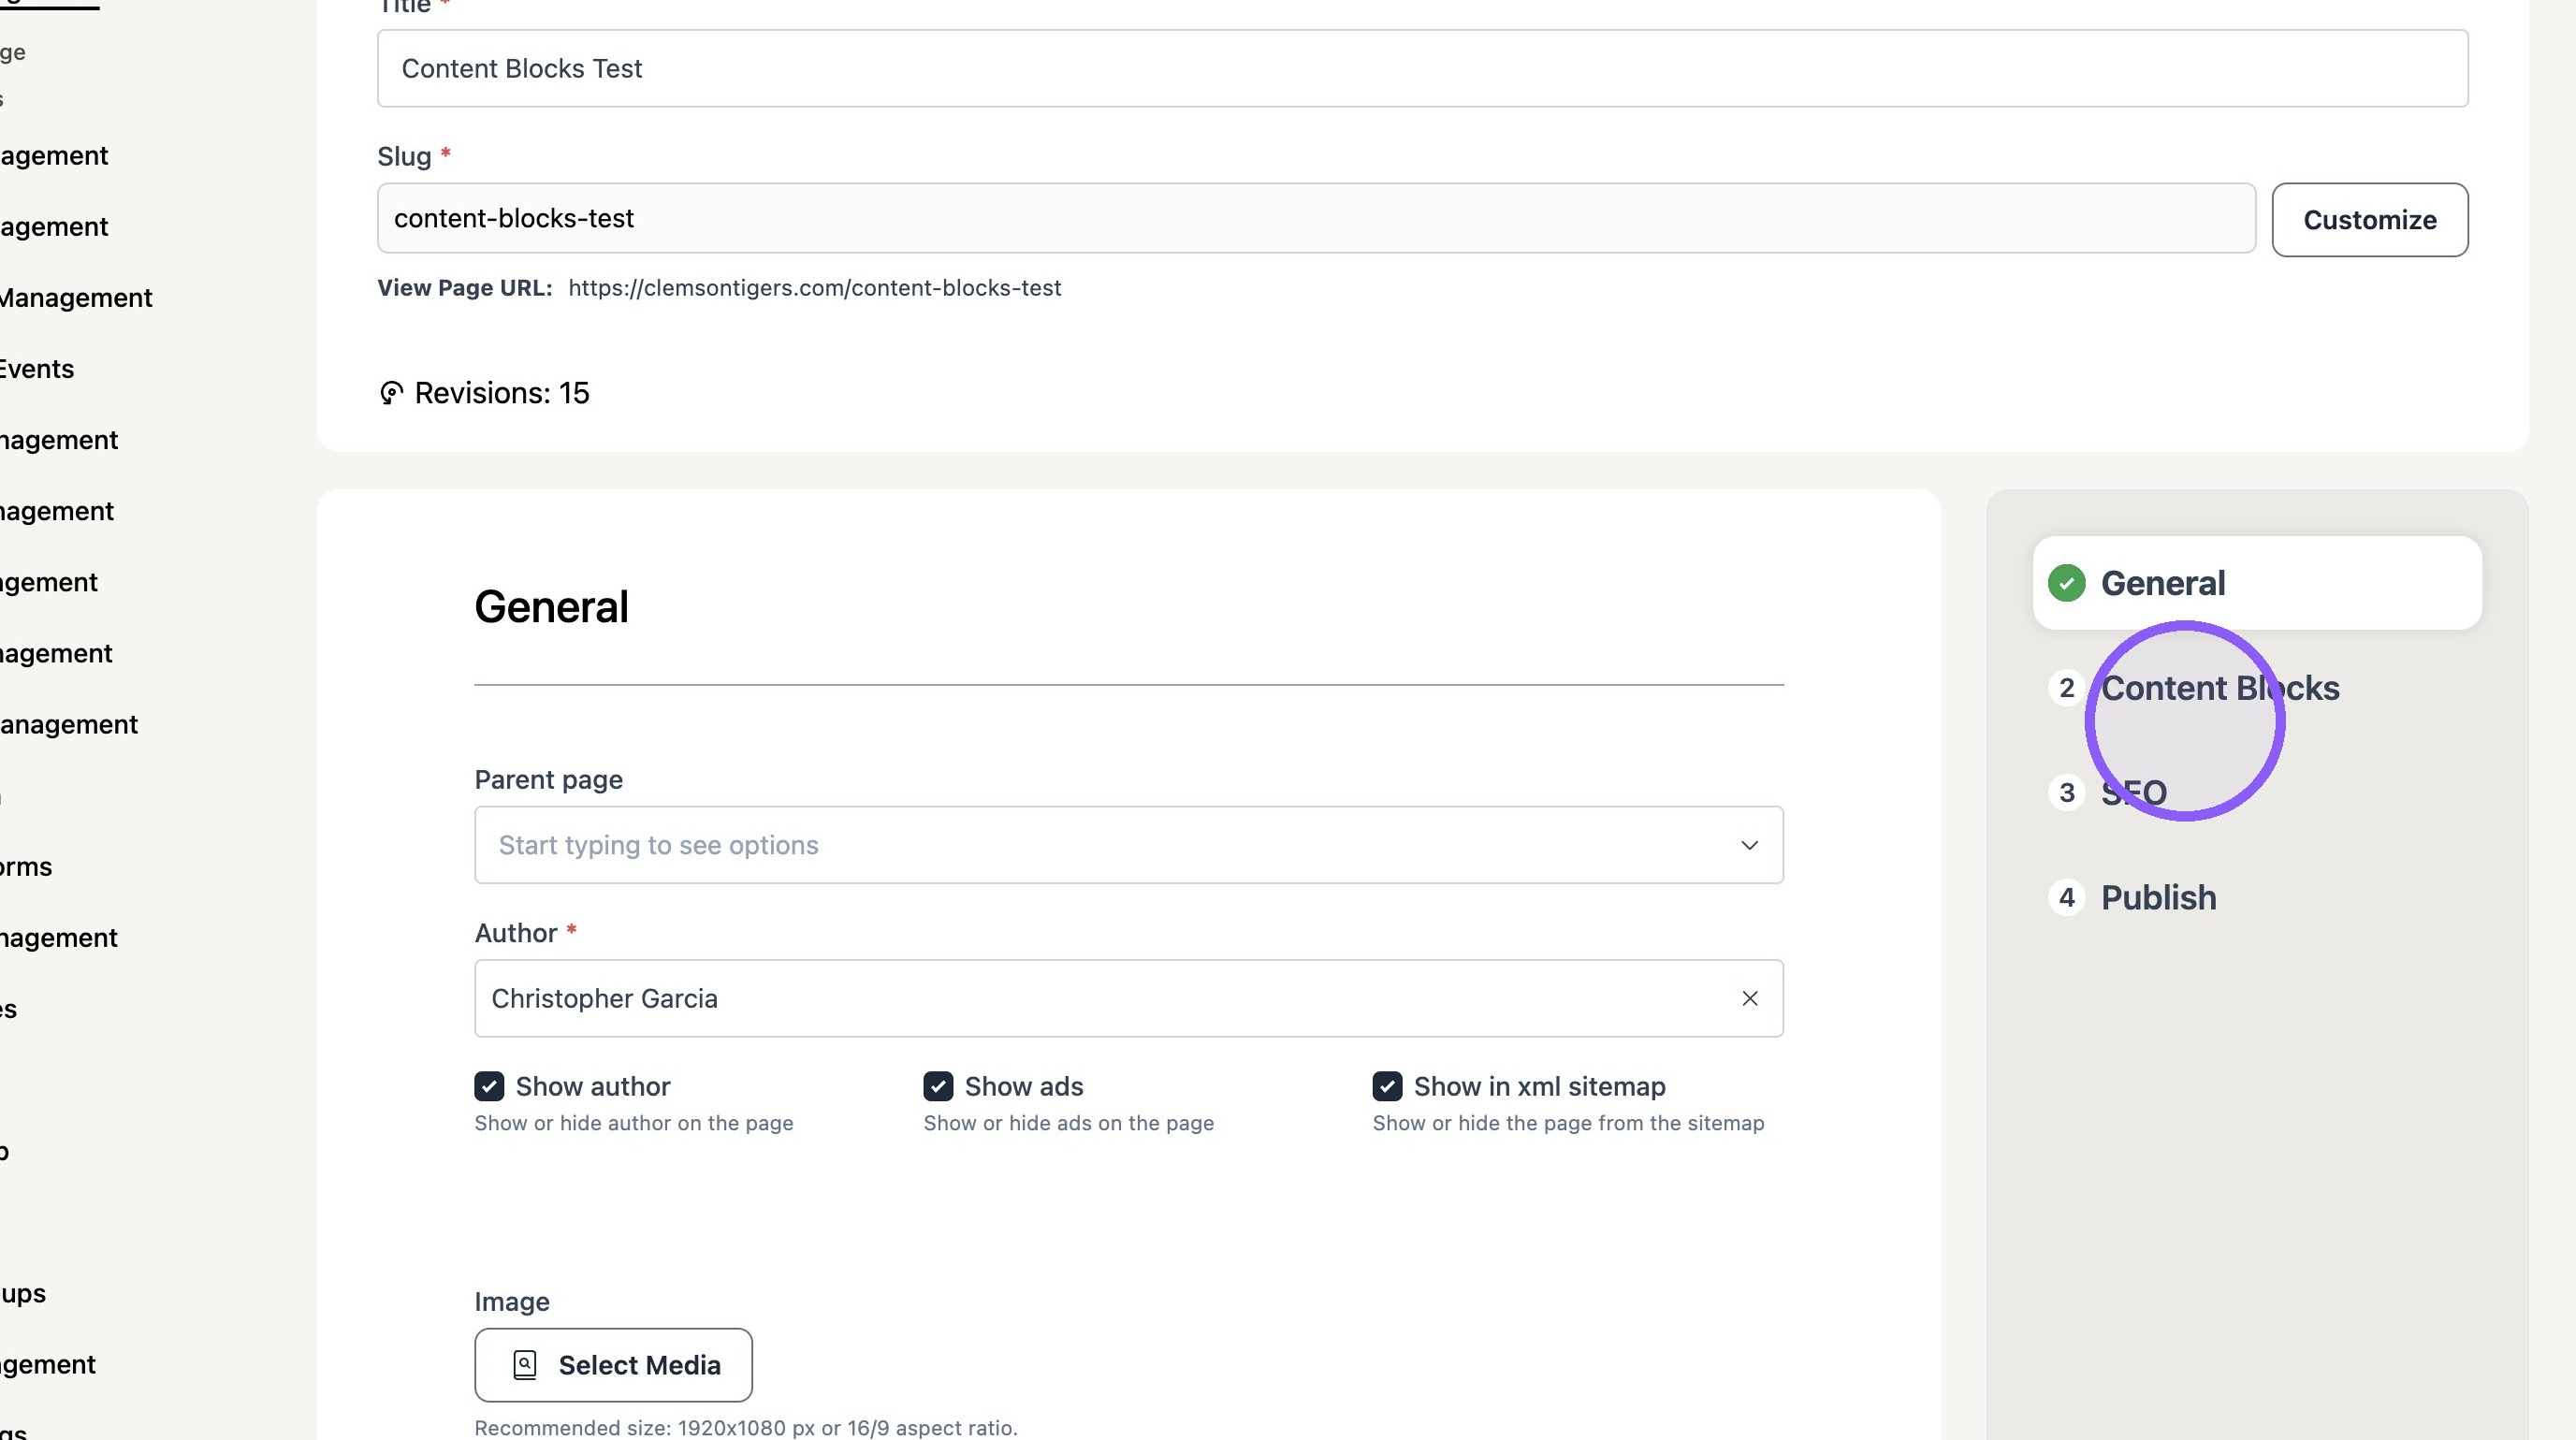
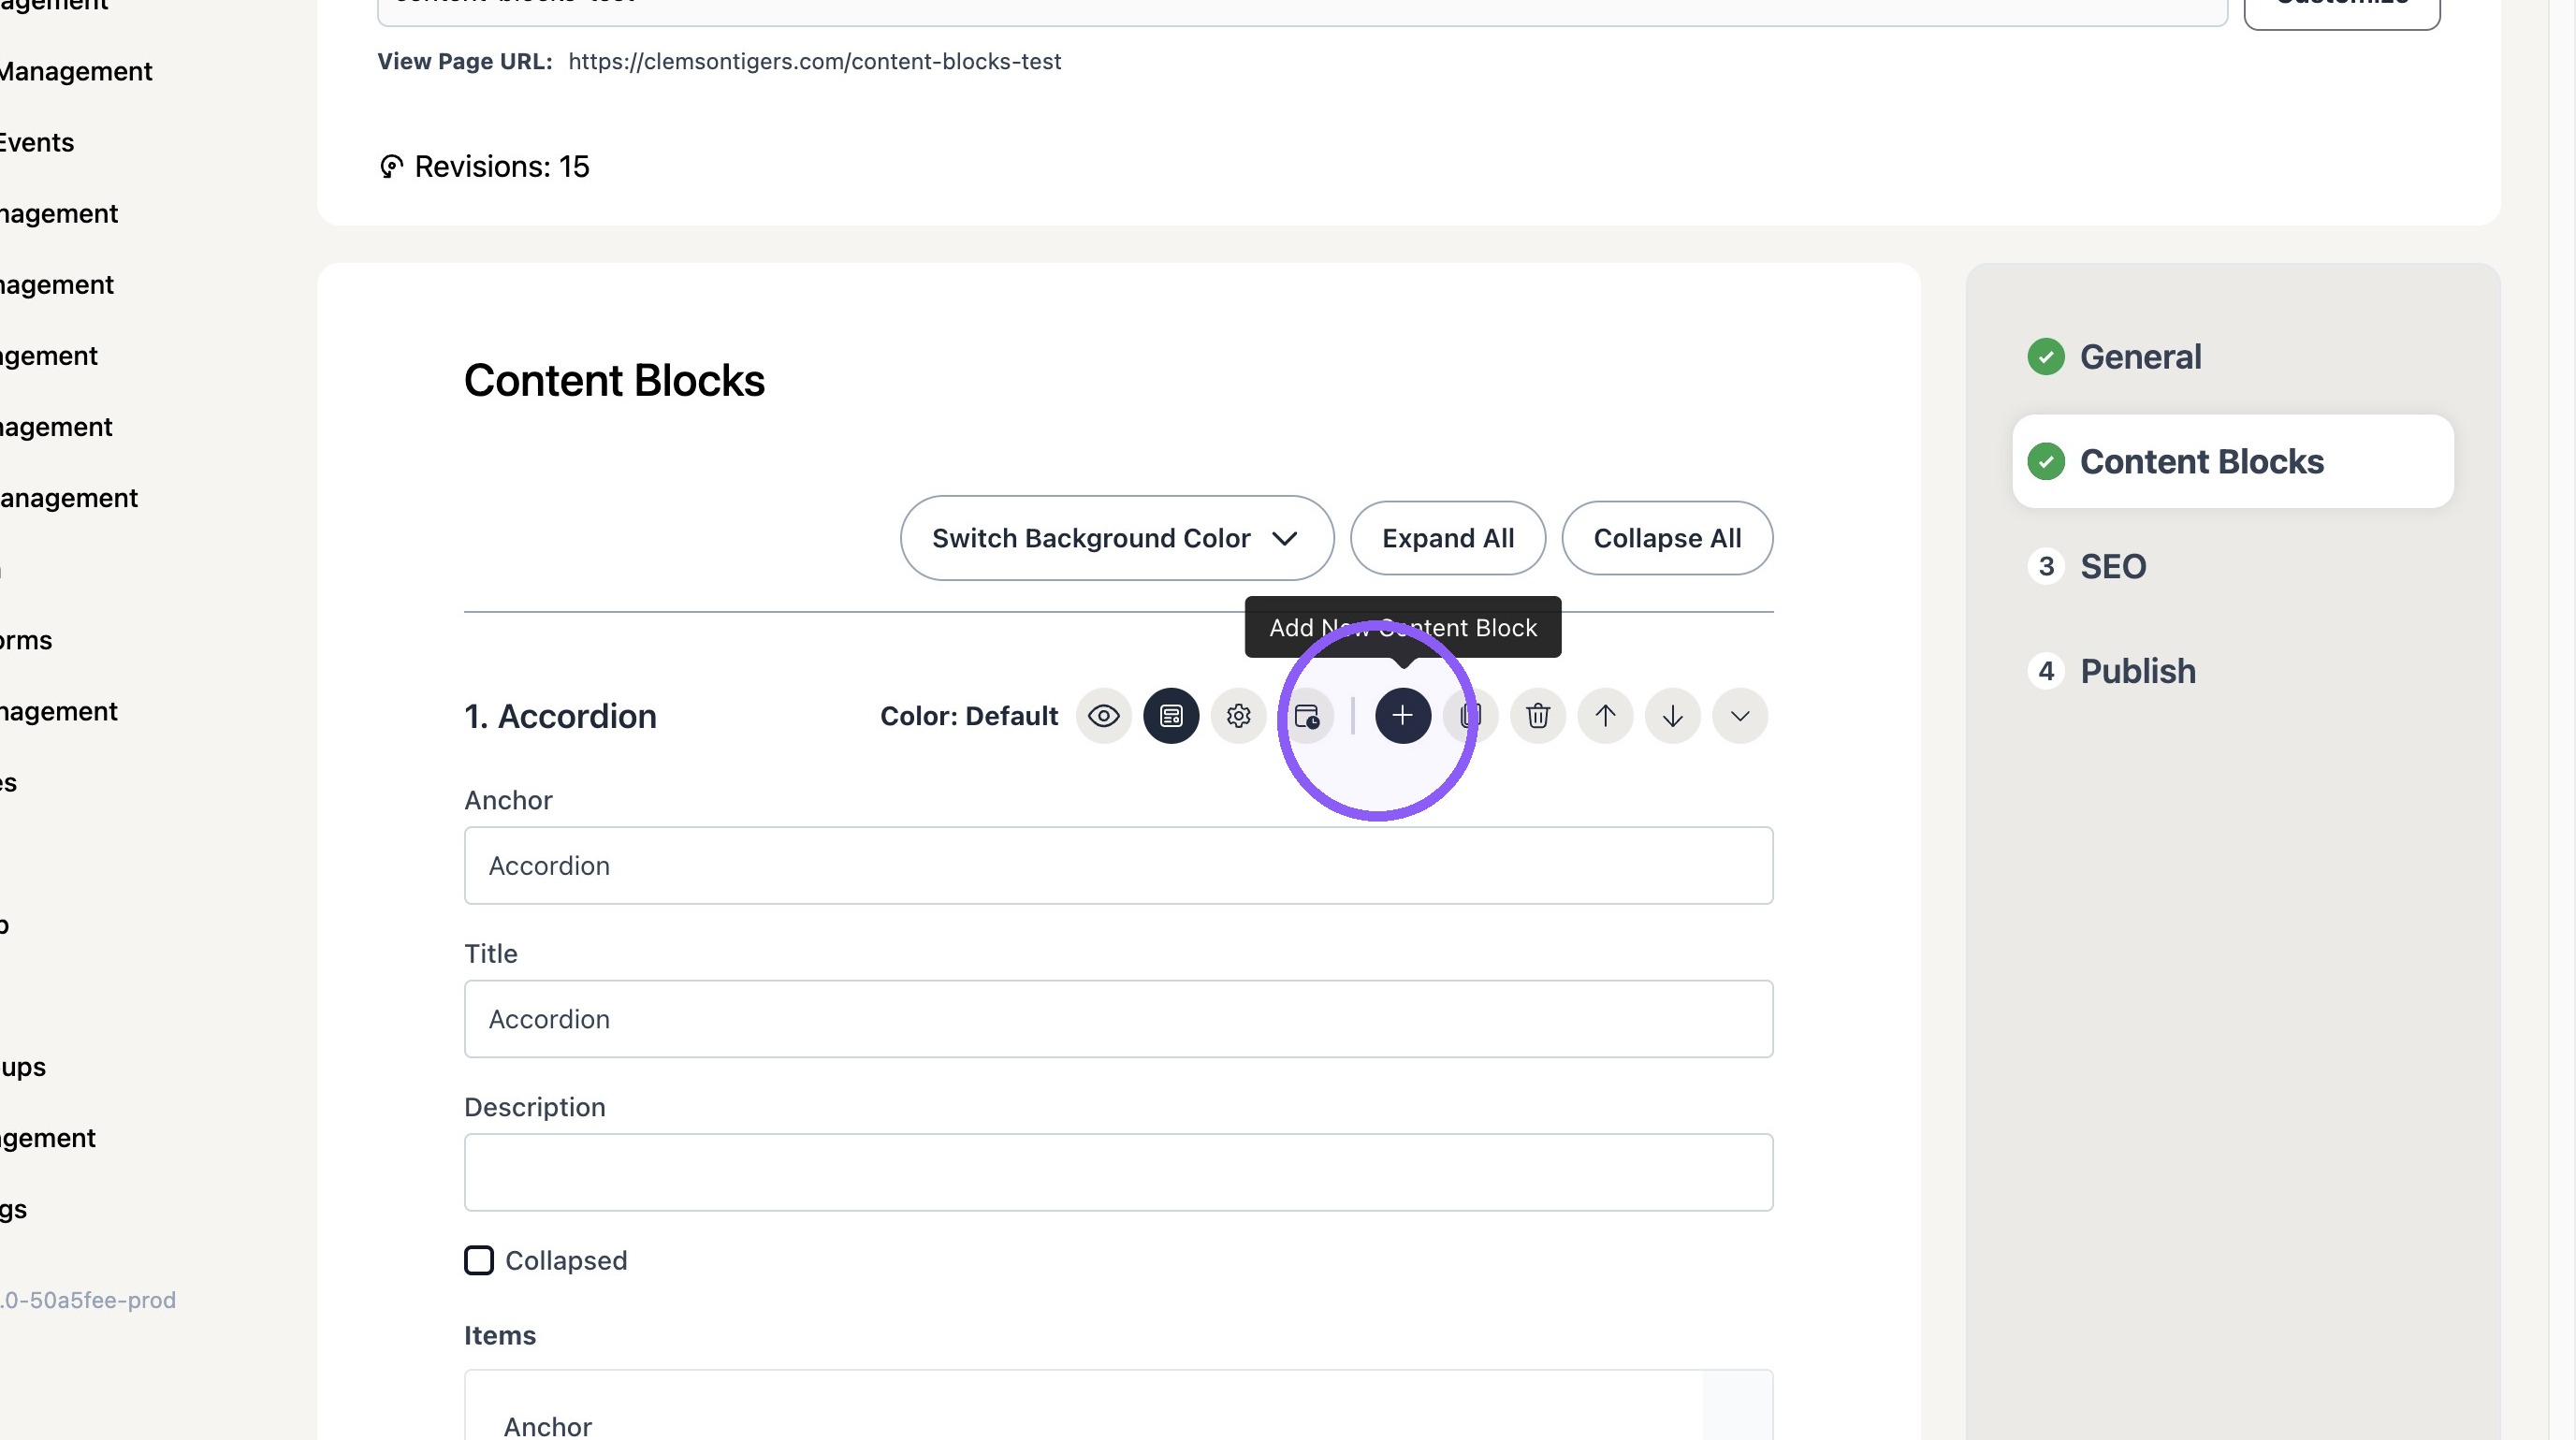
17. Click this button.
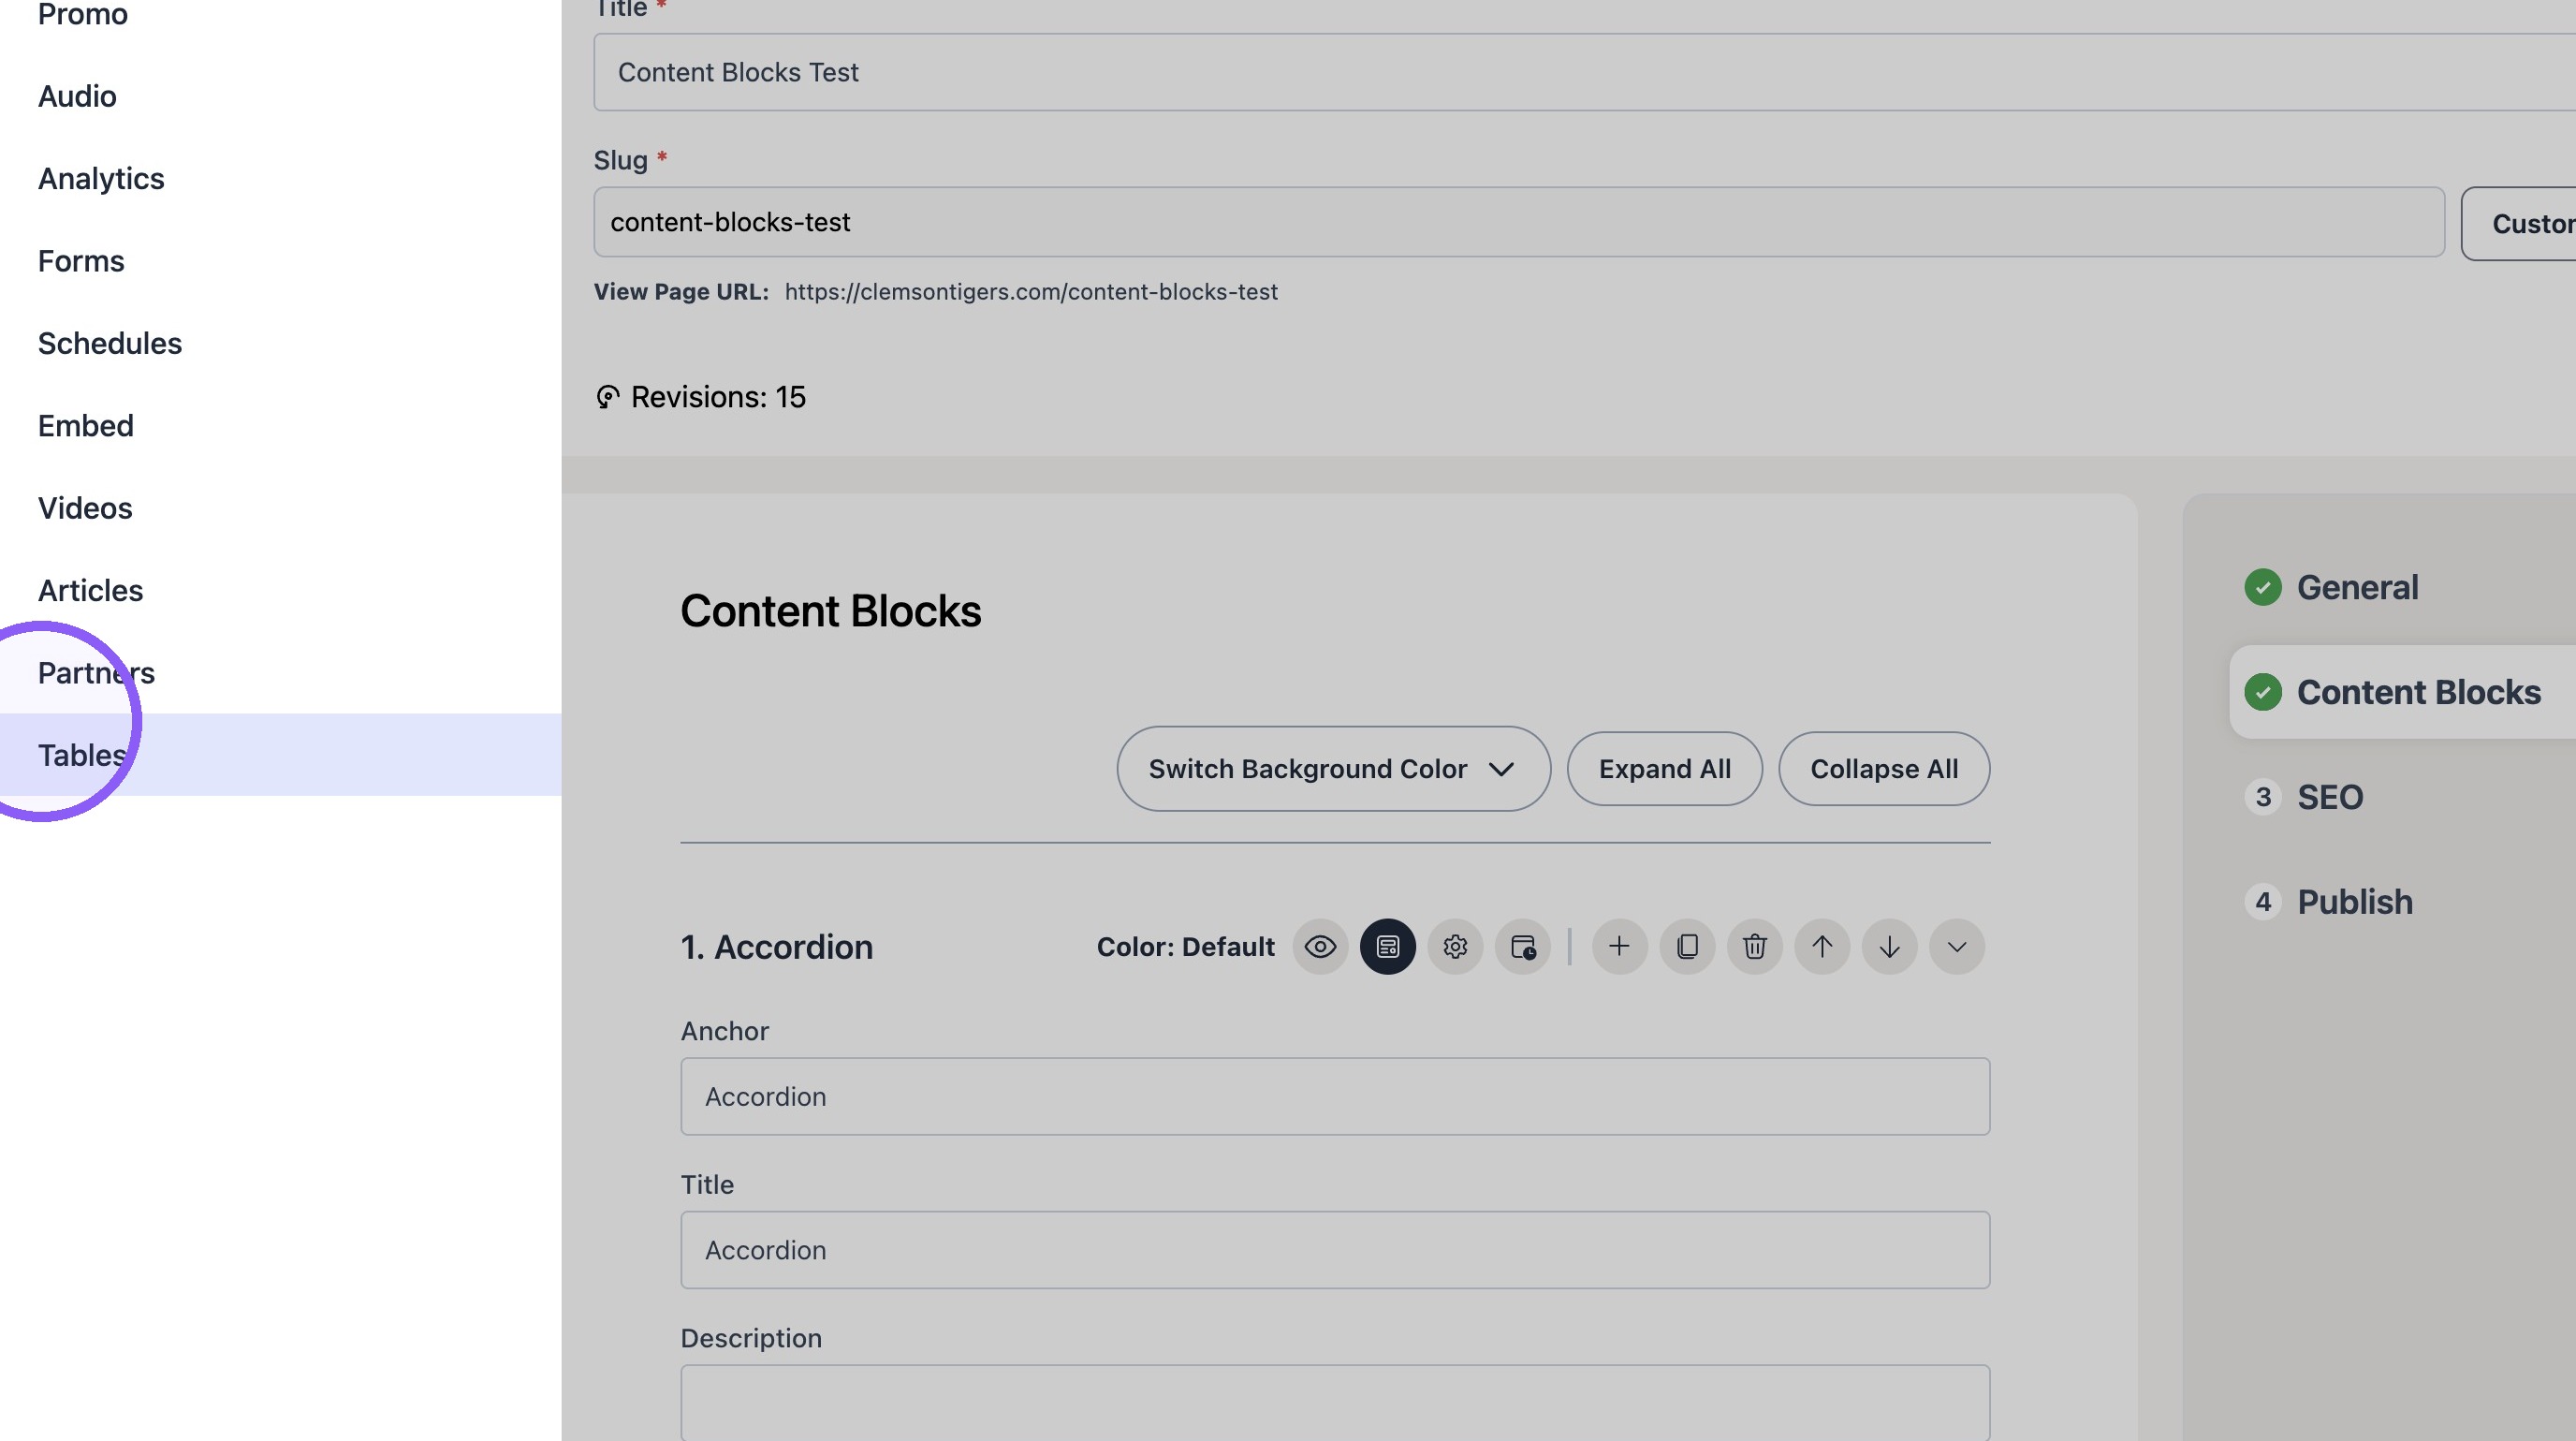
18. Click "Tables"
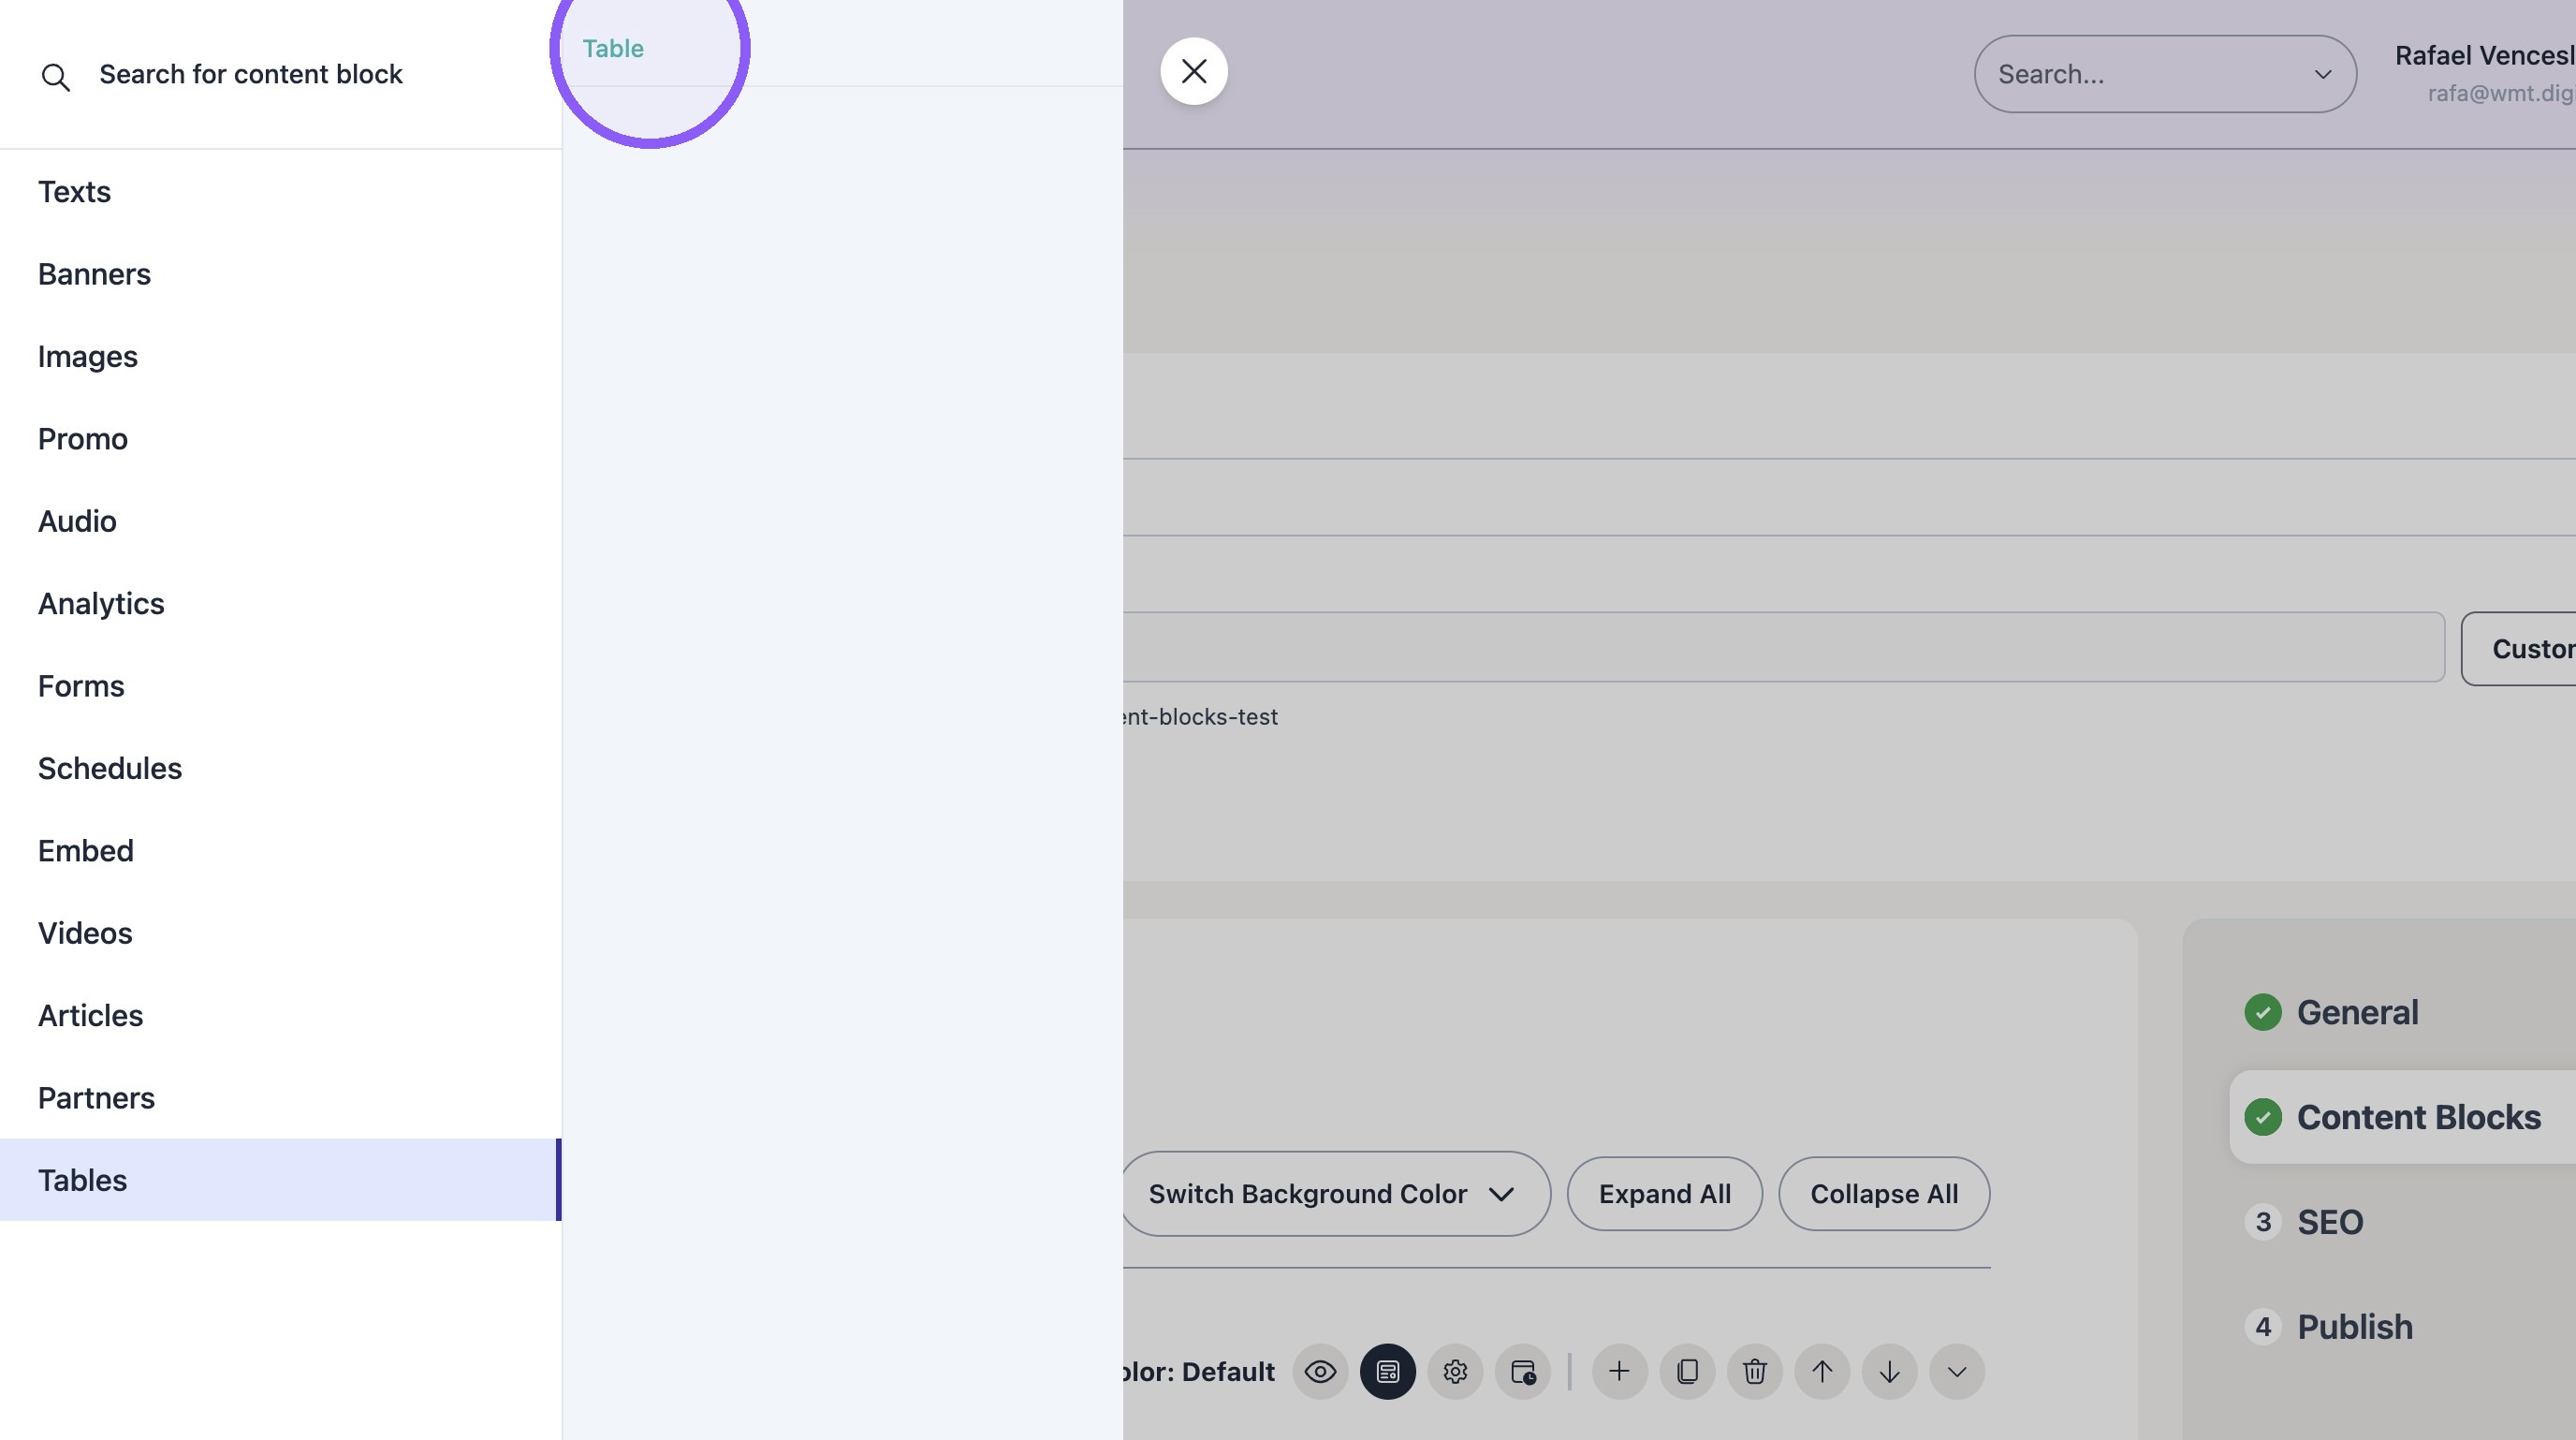
19. Click "Table"
20. Click the "Table*" field.
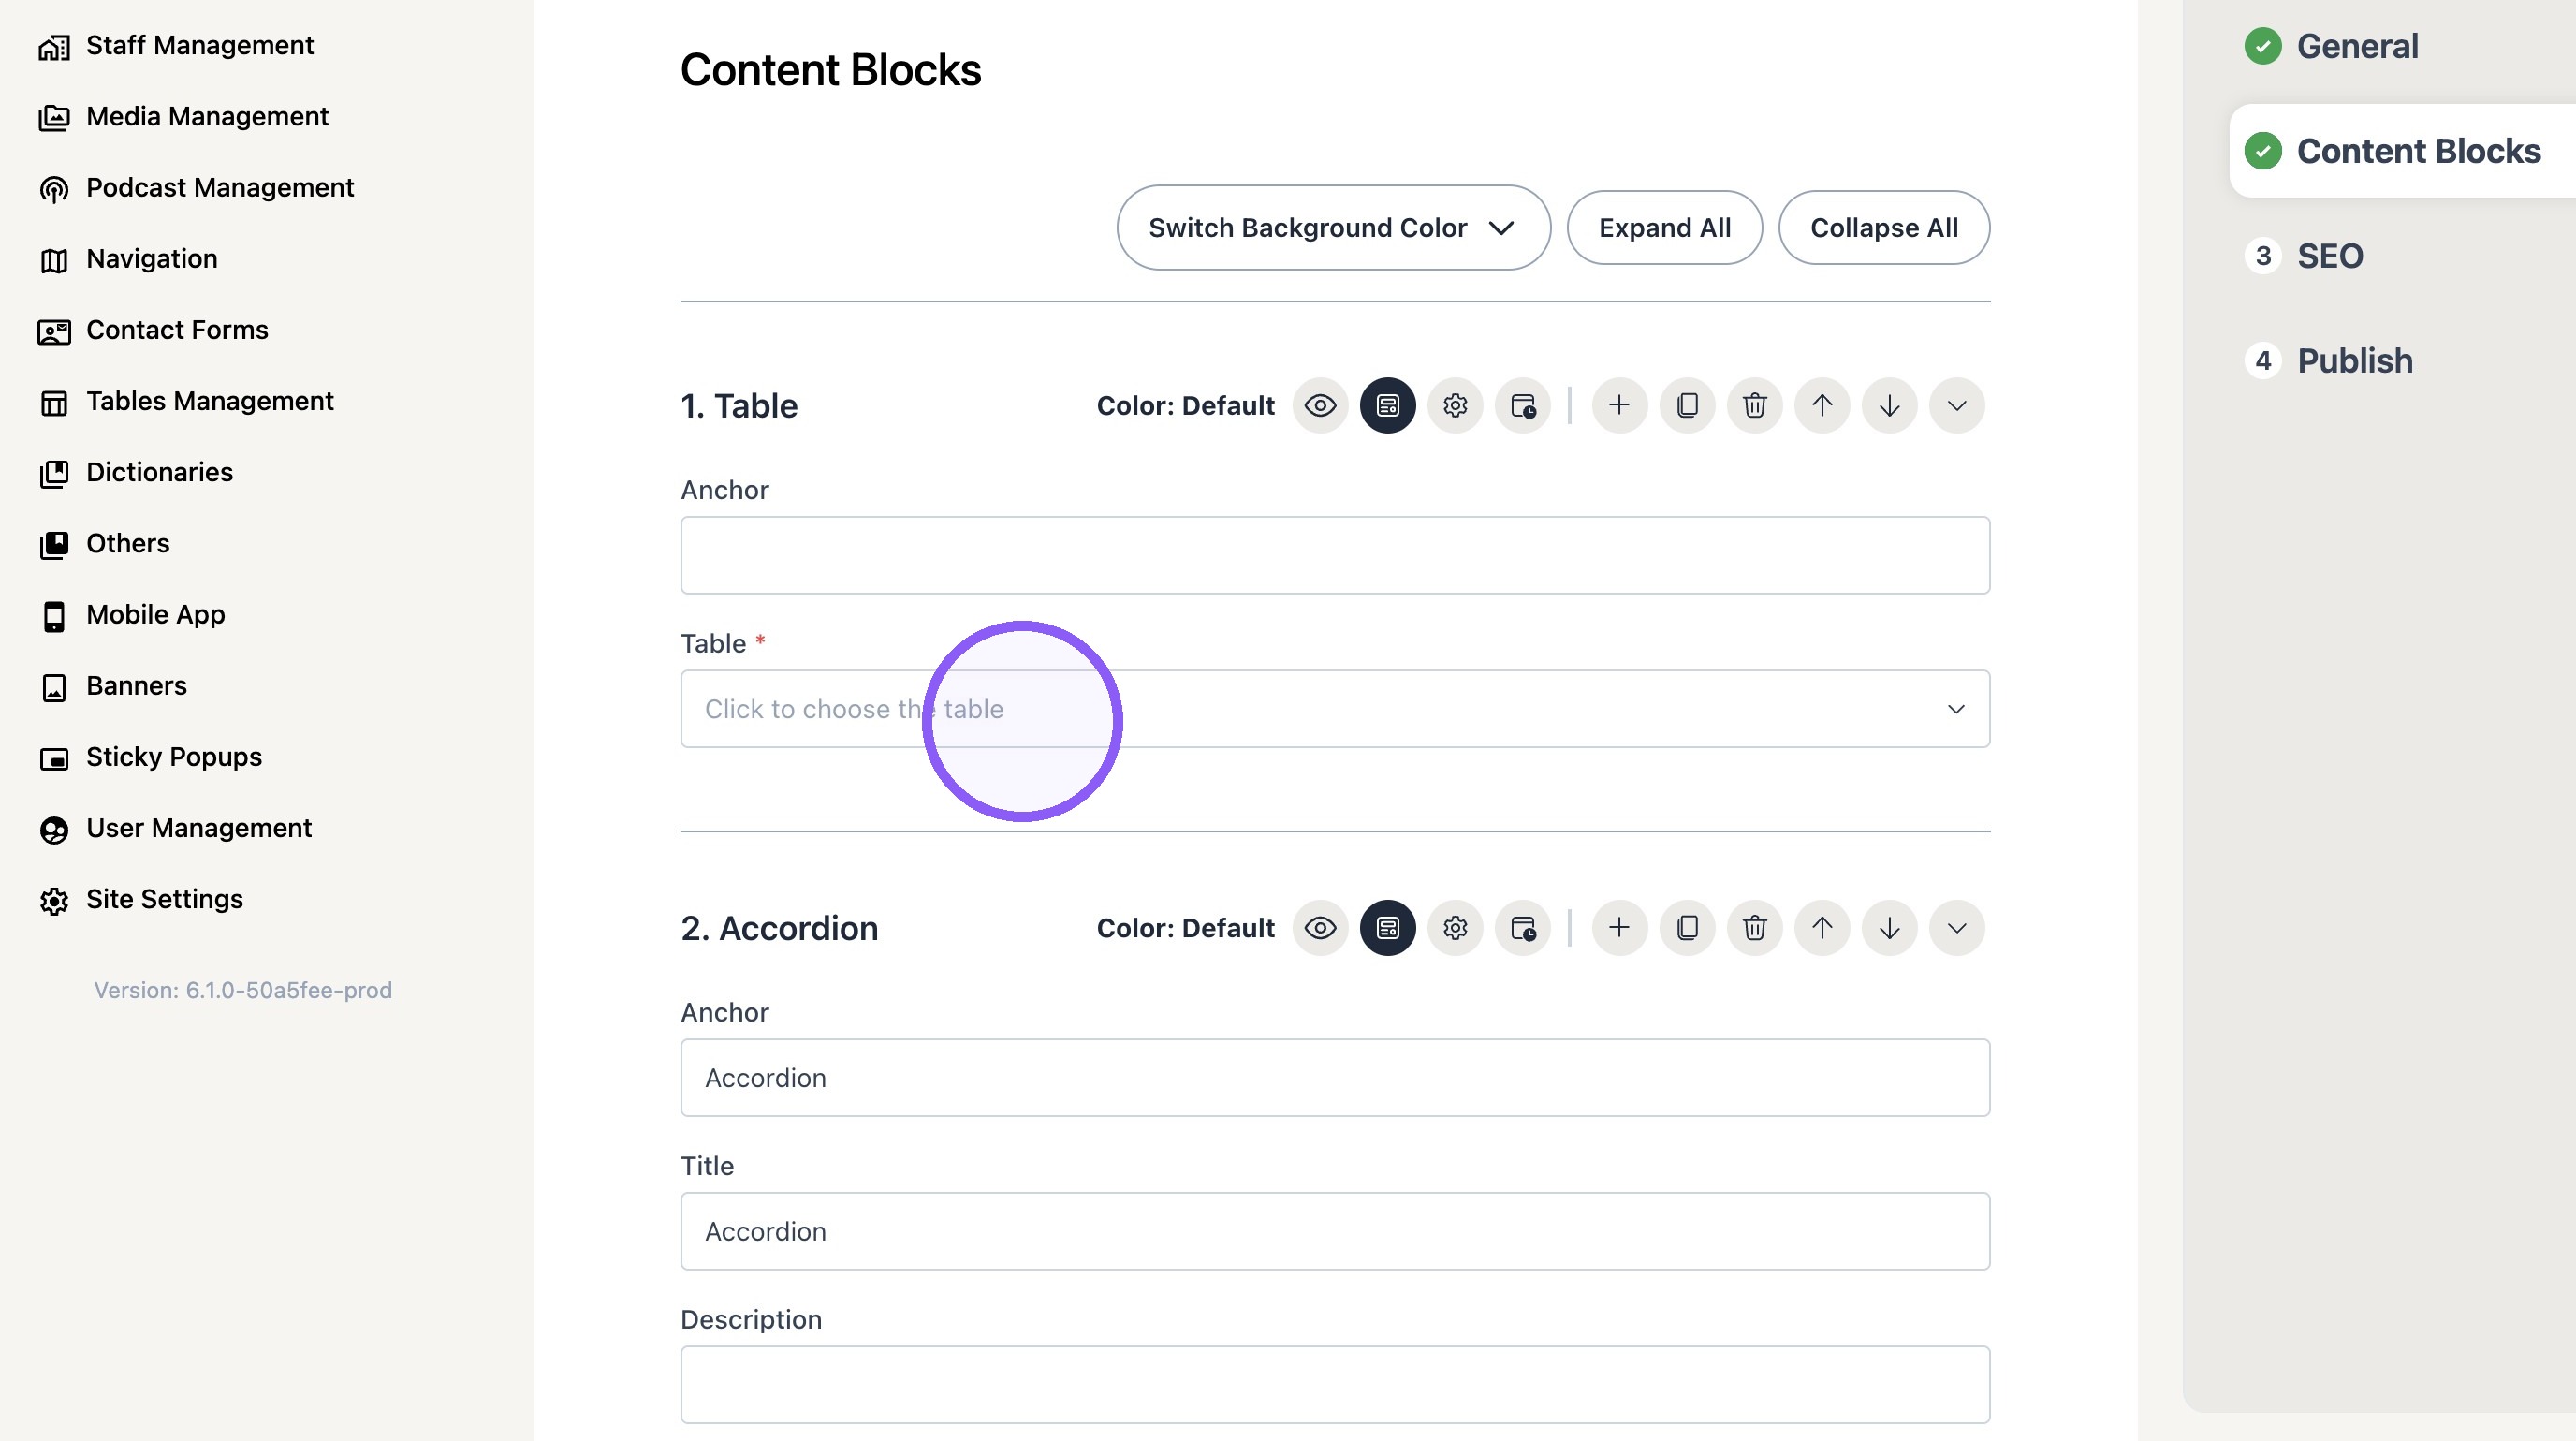
21. Find the desired table on the dropdown menu
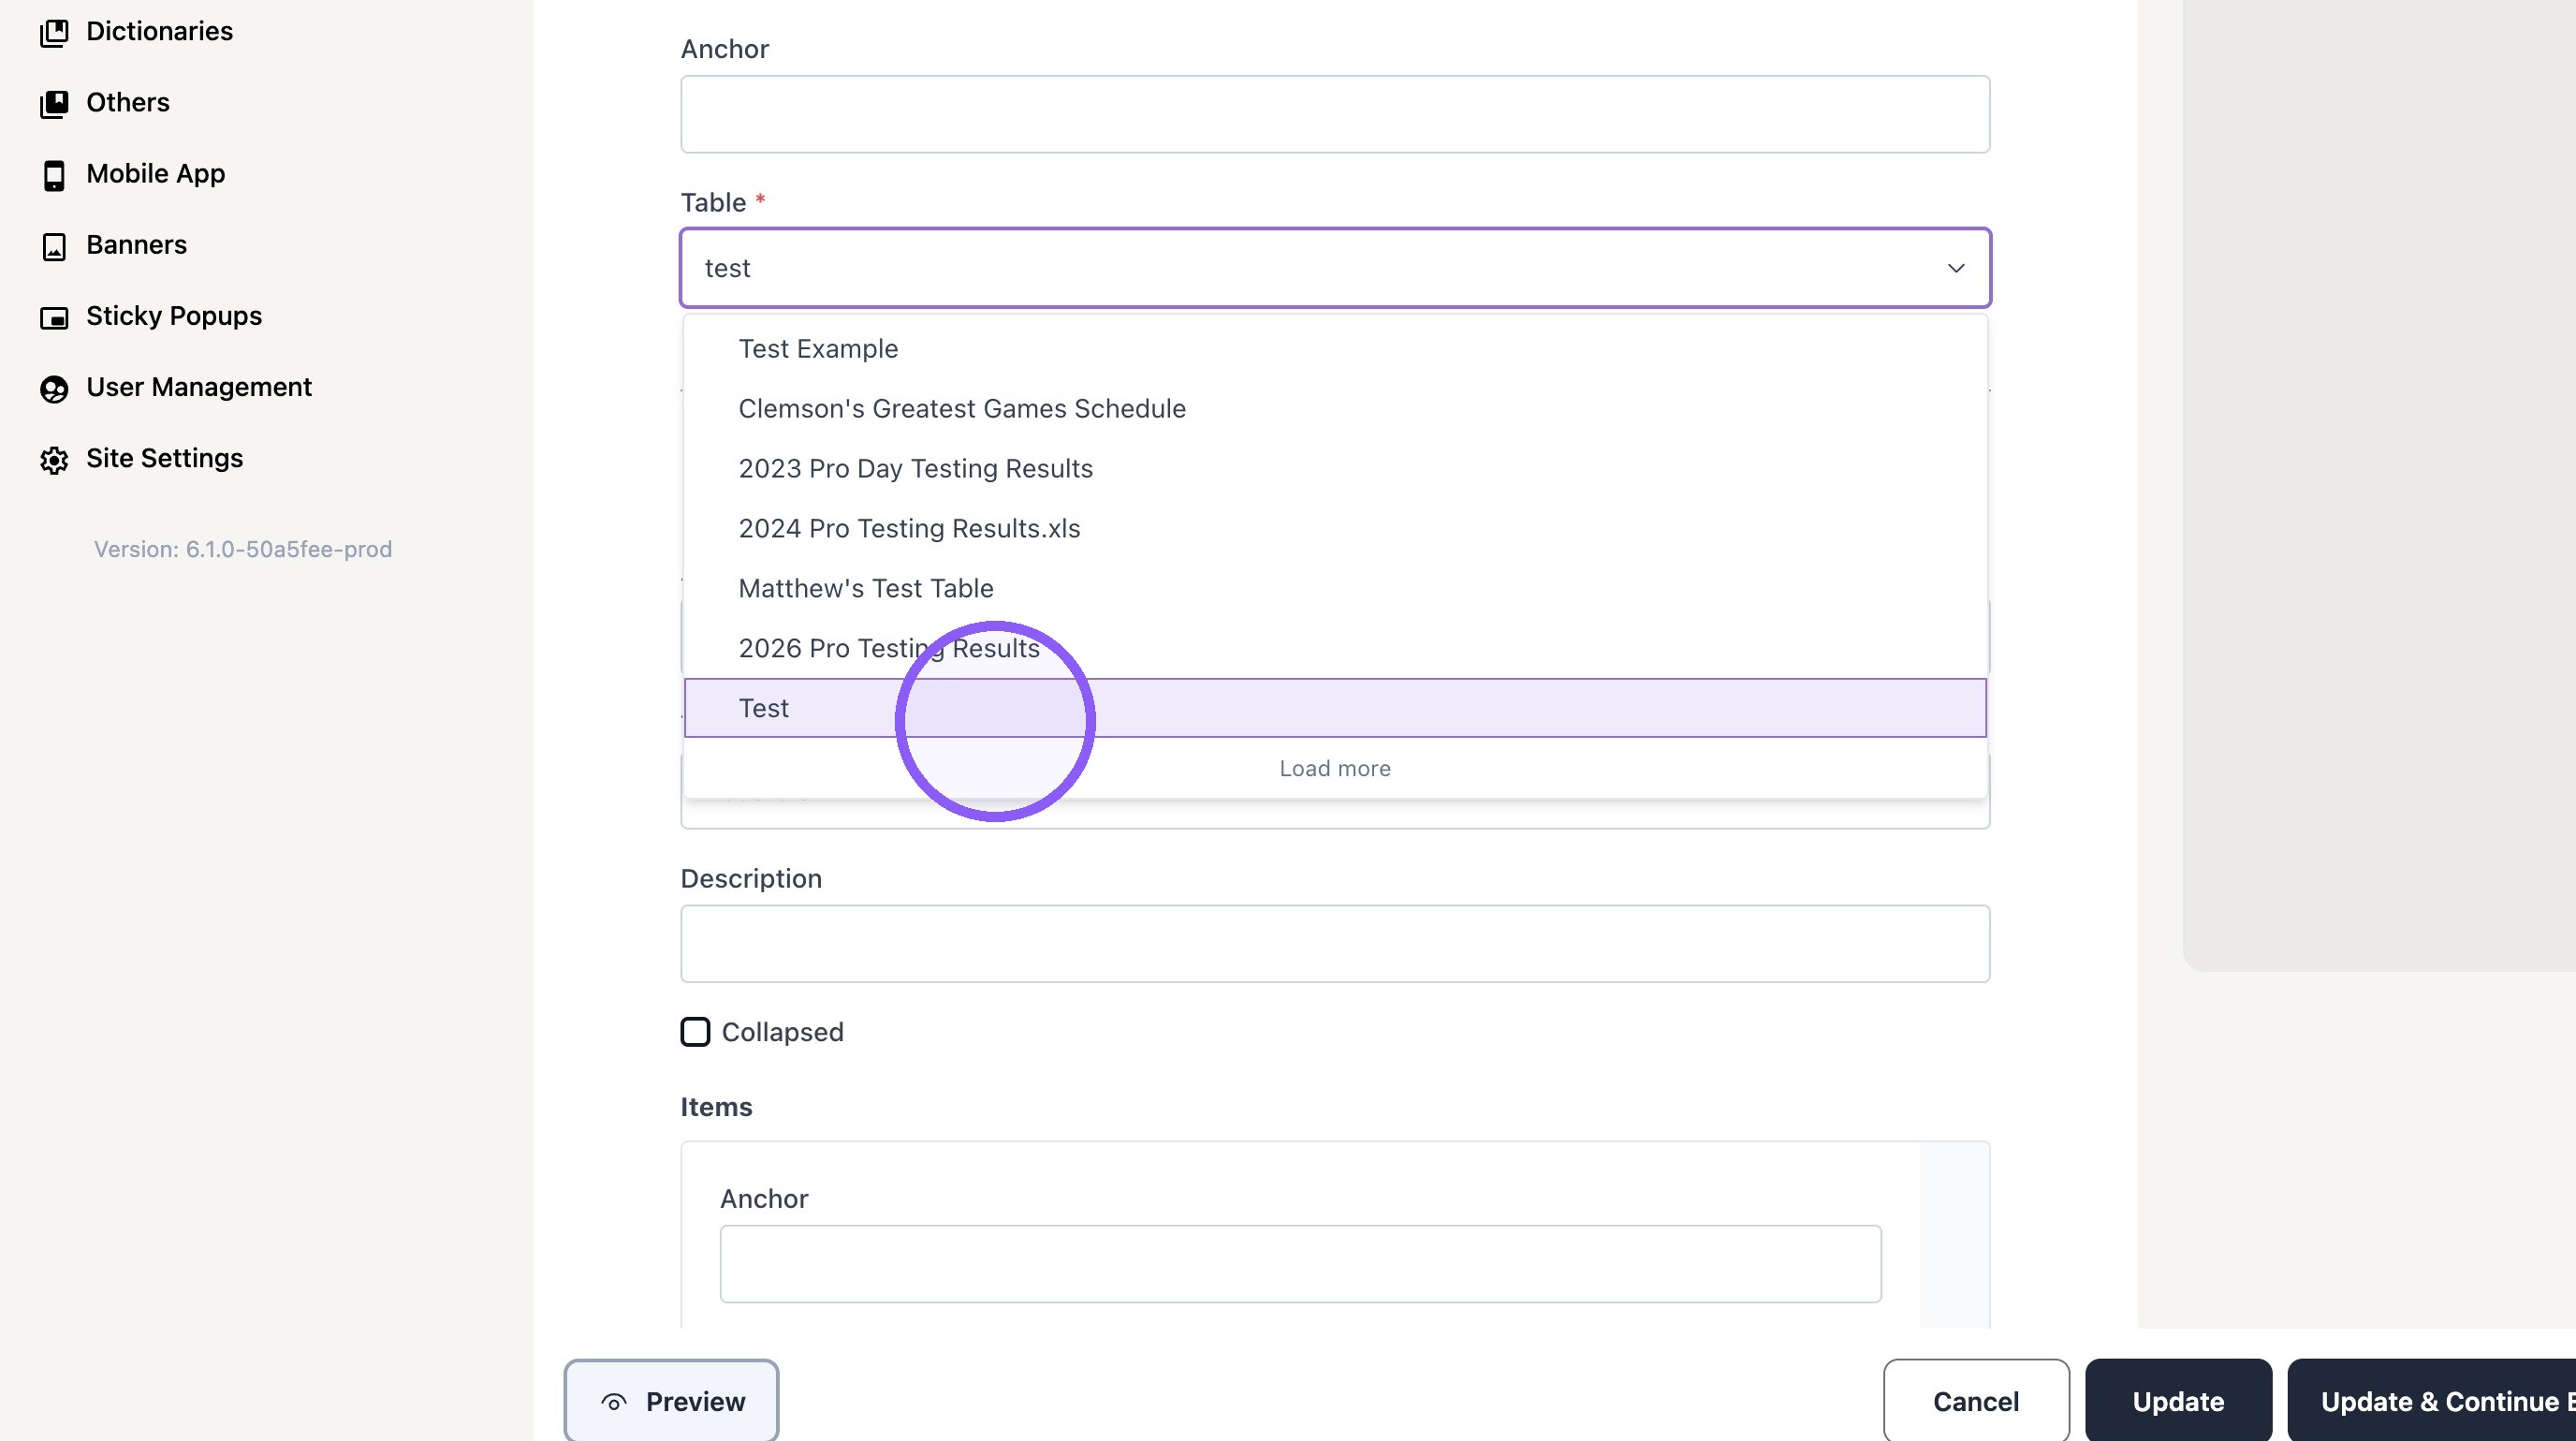
22. Click "Update" to make the table go live.