Roster Management: How to customize Roster view
Last updated: September 20, 2026
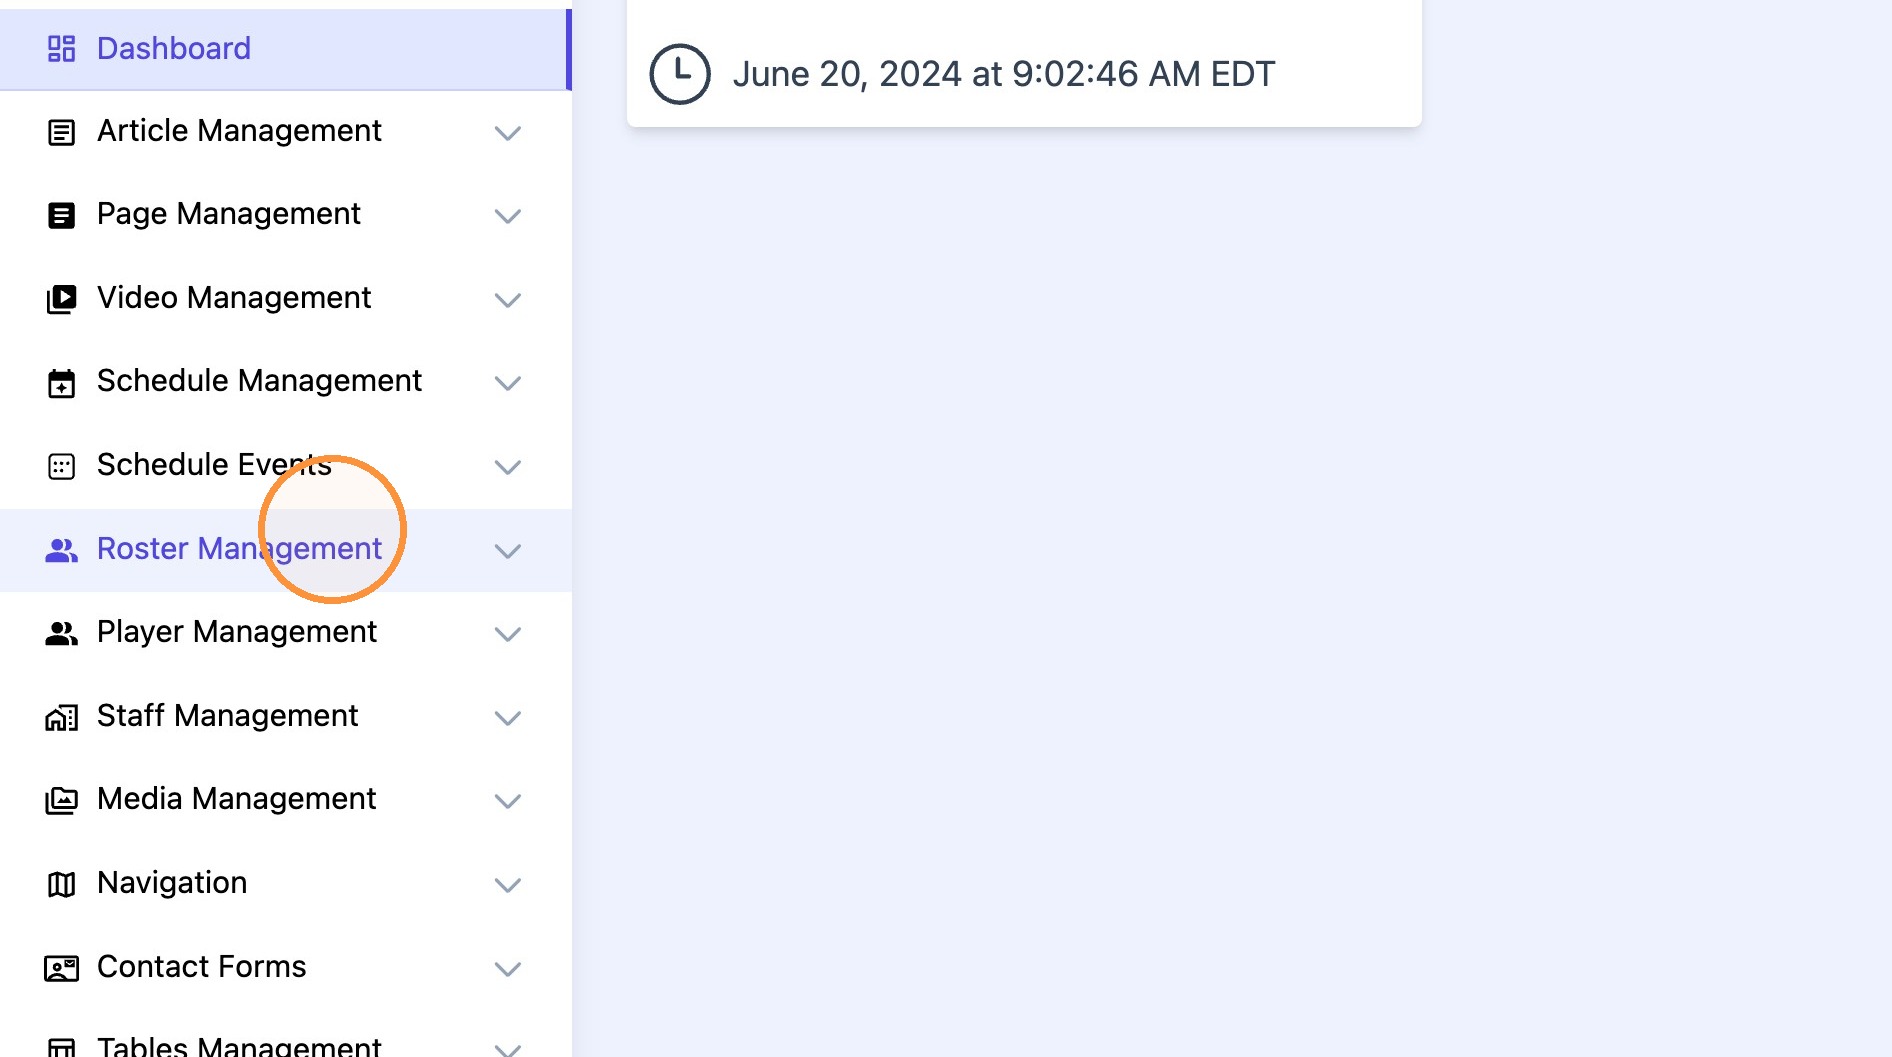
1. Navigate to "Roster Management."
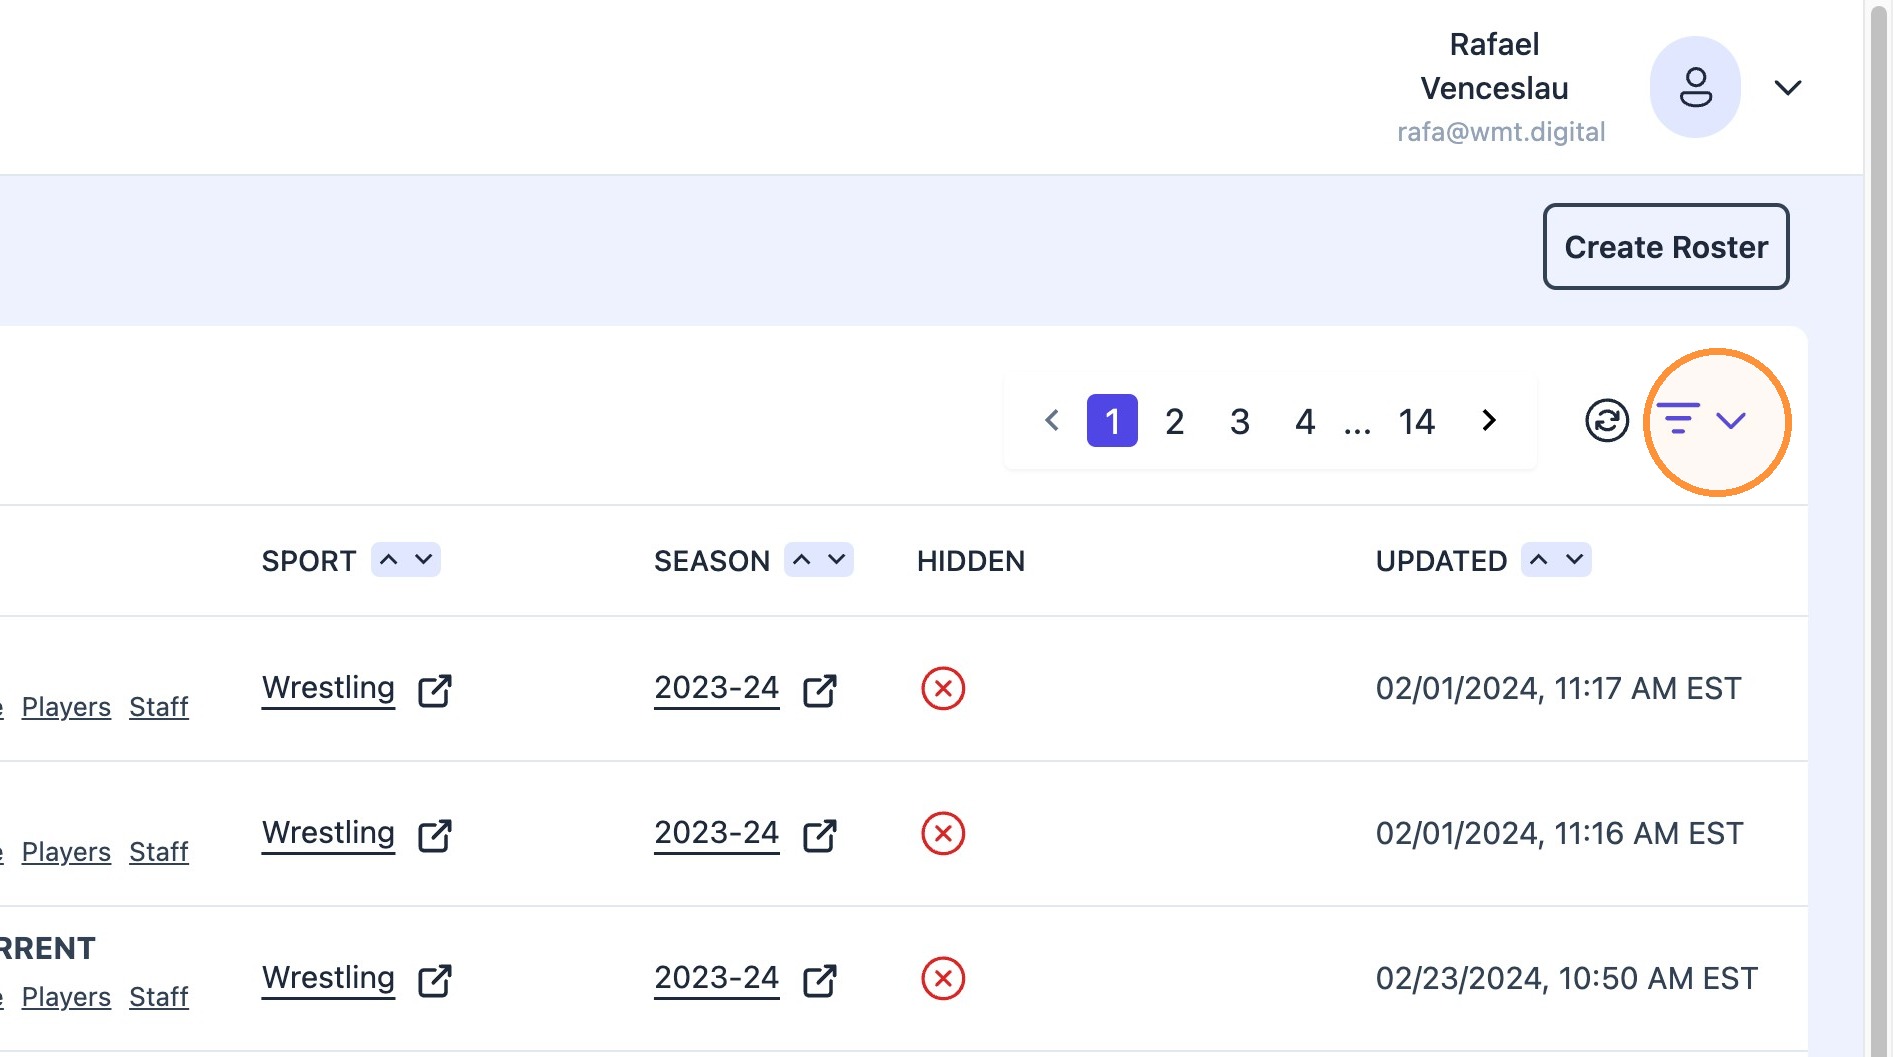
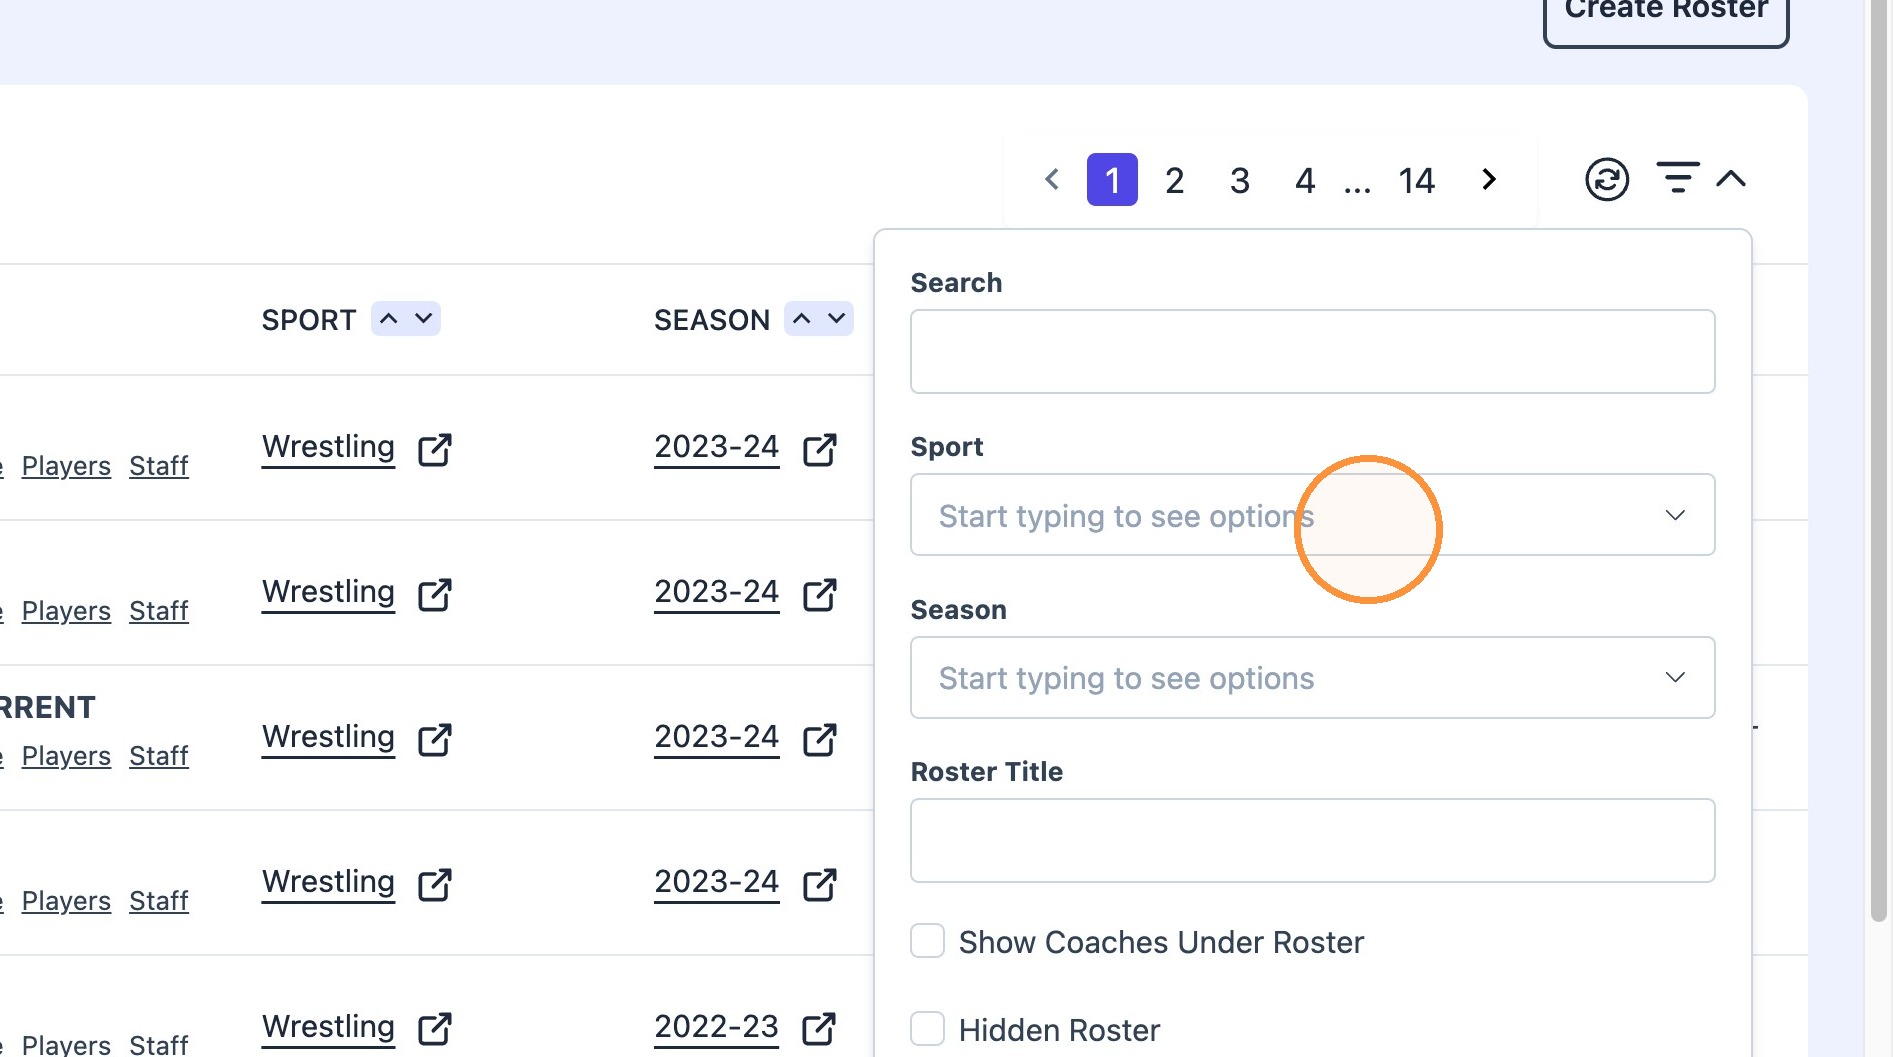
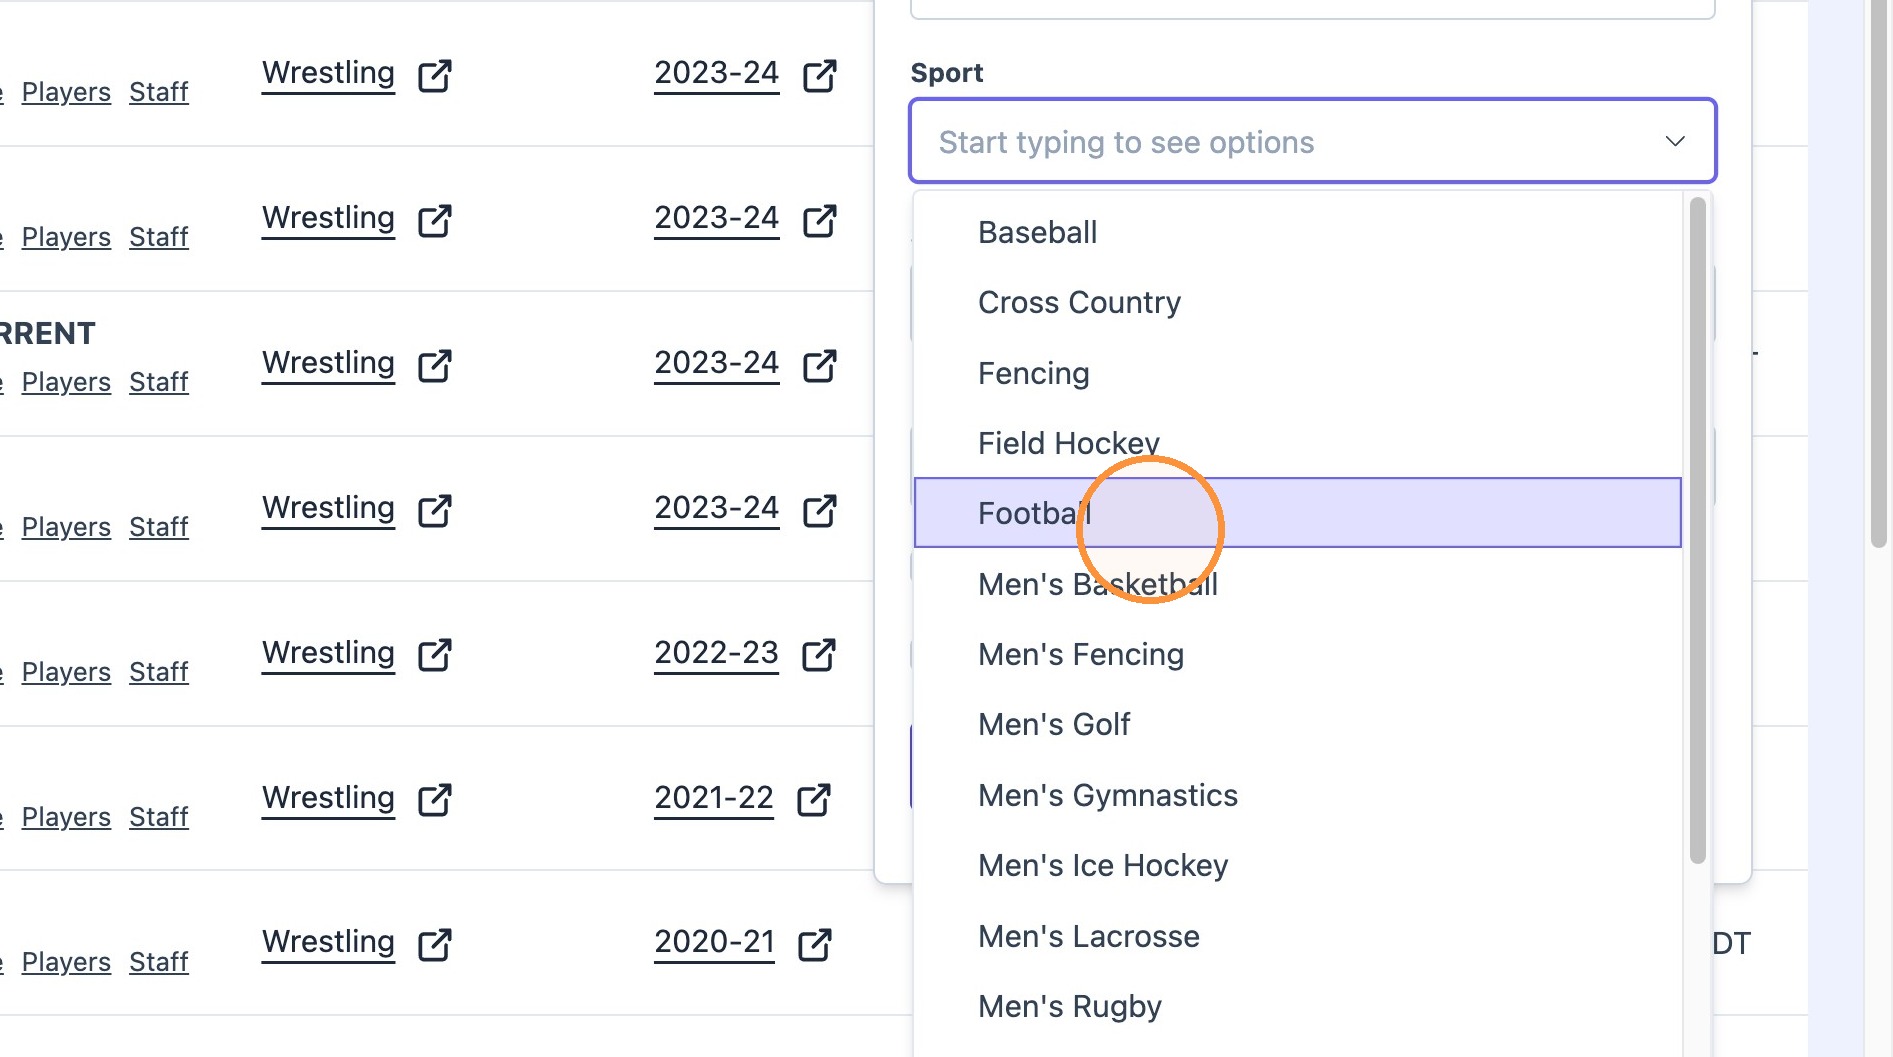
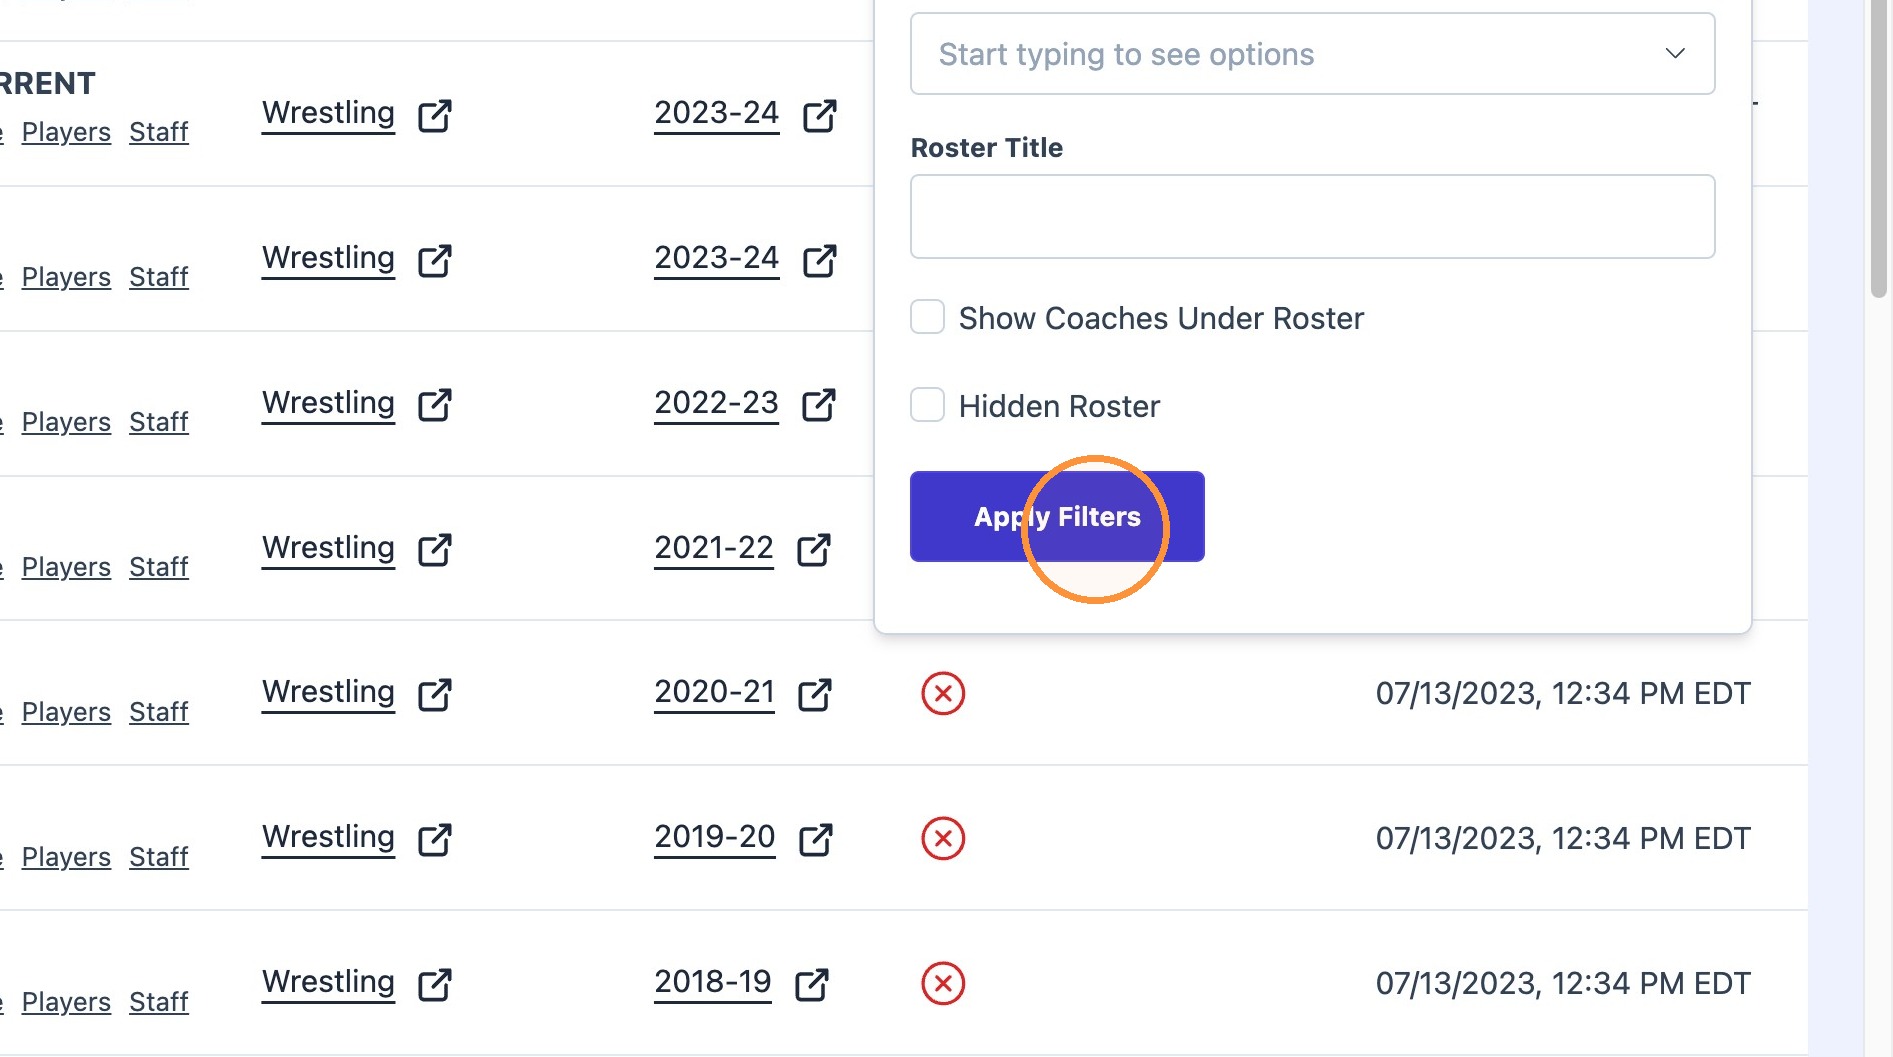
2. Use the filter dropdown to find the desired roster to edit.
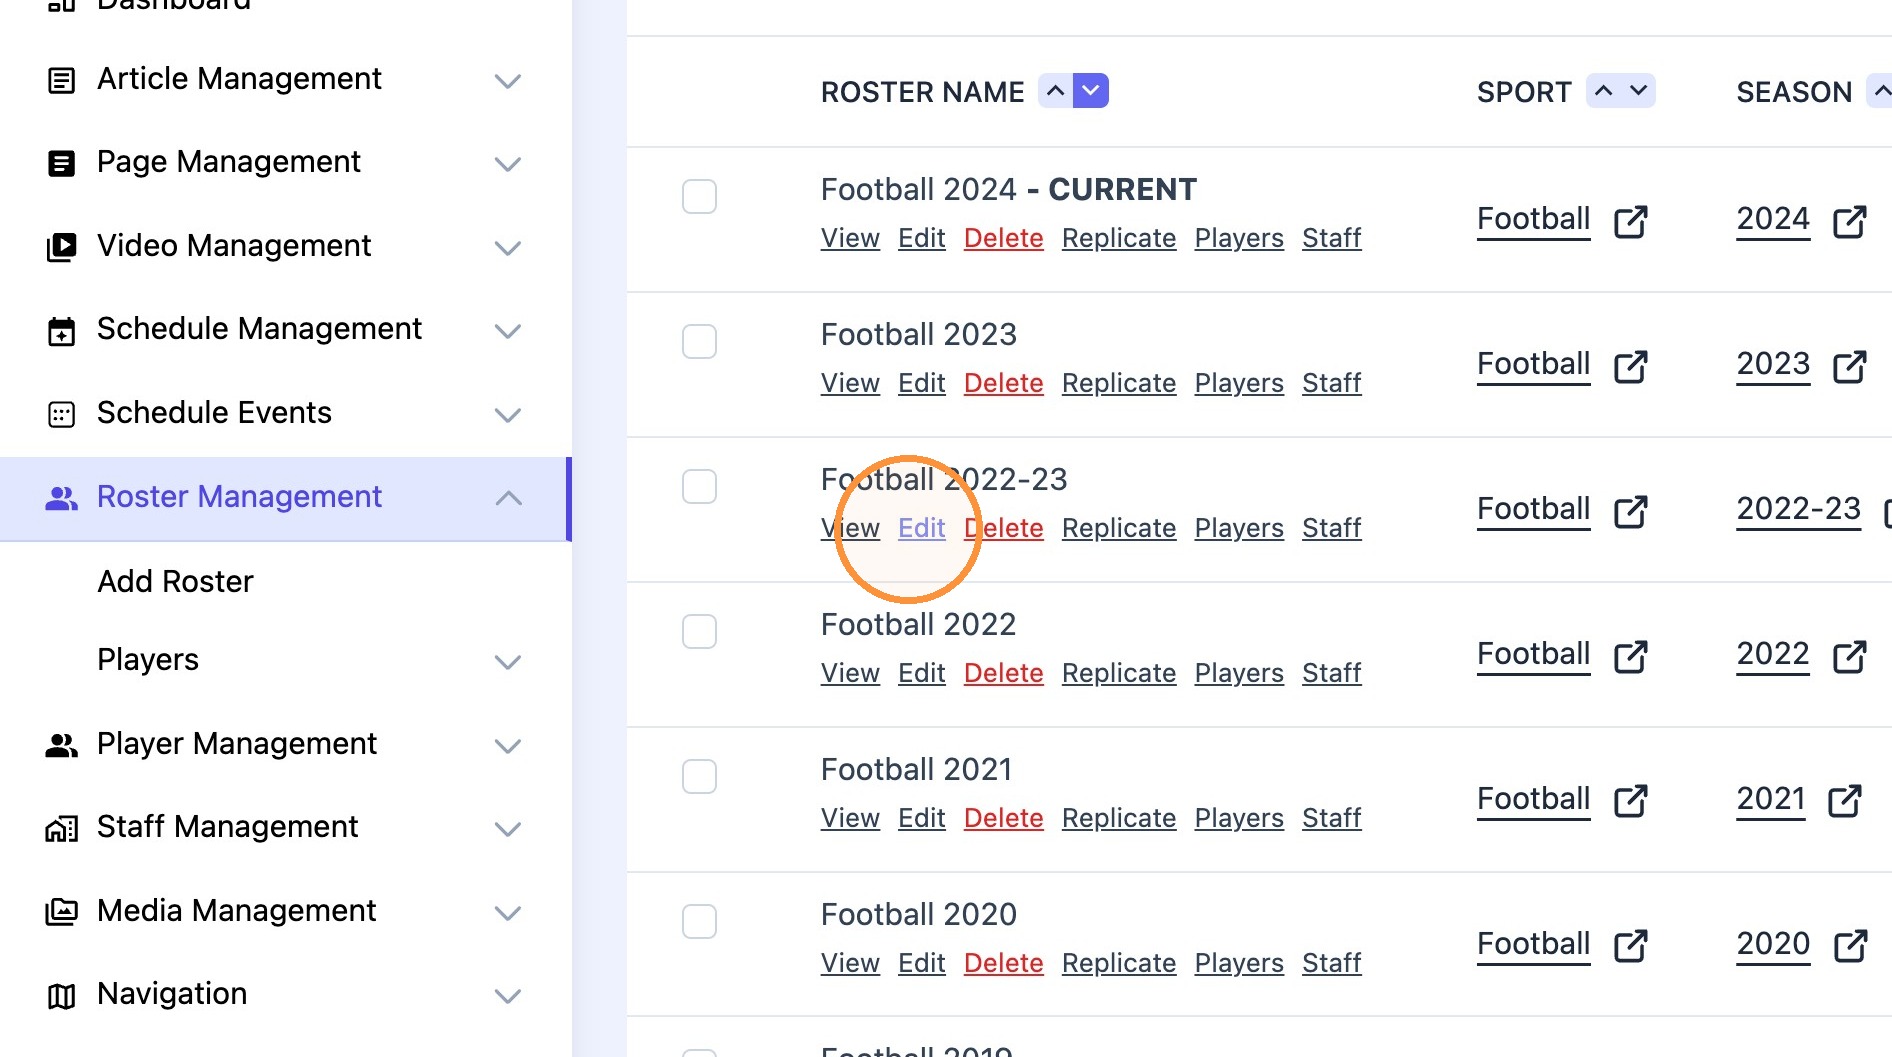
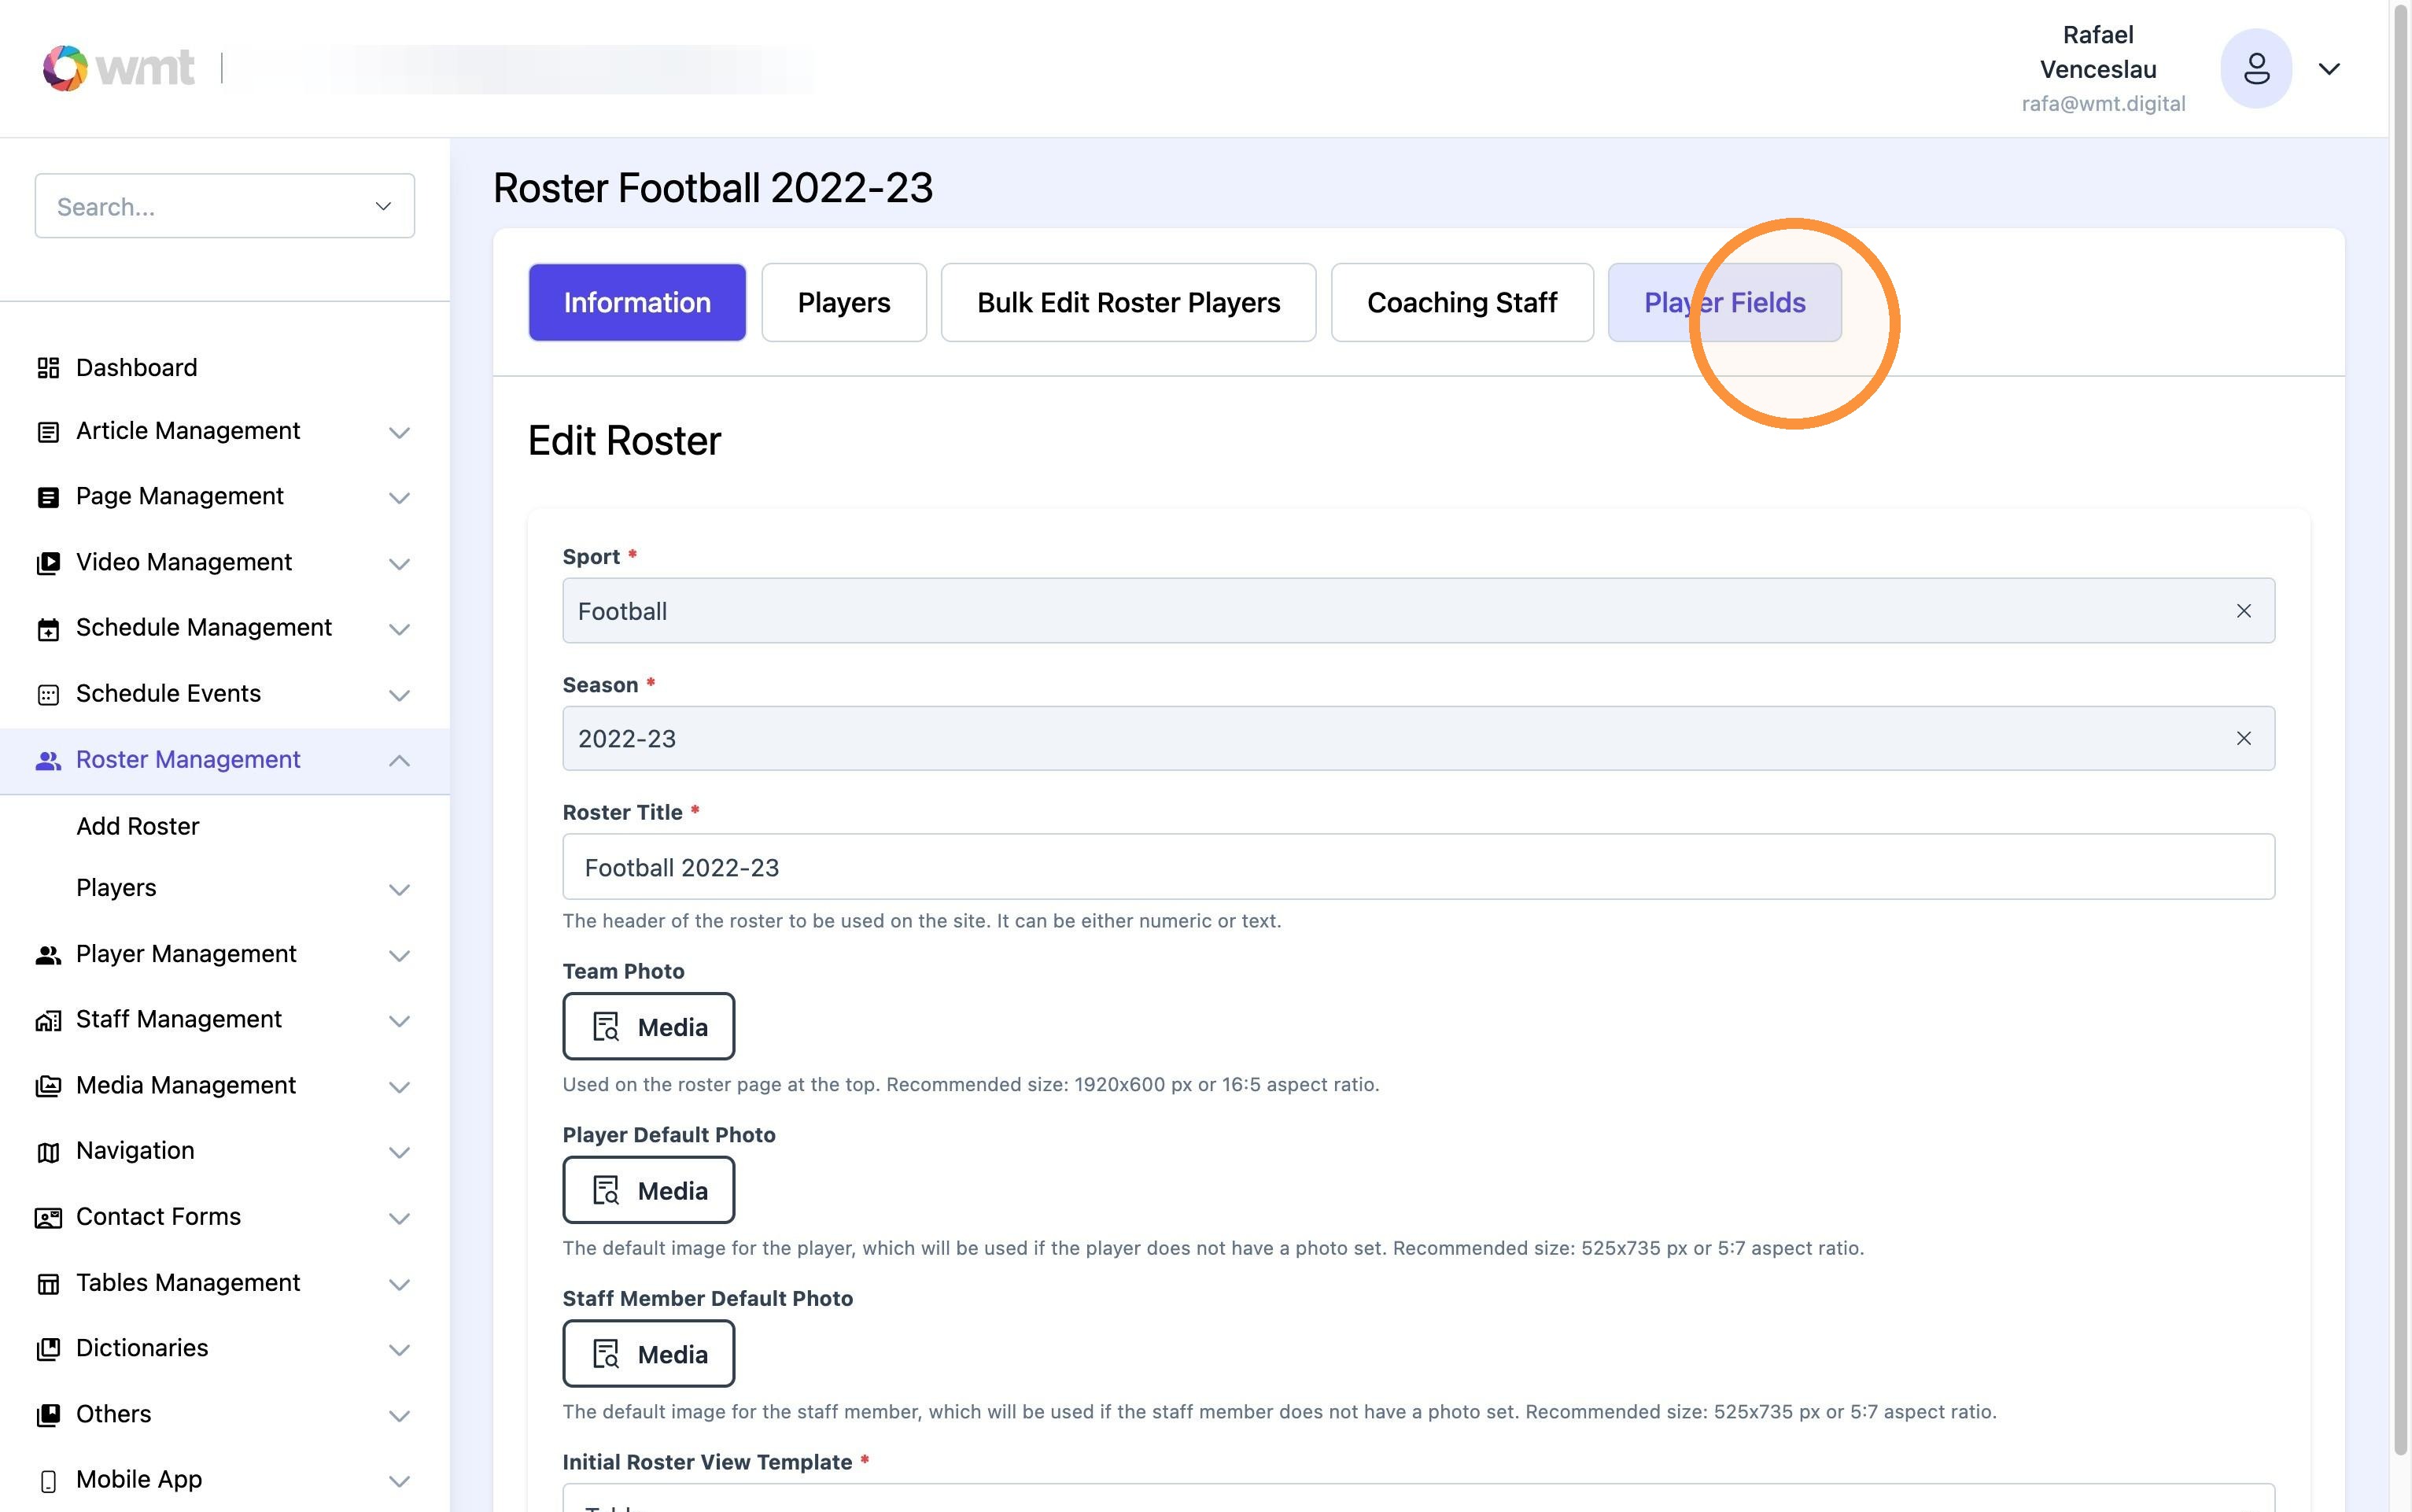
3. Navigate to "Player Fields" tab.
4. Click the "Add" button to add as many roster fields as desired.
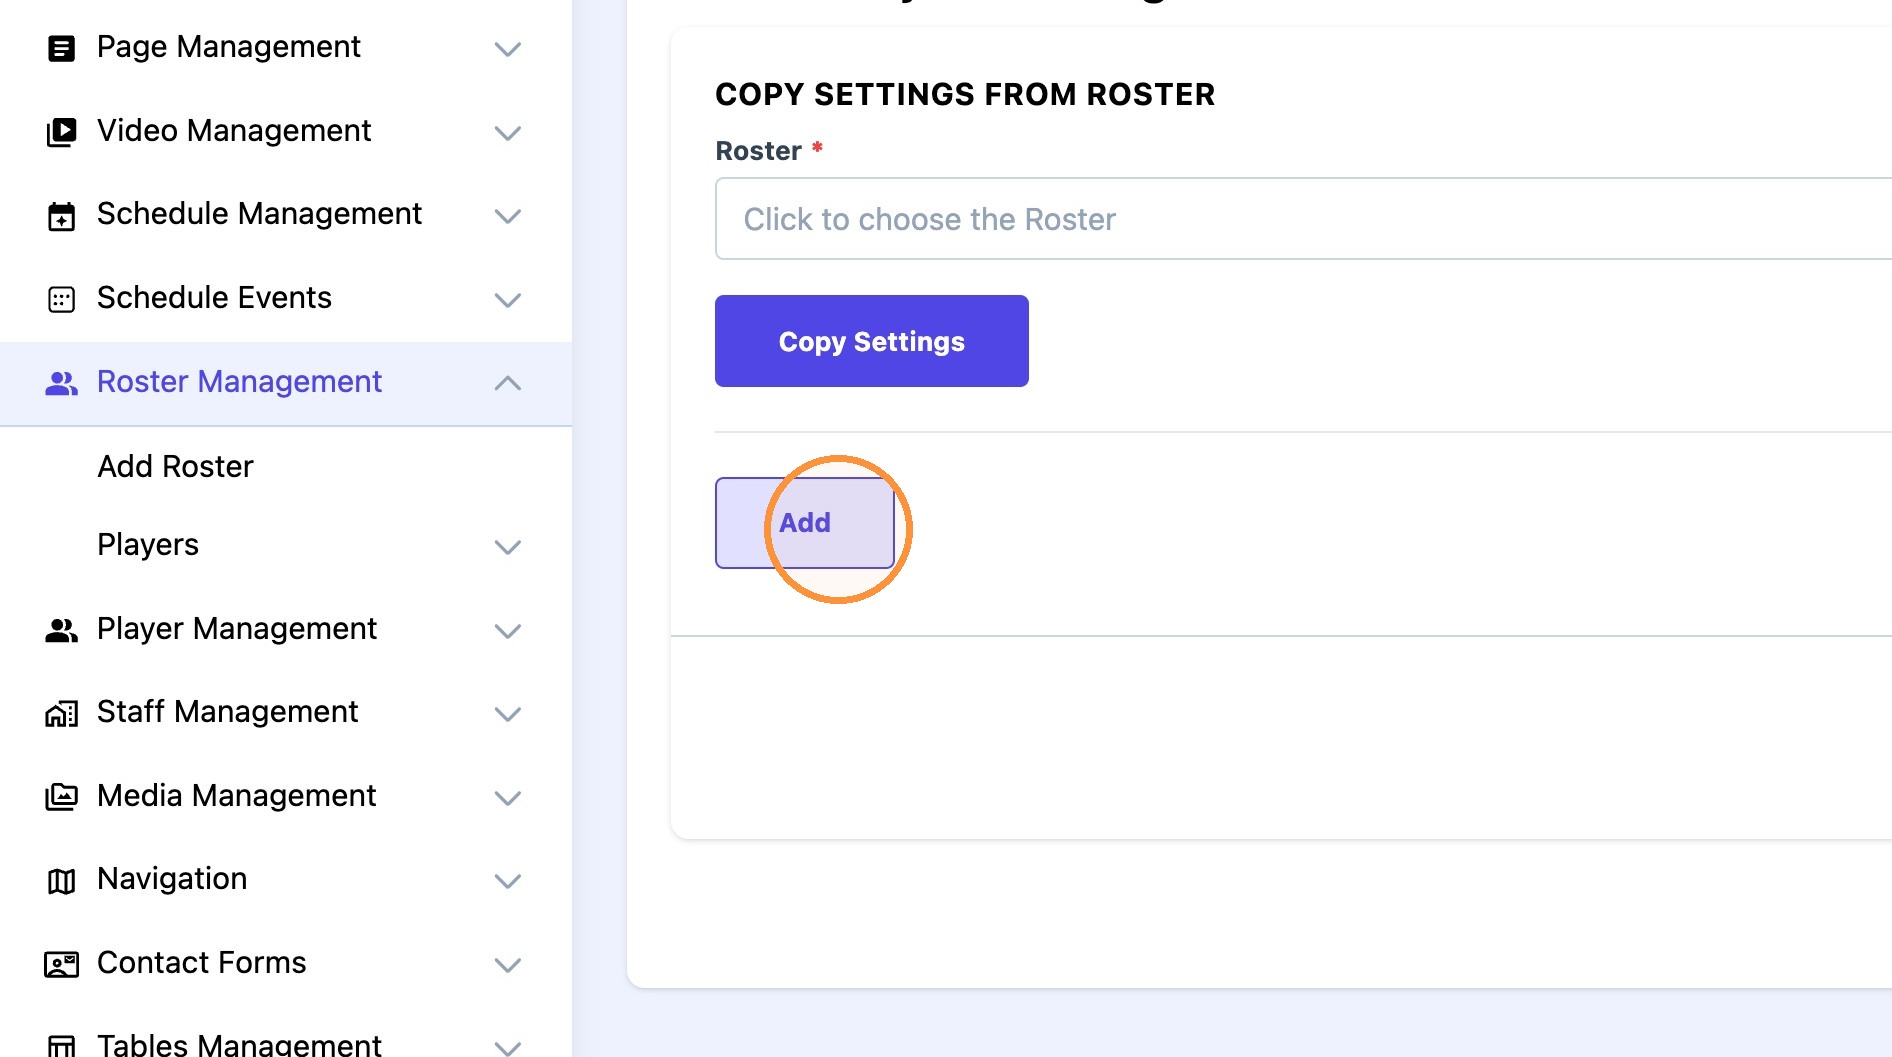
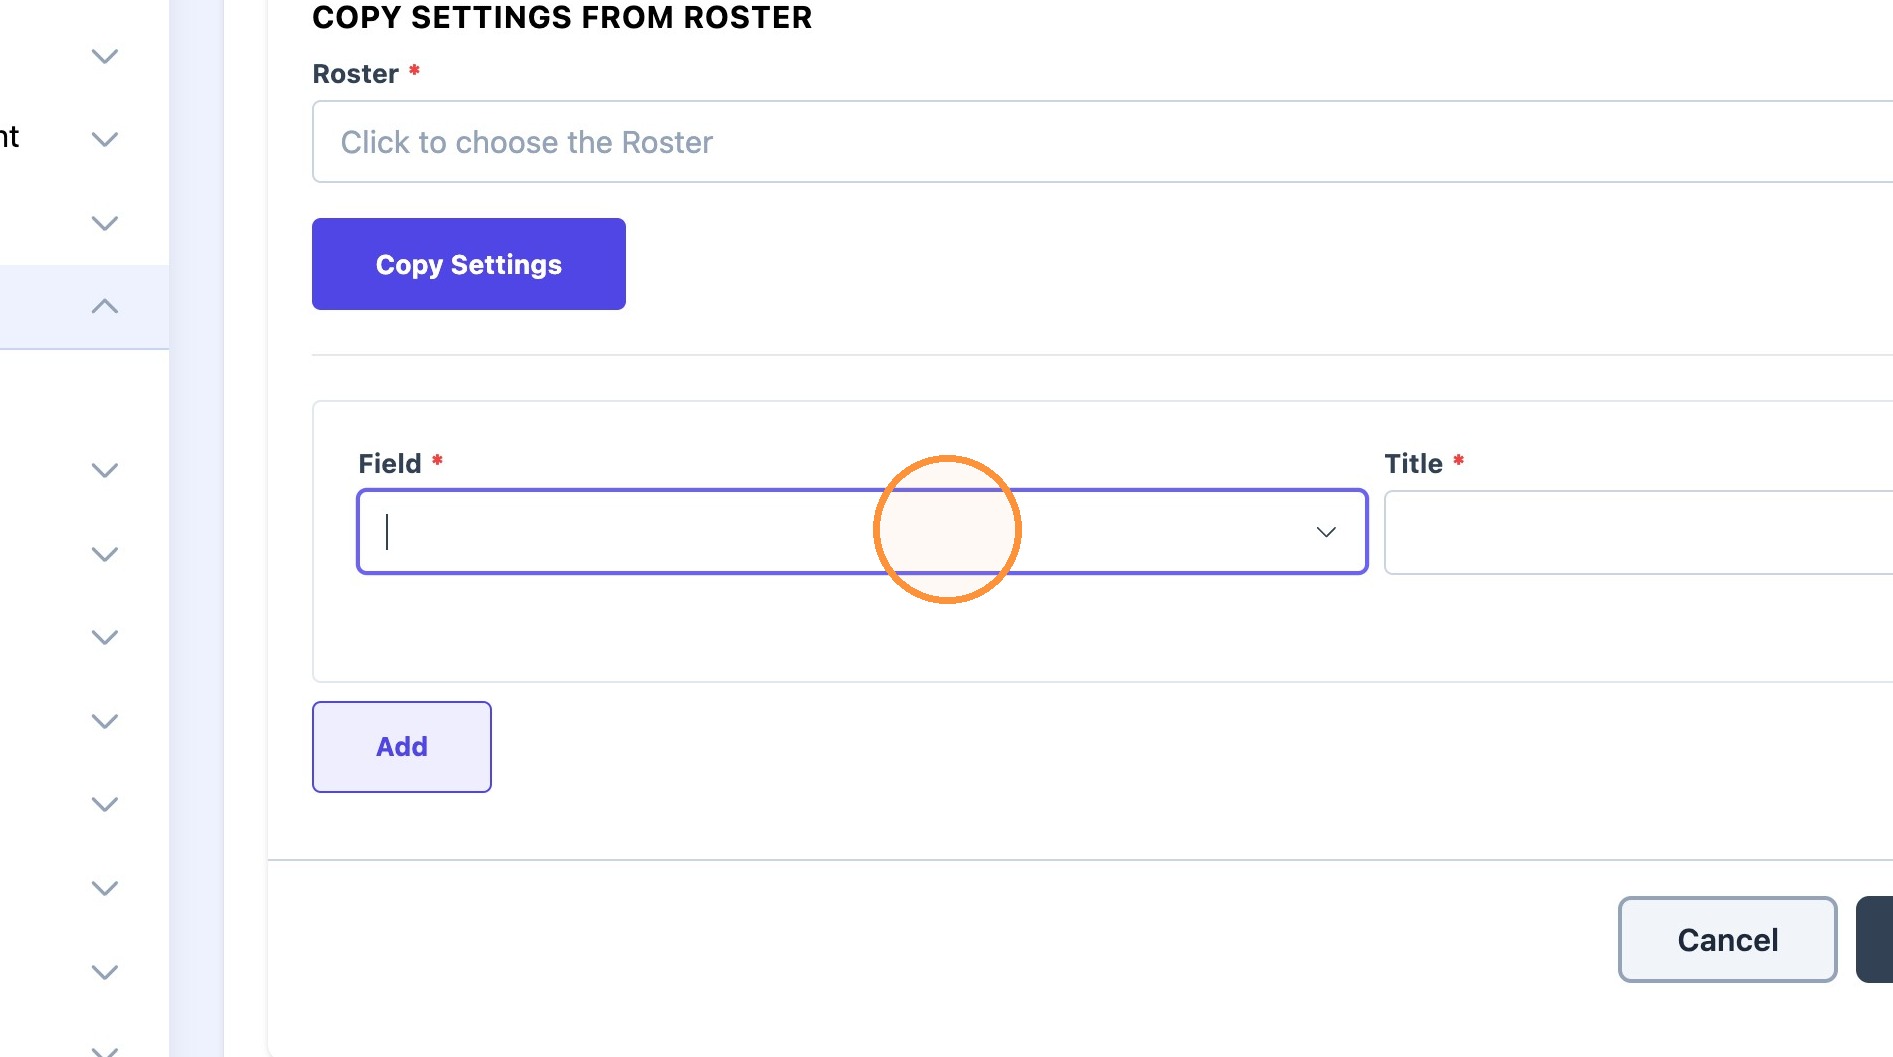
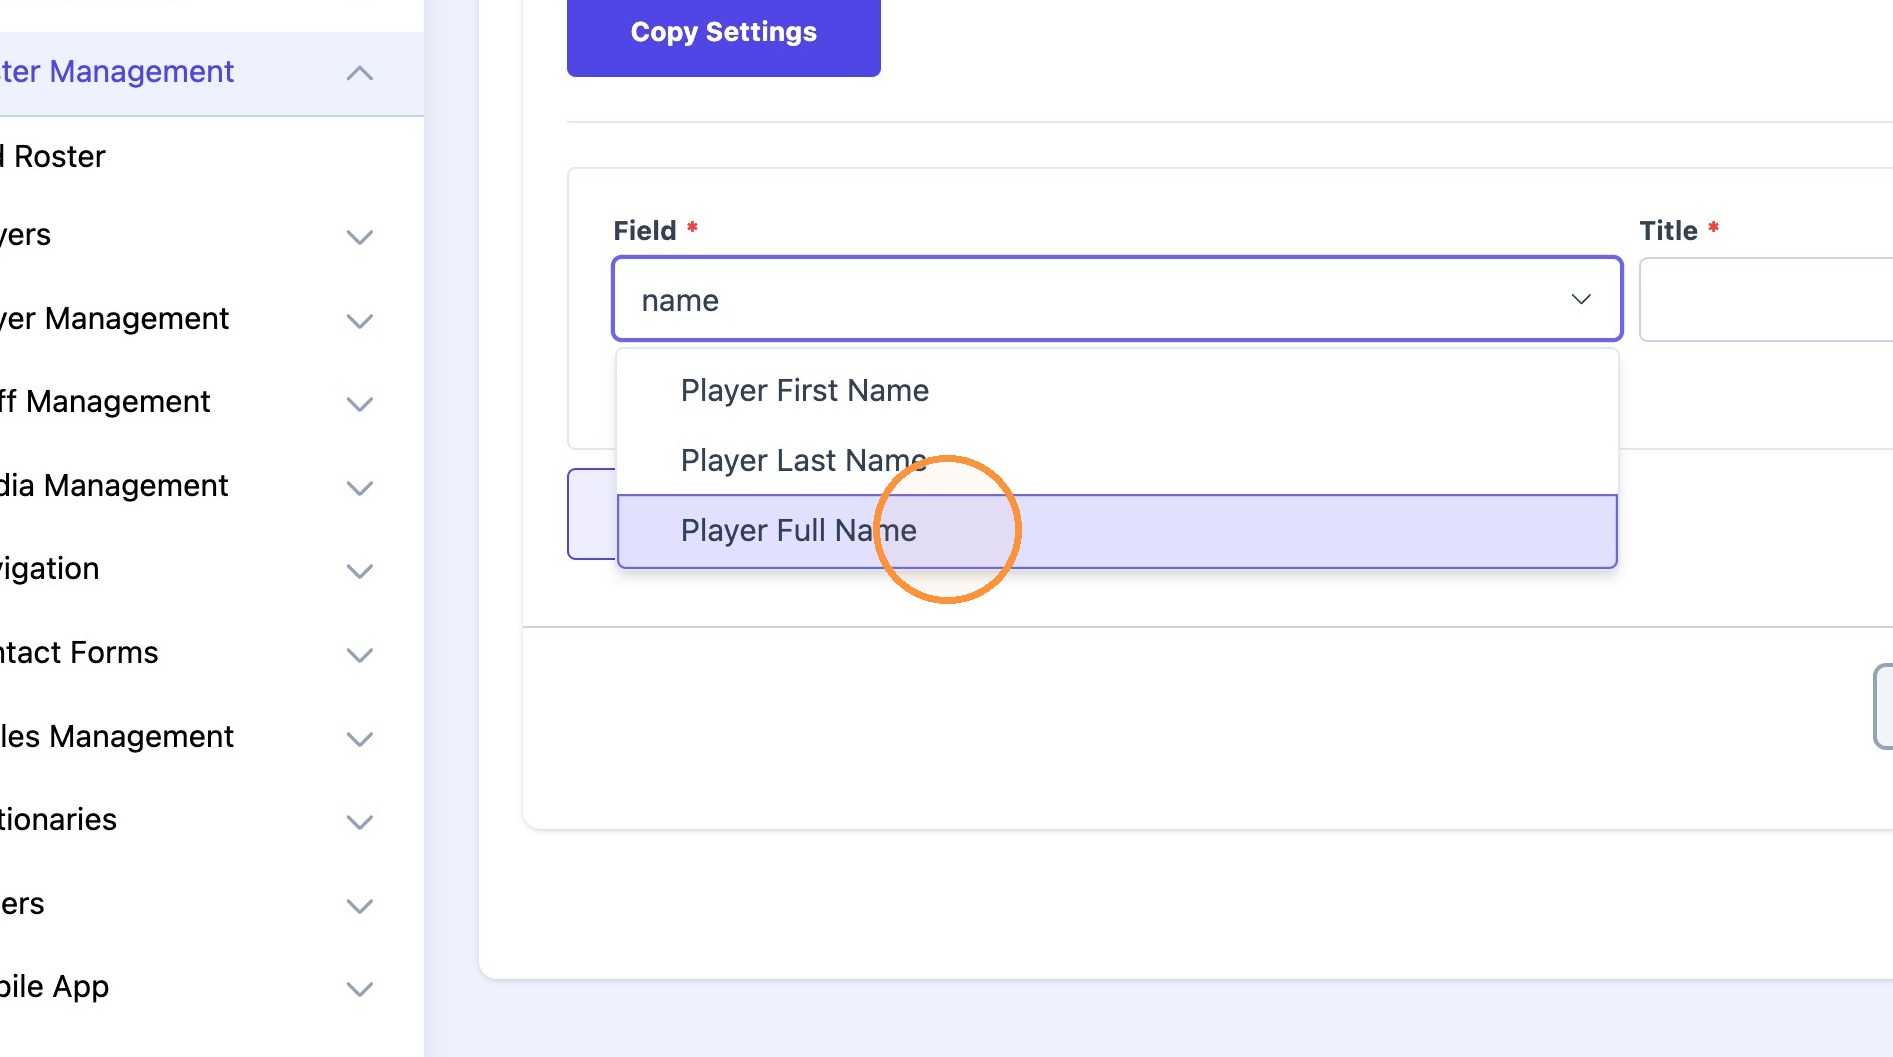
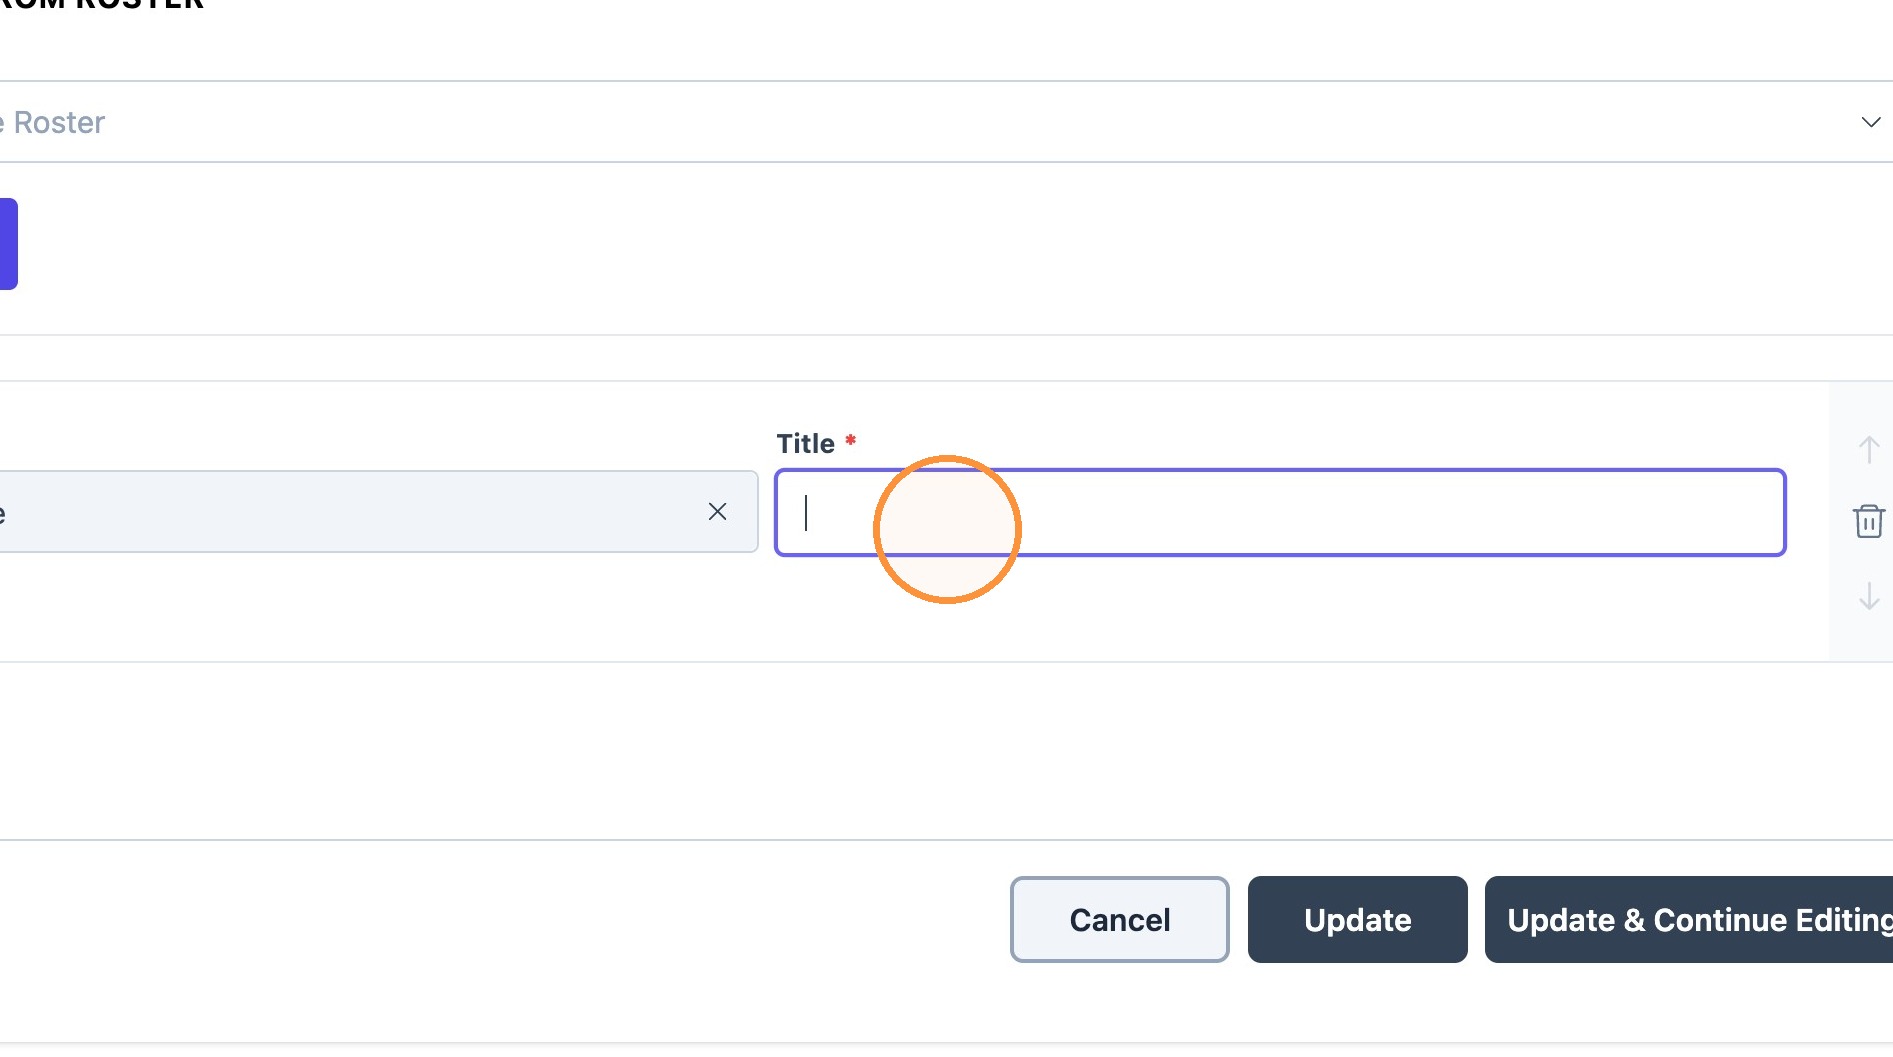
Tip: Tip! Having customizable roster fields is a very helpful feature for managing teams across different sports and seasons. Users are able to display tailored information for specific rosters.
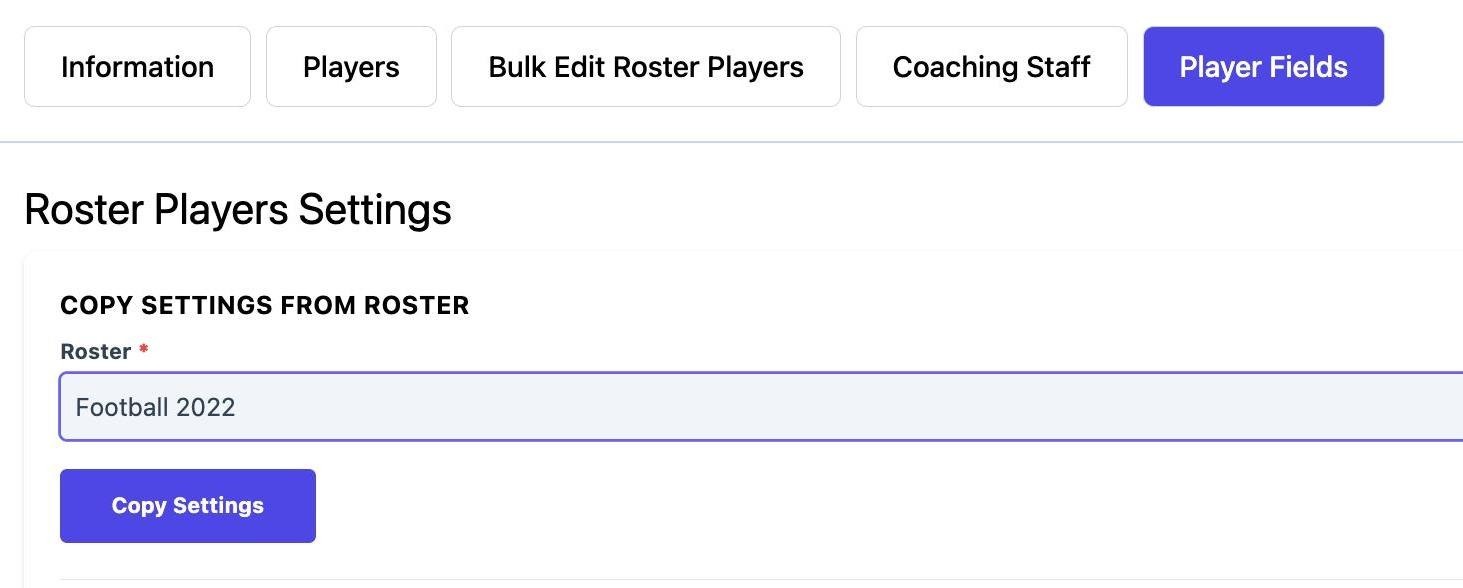
Tip: Tip! The "copy setting from roster" dropdown can be a real time-saver, especially when managing multiple rosters for the same sport. It helps prevent redundant setup, ensure faster setup for future seasons, and reduce the chance of error.
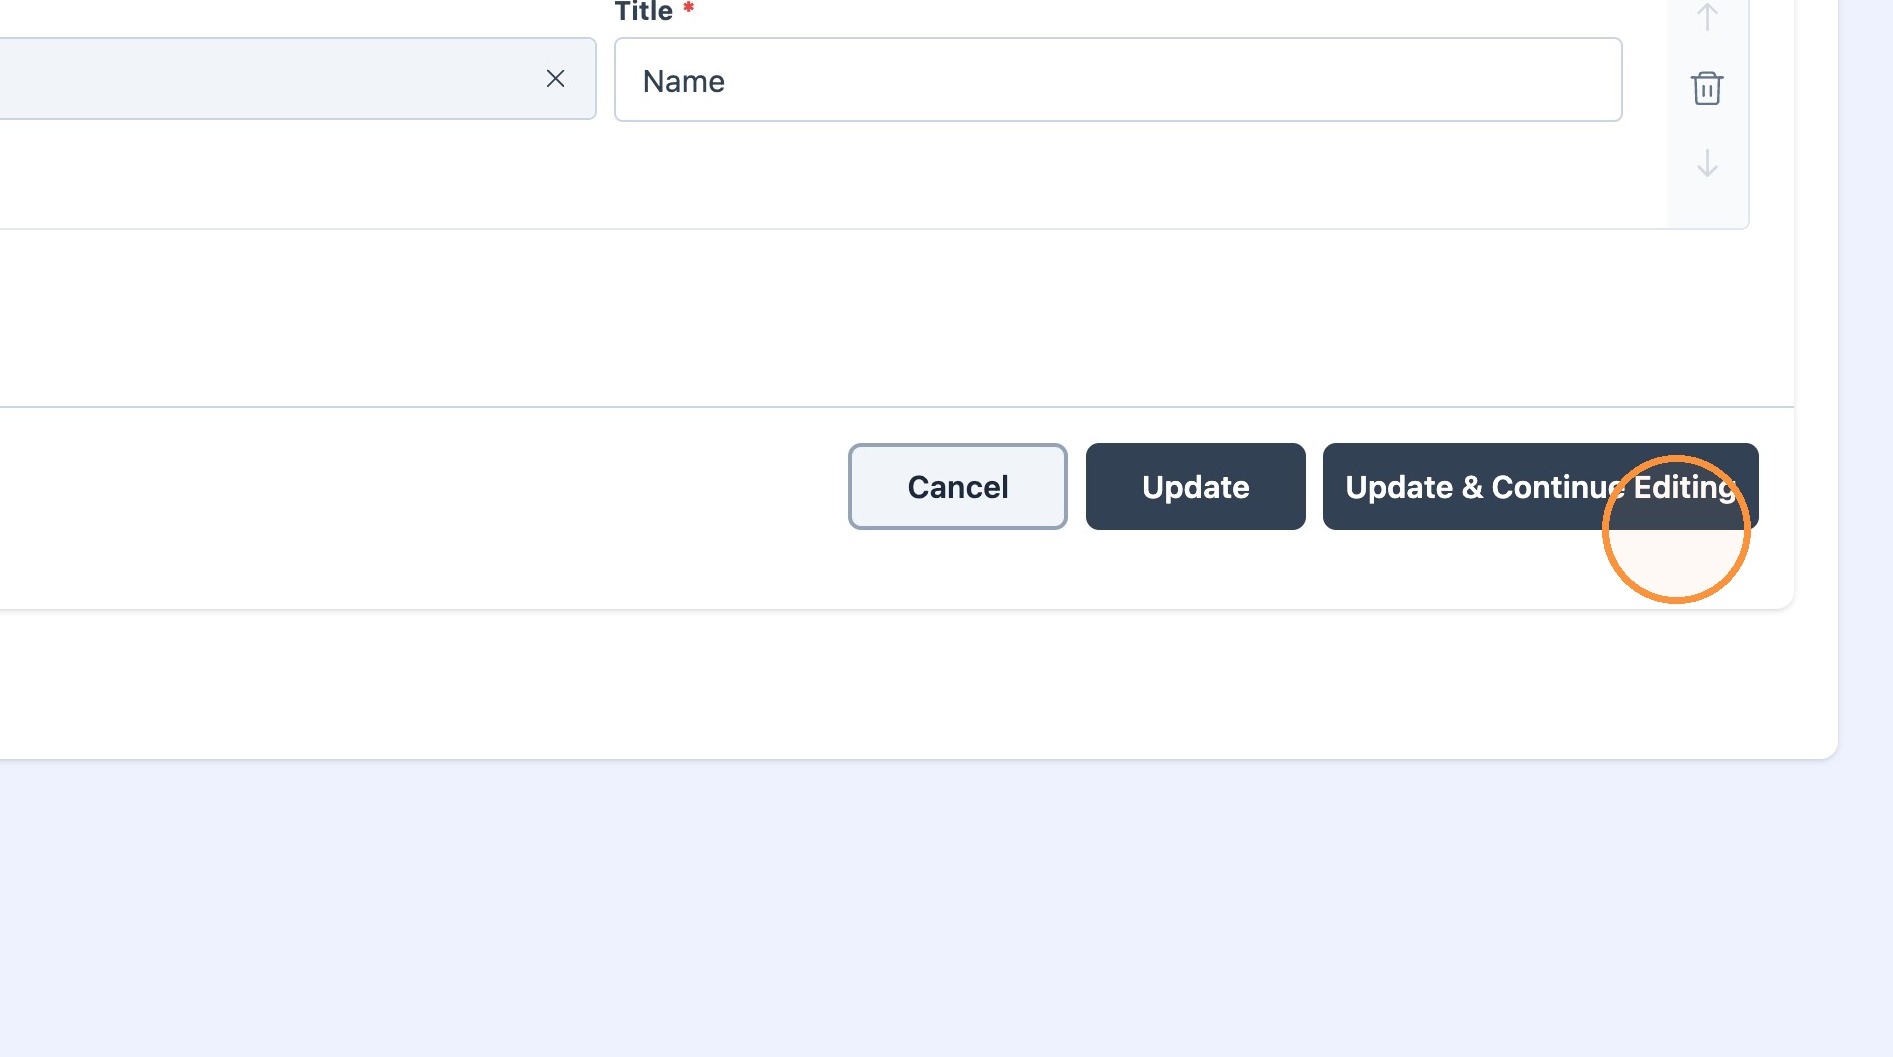
5. Click "Update & Continue Editing" when all roster fields are added.
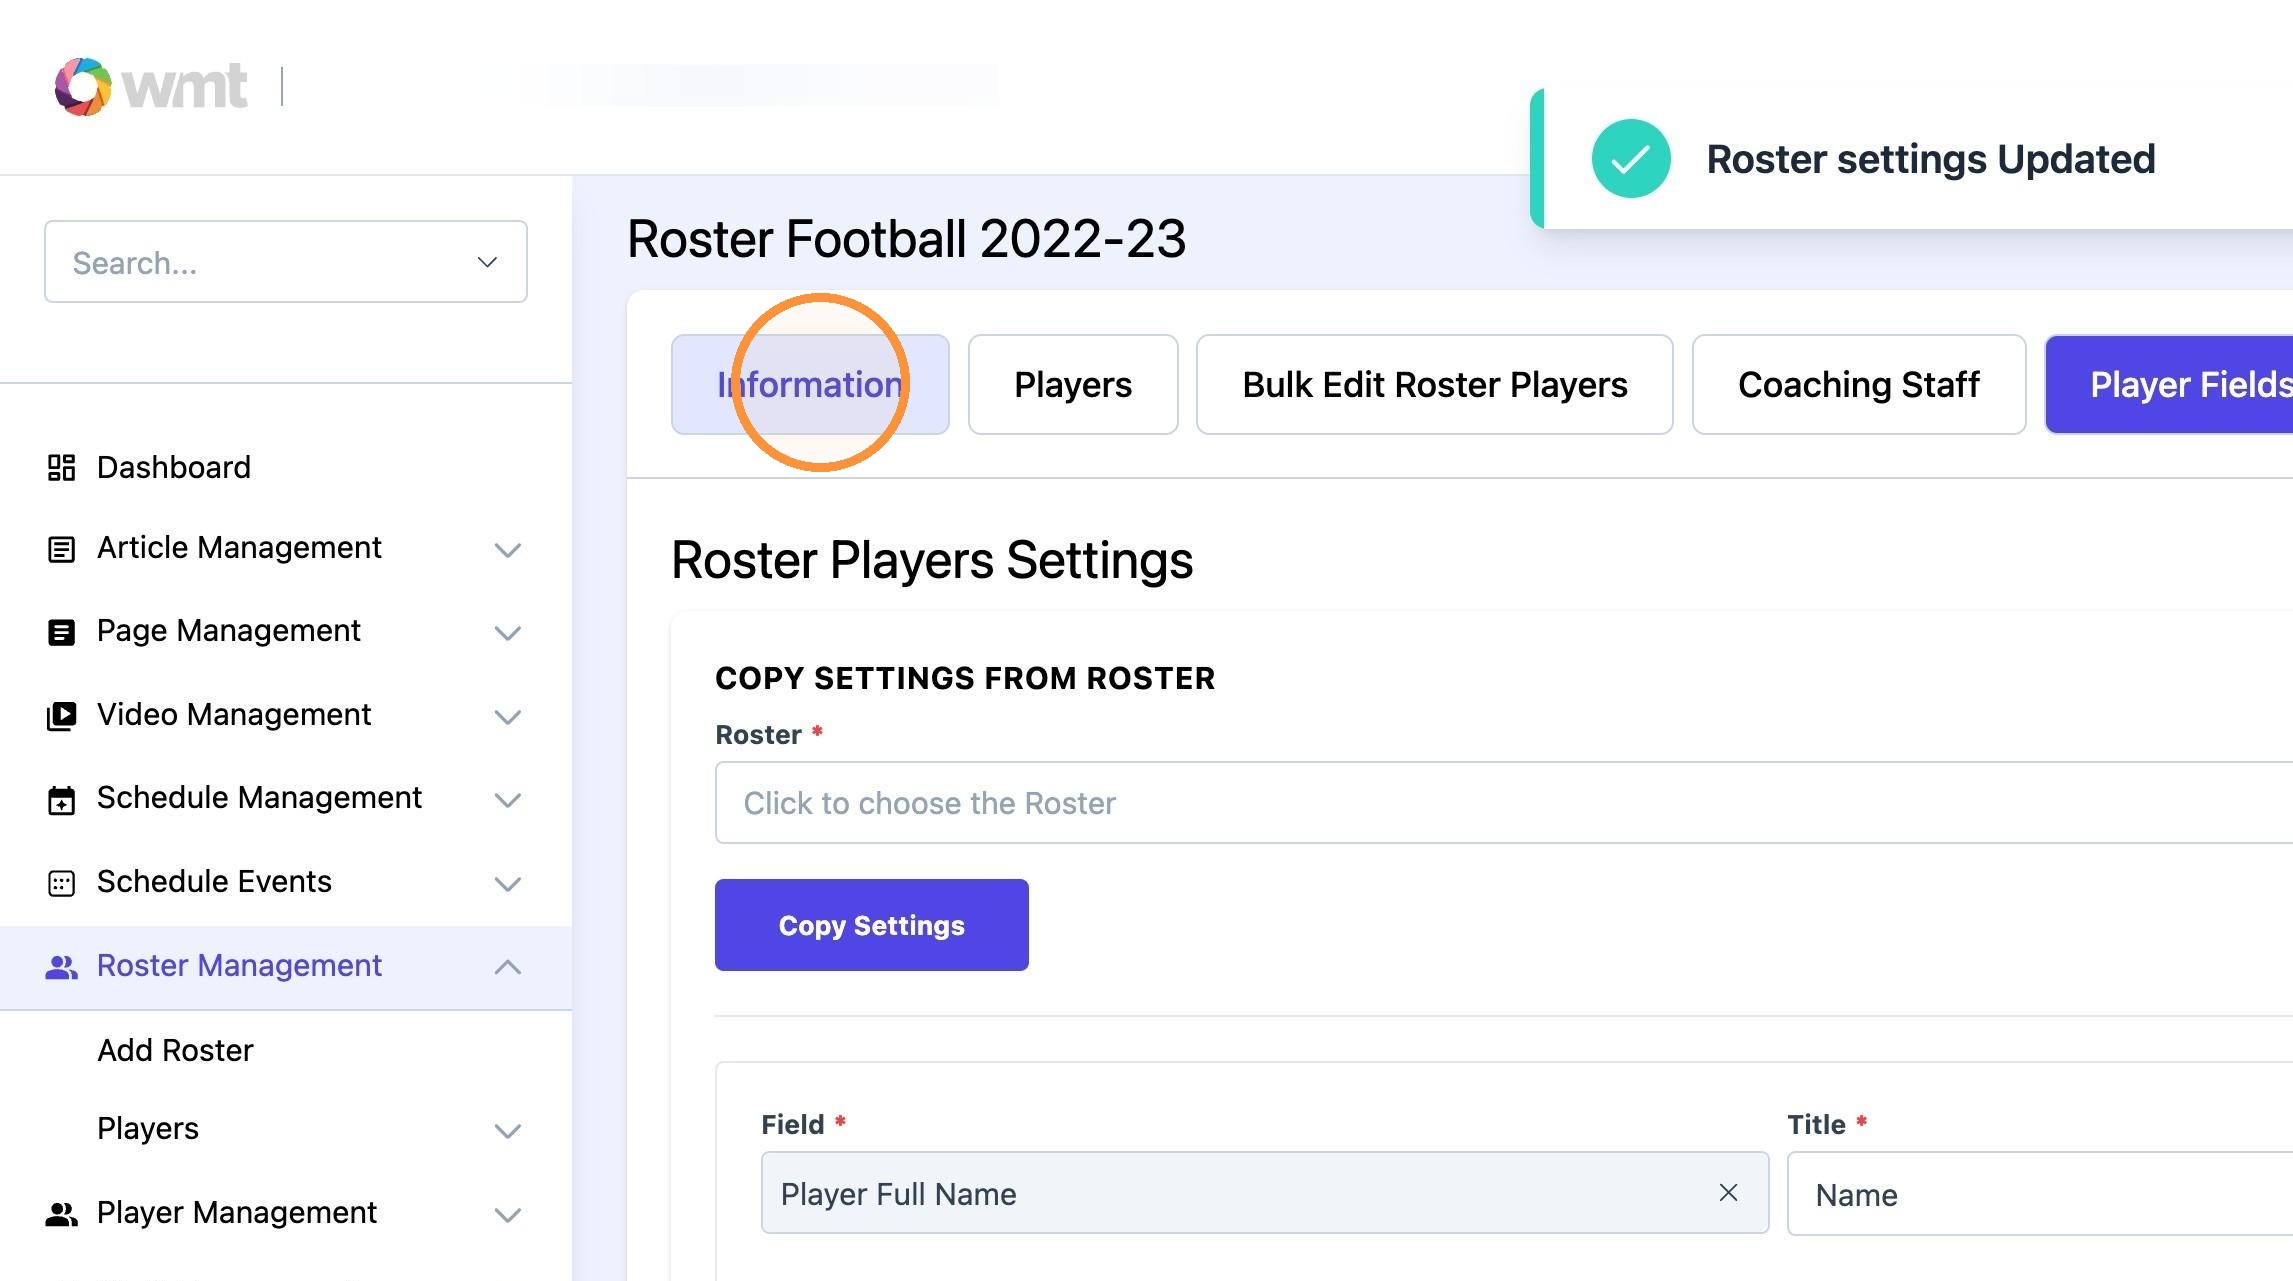
6. Navigate to the "Information" tab.
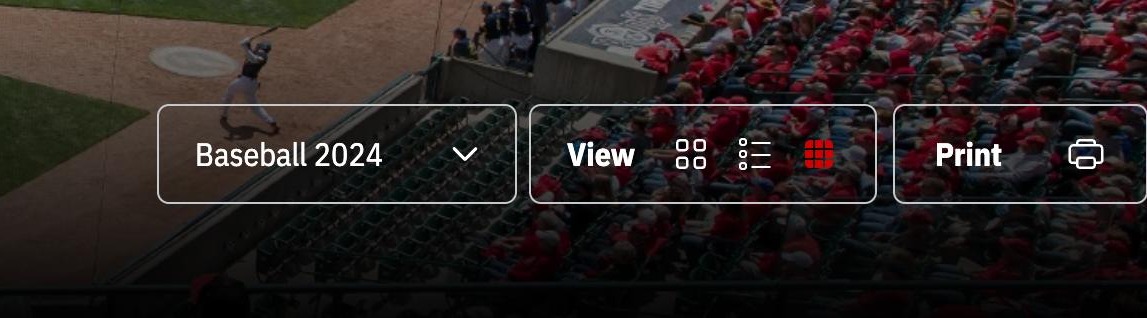
7. Choose the desired initial roster view (card, list, grid).
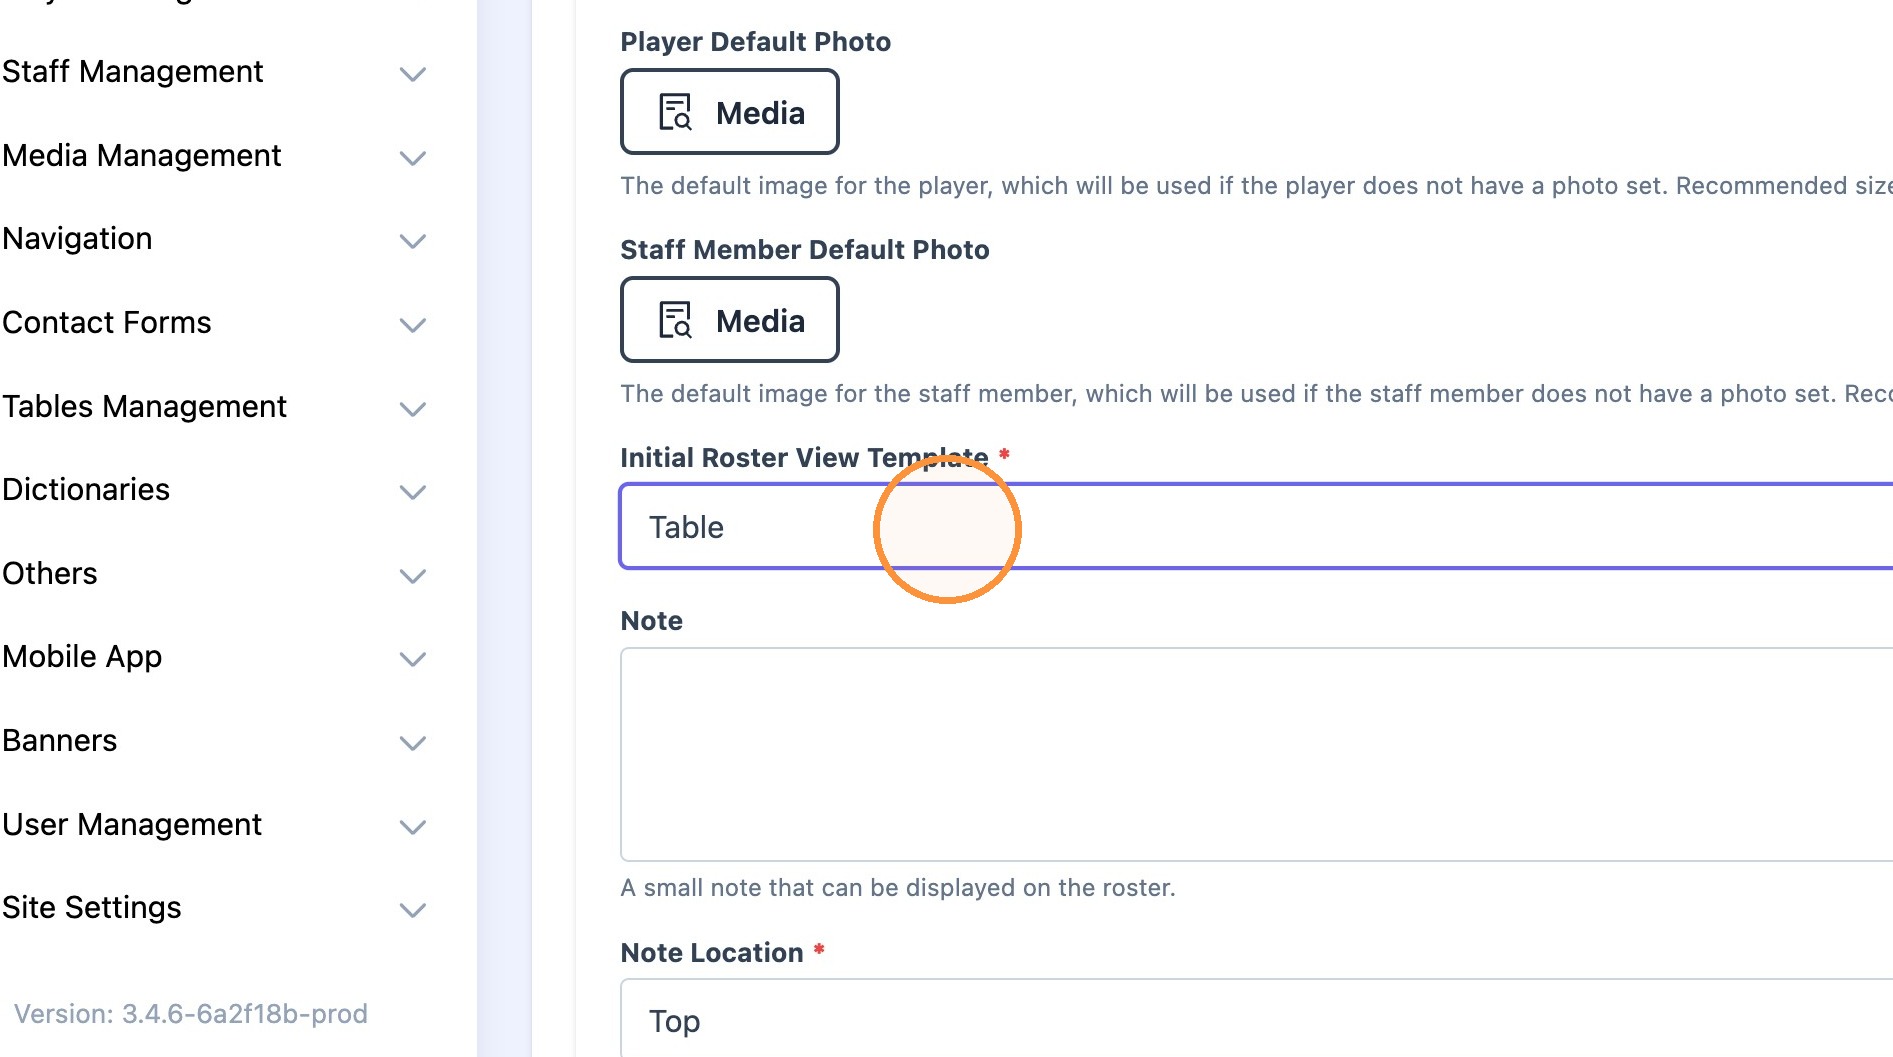
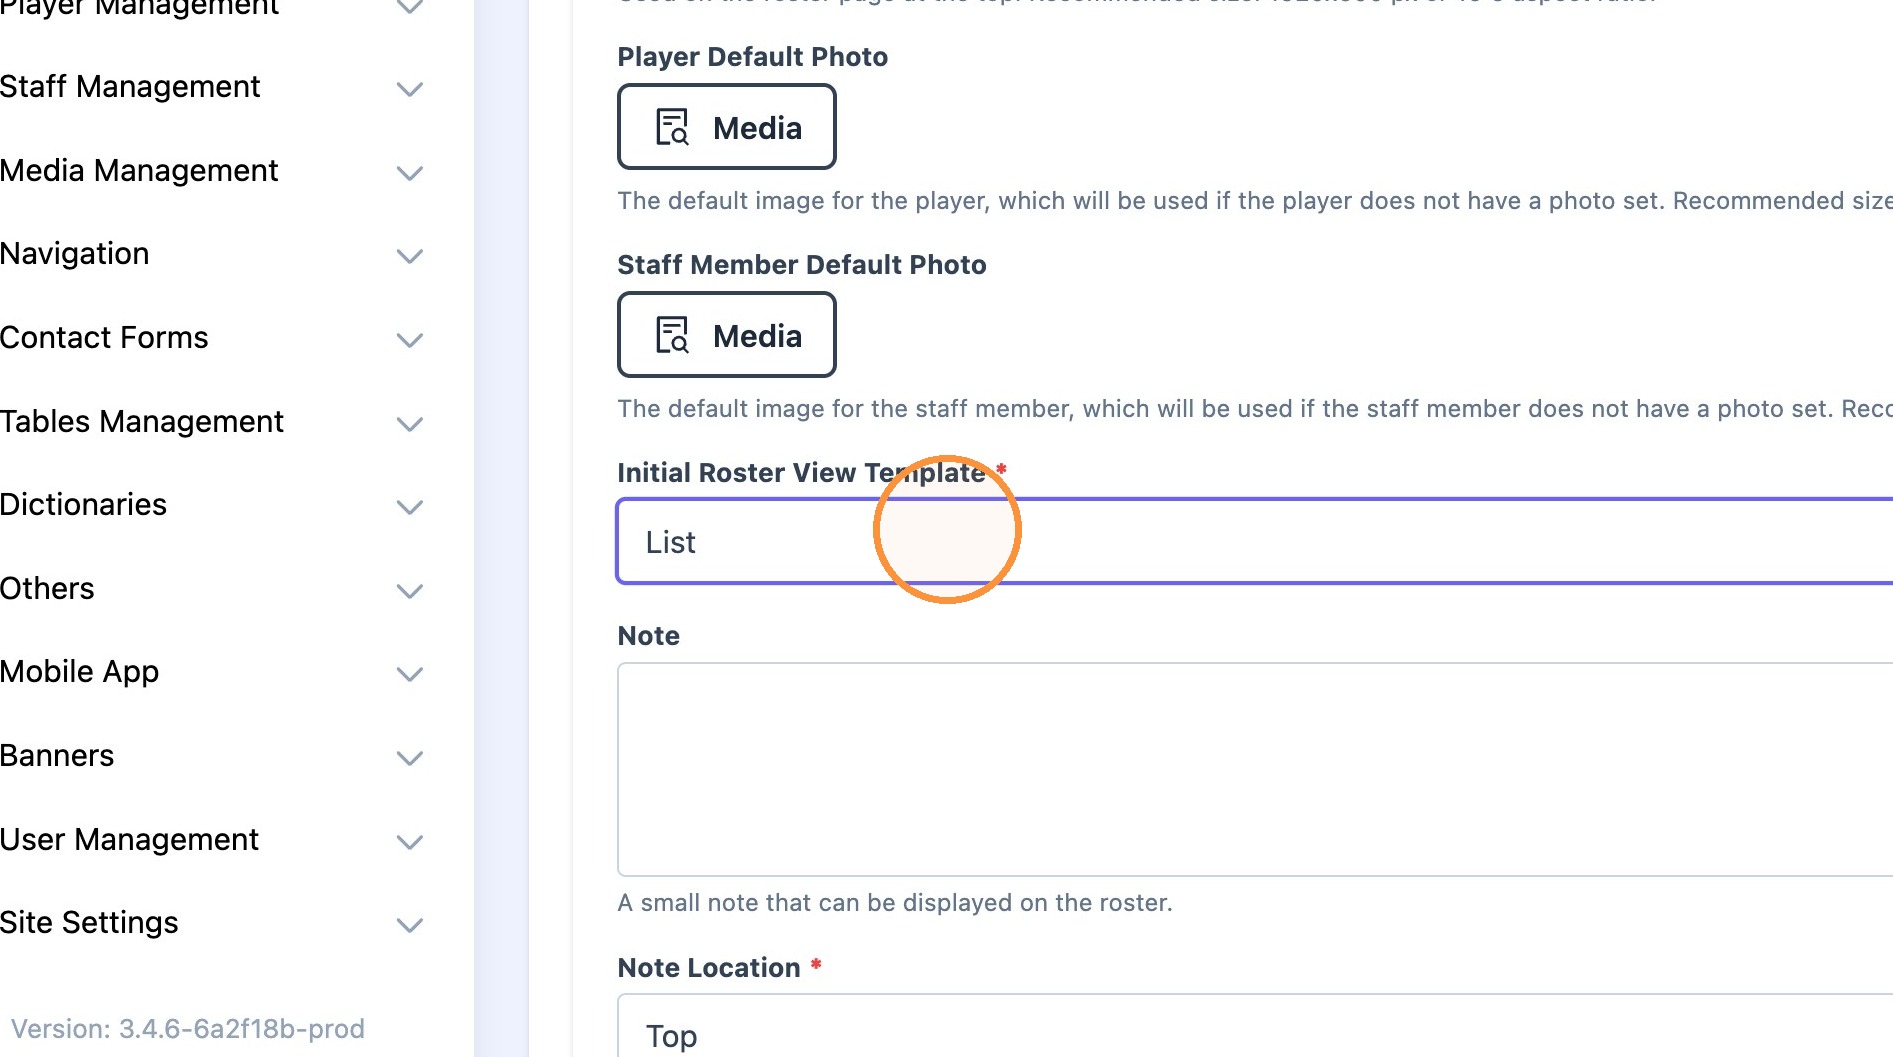
Tip: Tip! Users are able to choose their preferred roster view anytime after the roster page loads.
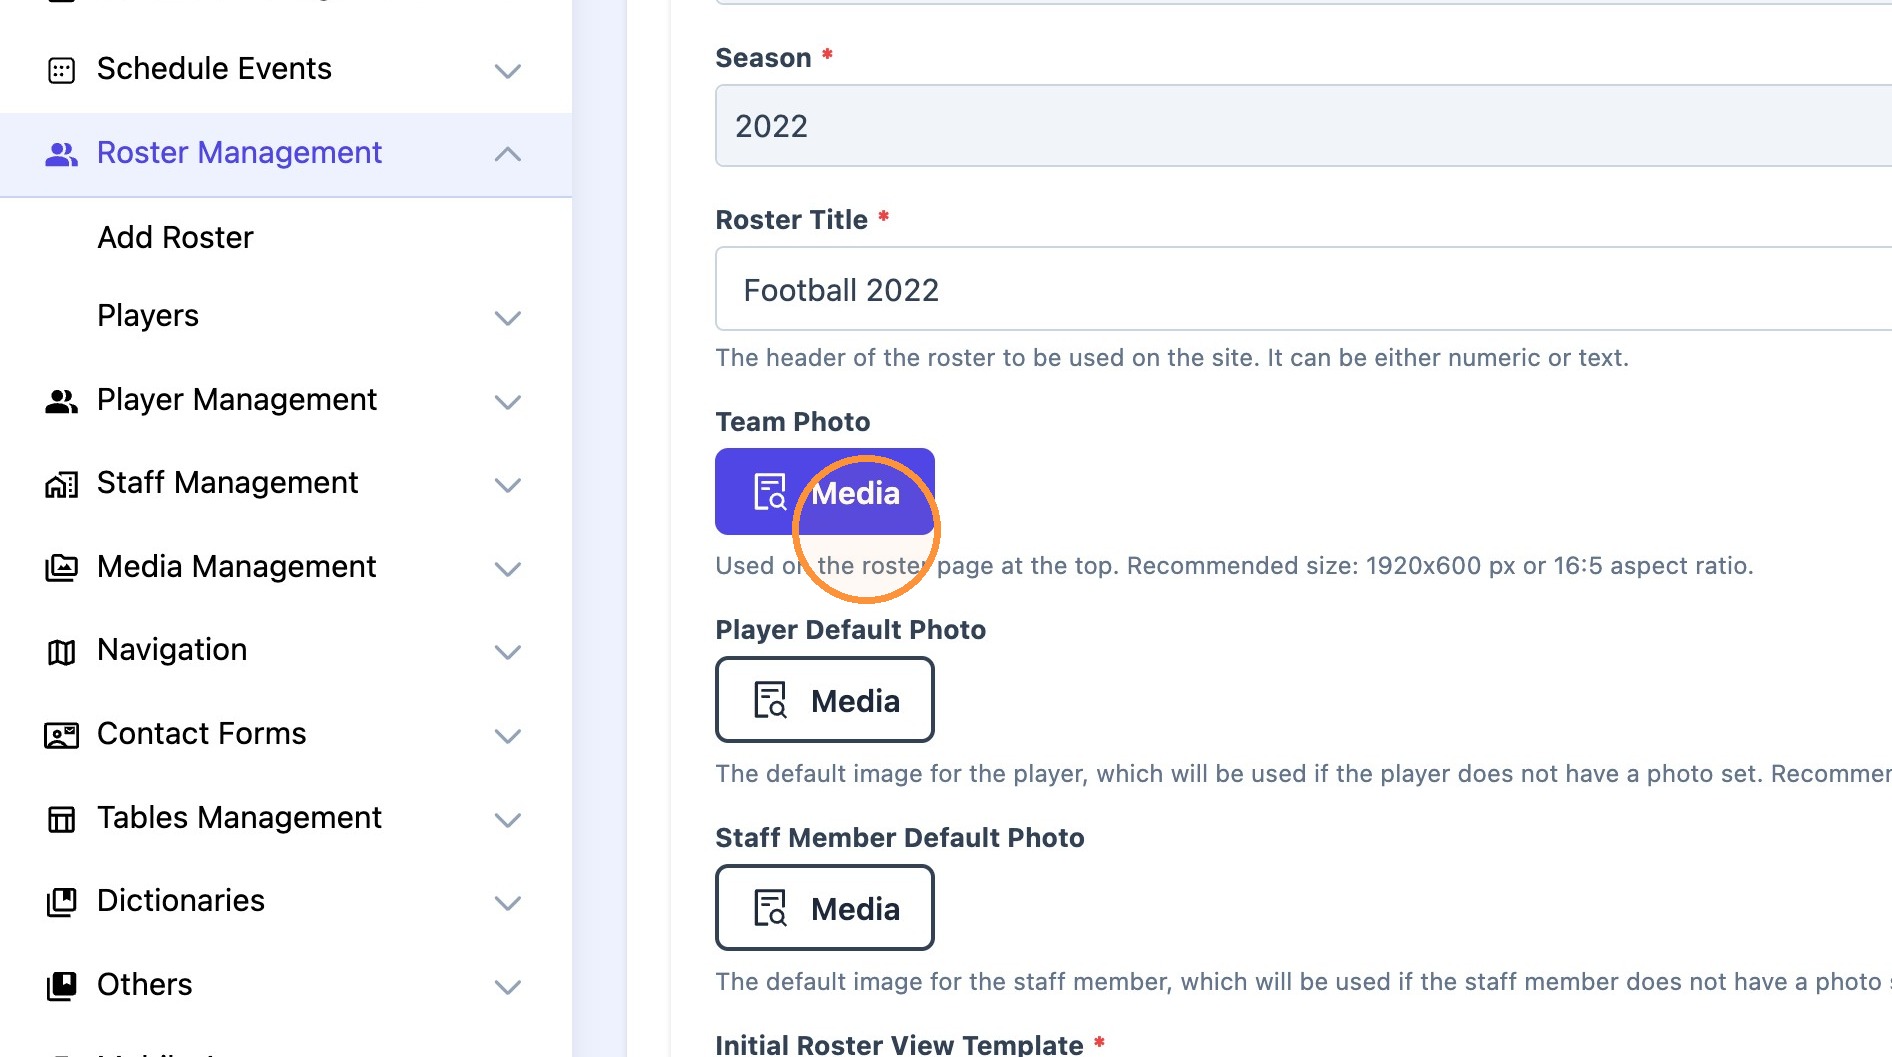
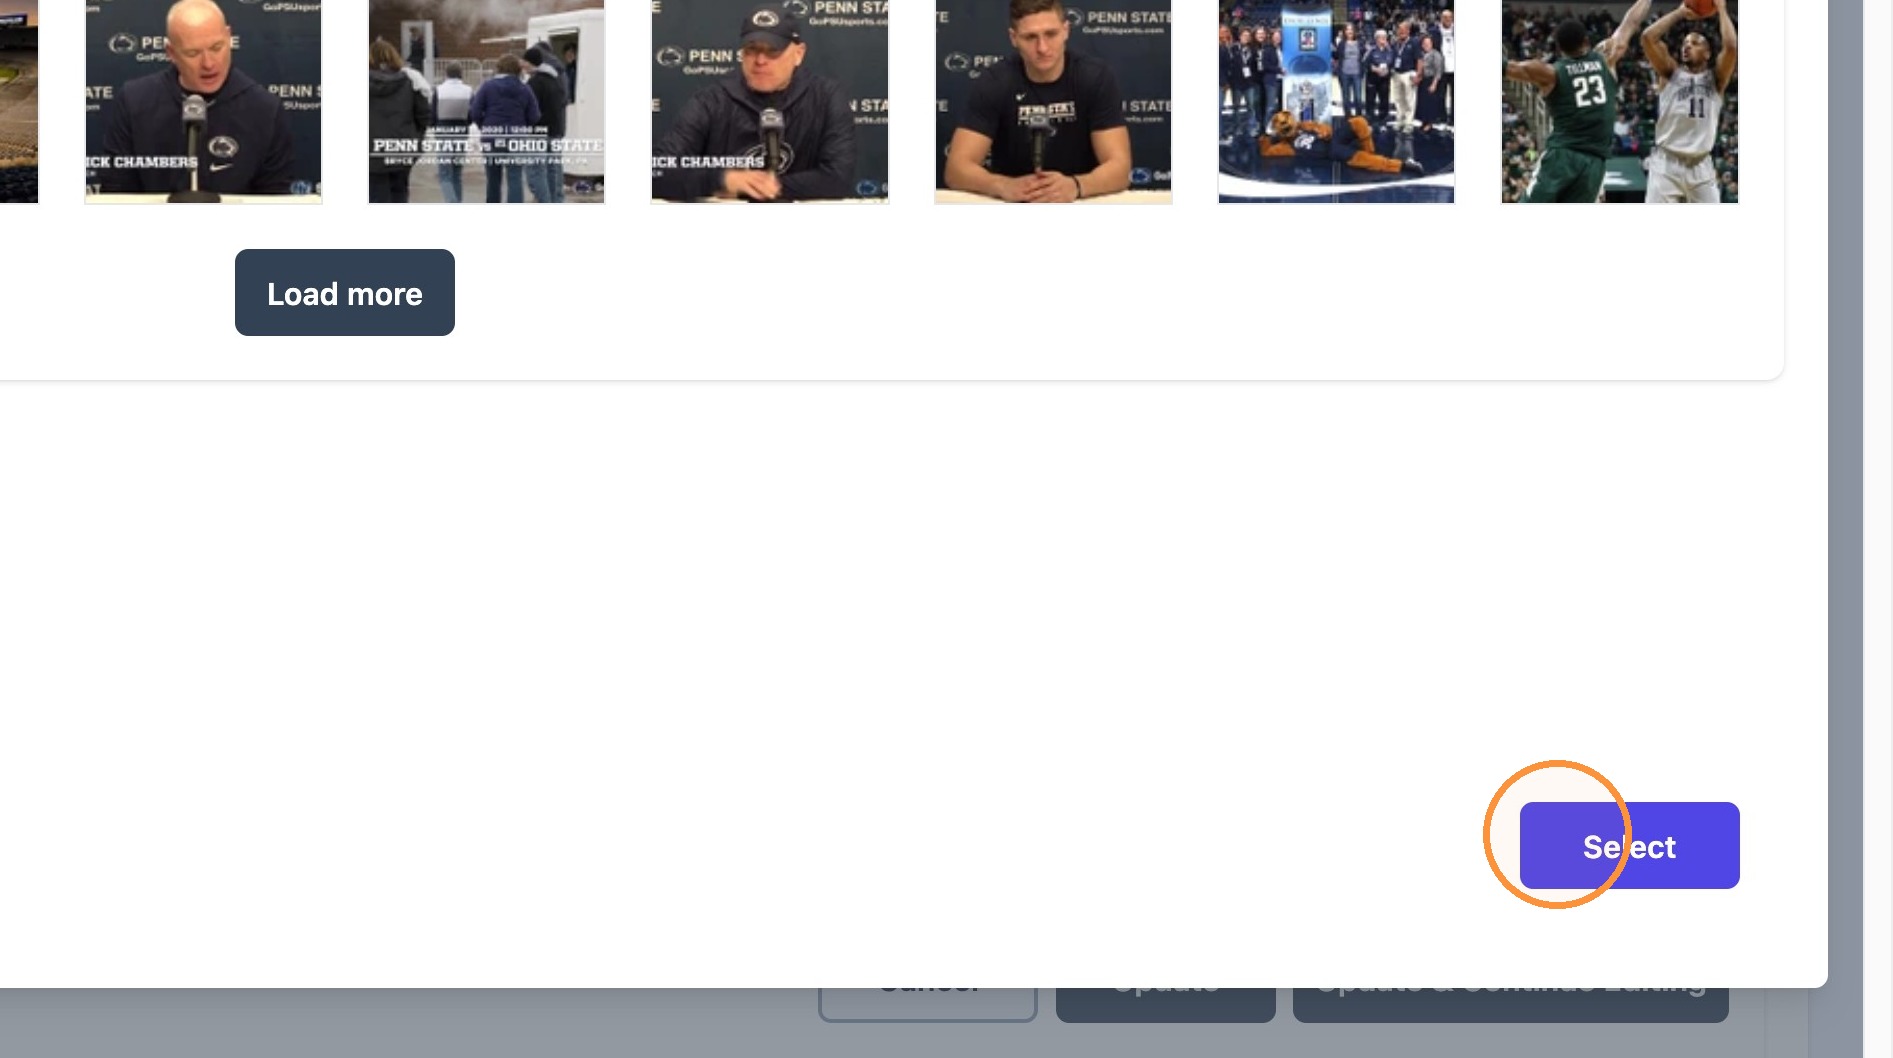
8. Select "team photo" for the selected roster year. If no picture is added here, the CMS will add the default "sport image" to the roster page.
The default image can be changed under the "Dictionaries -> Sports" menu.
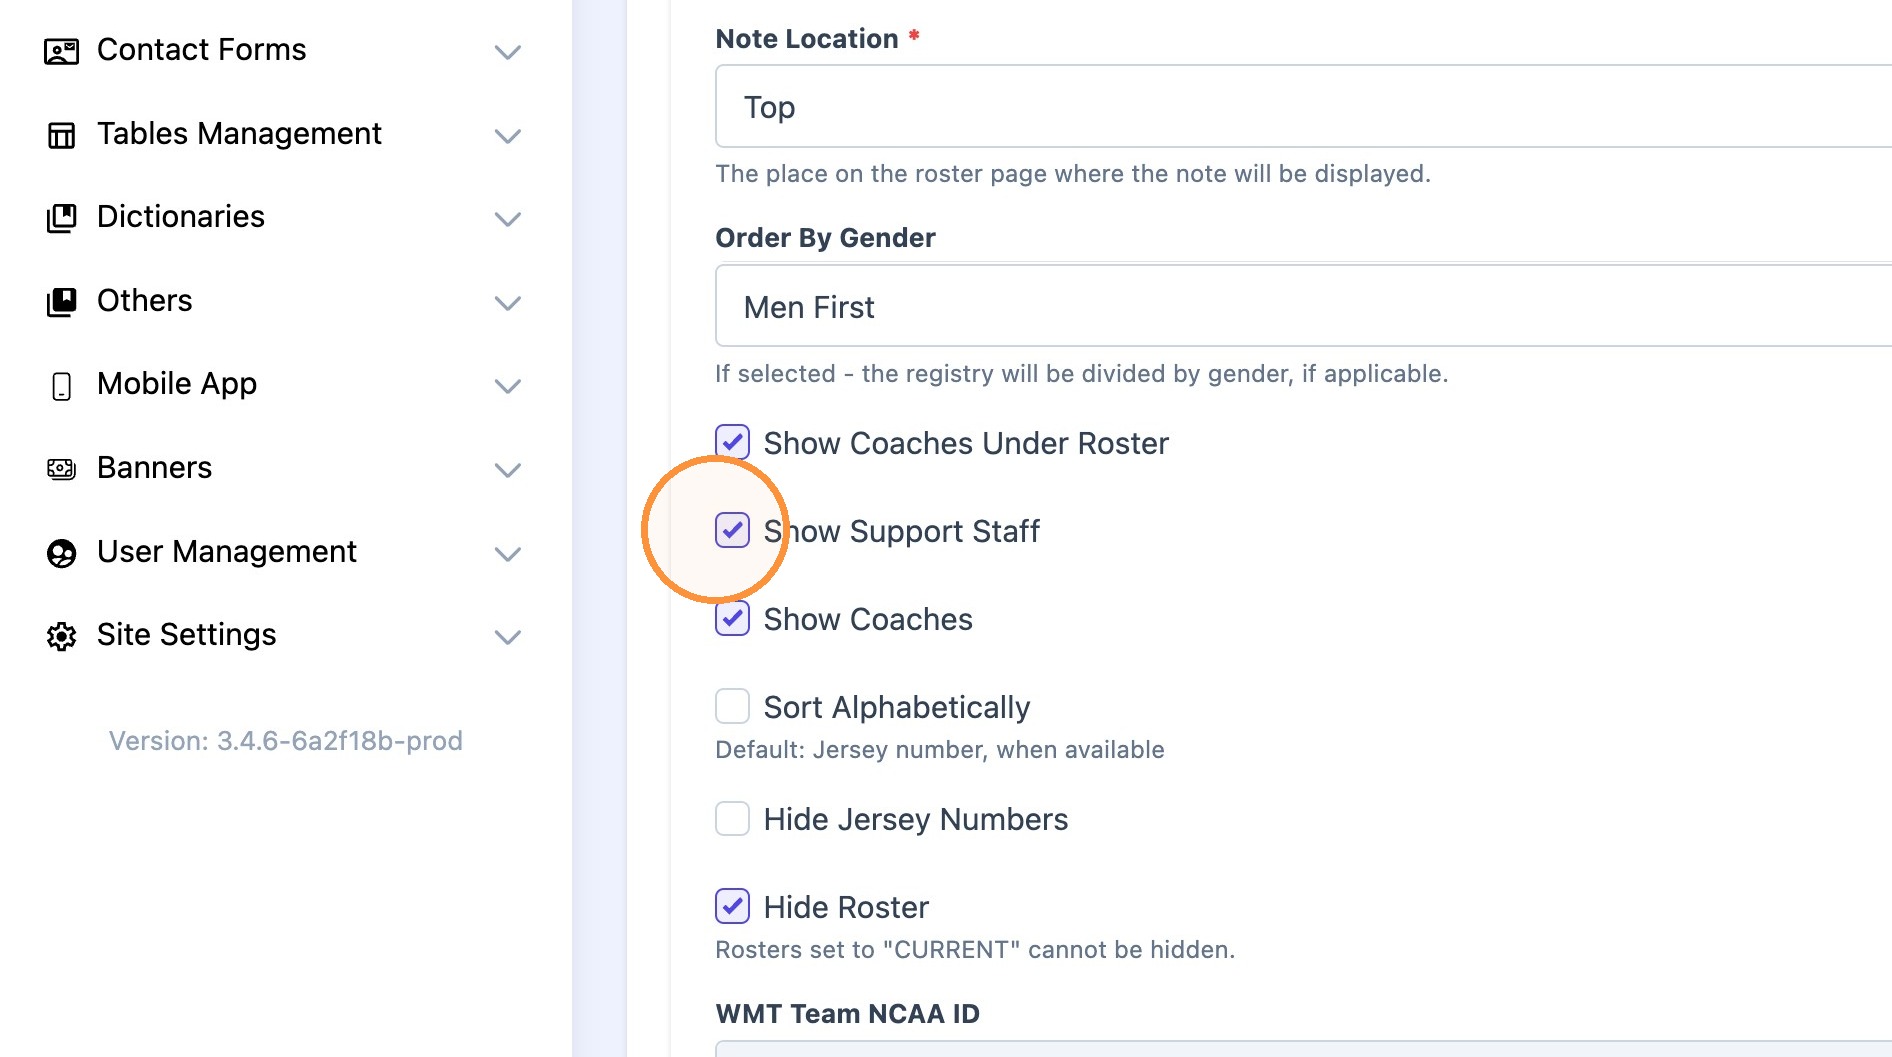
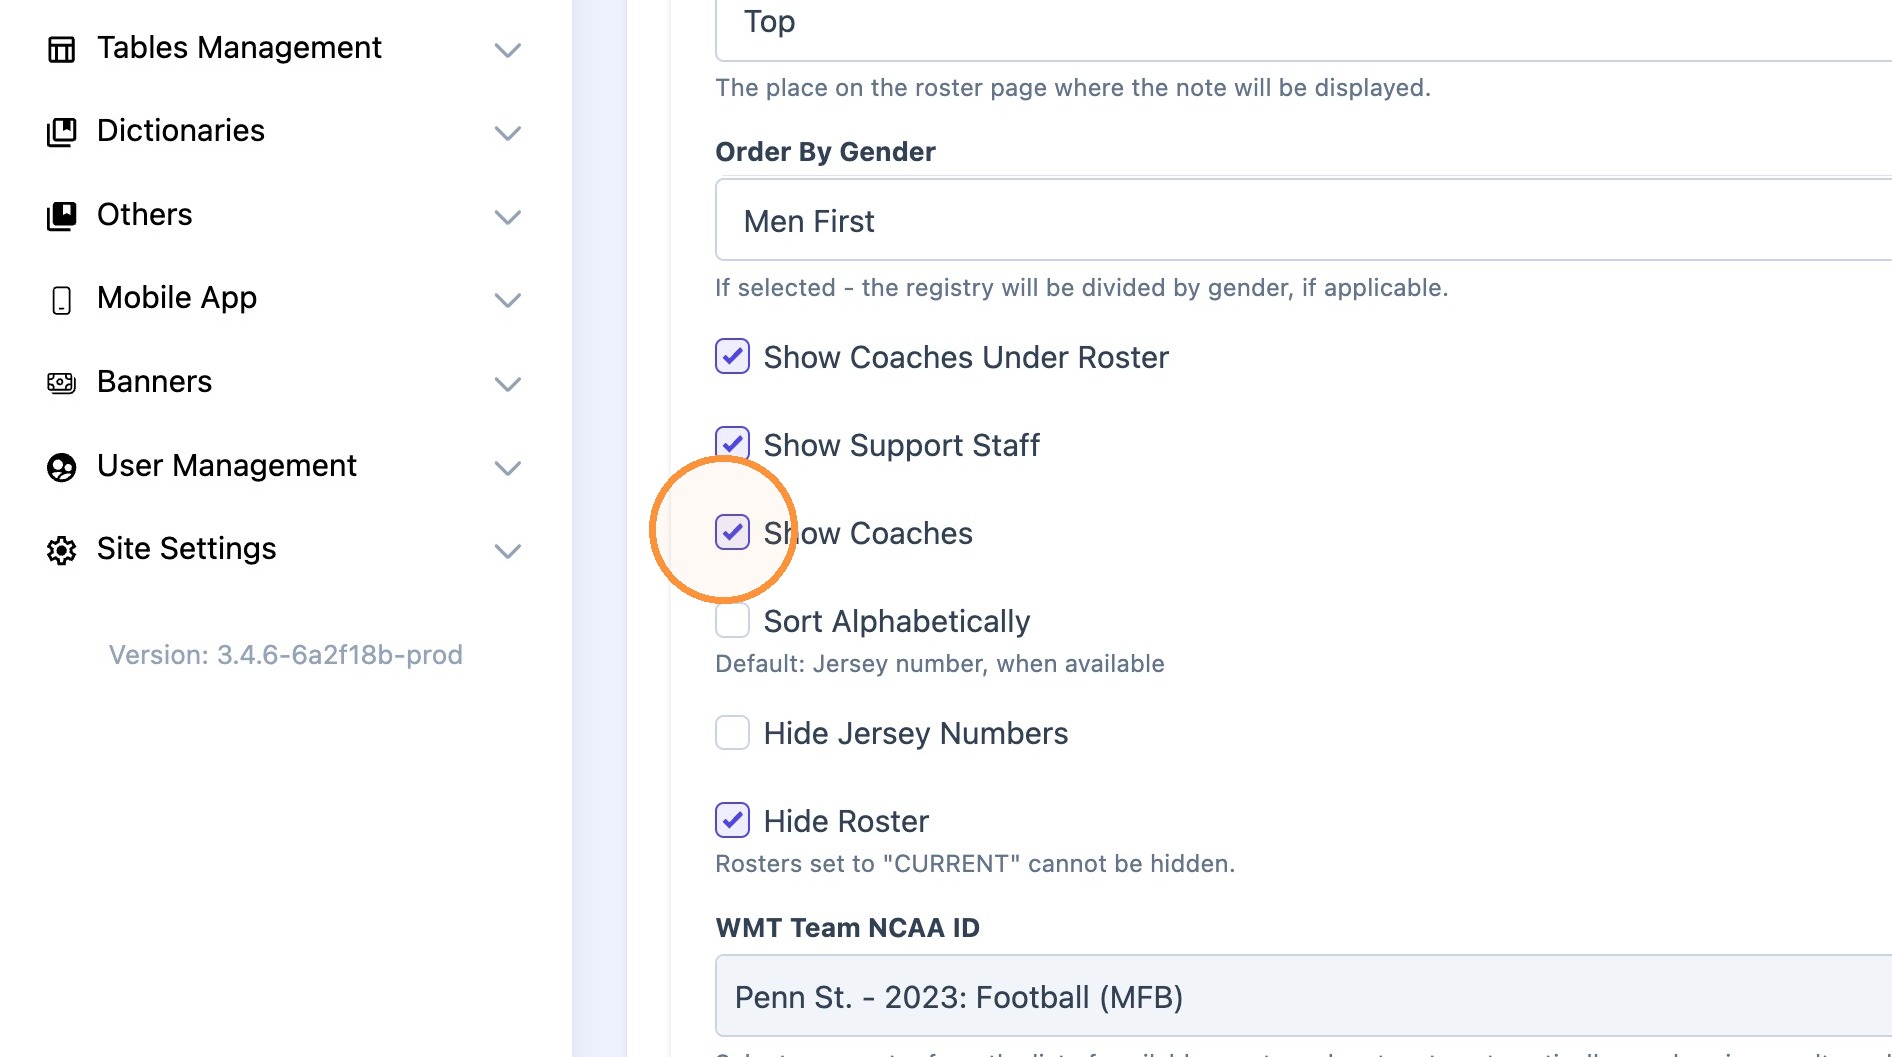
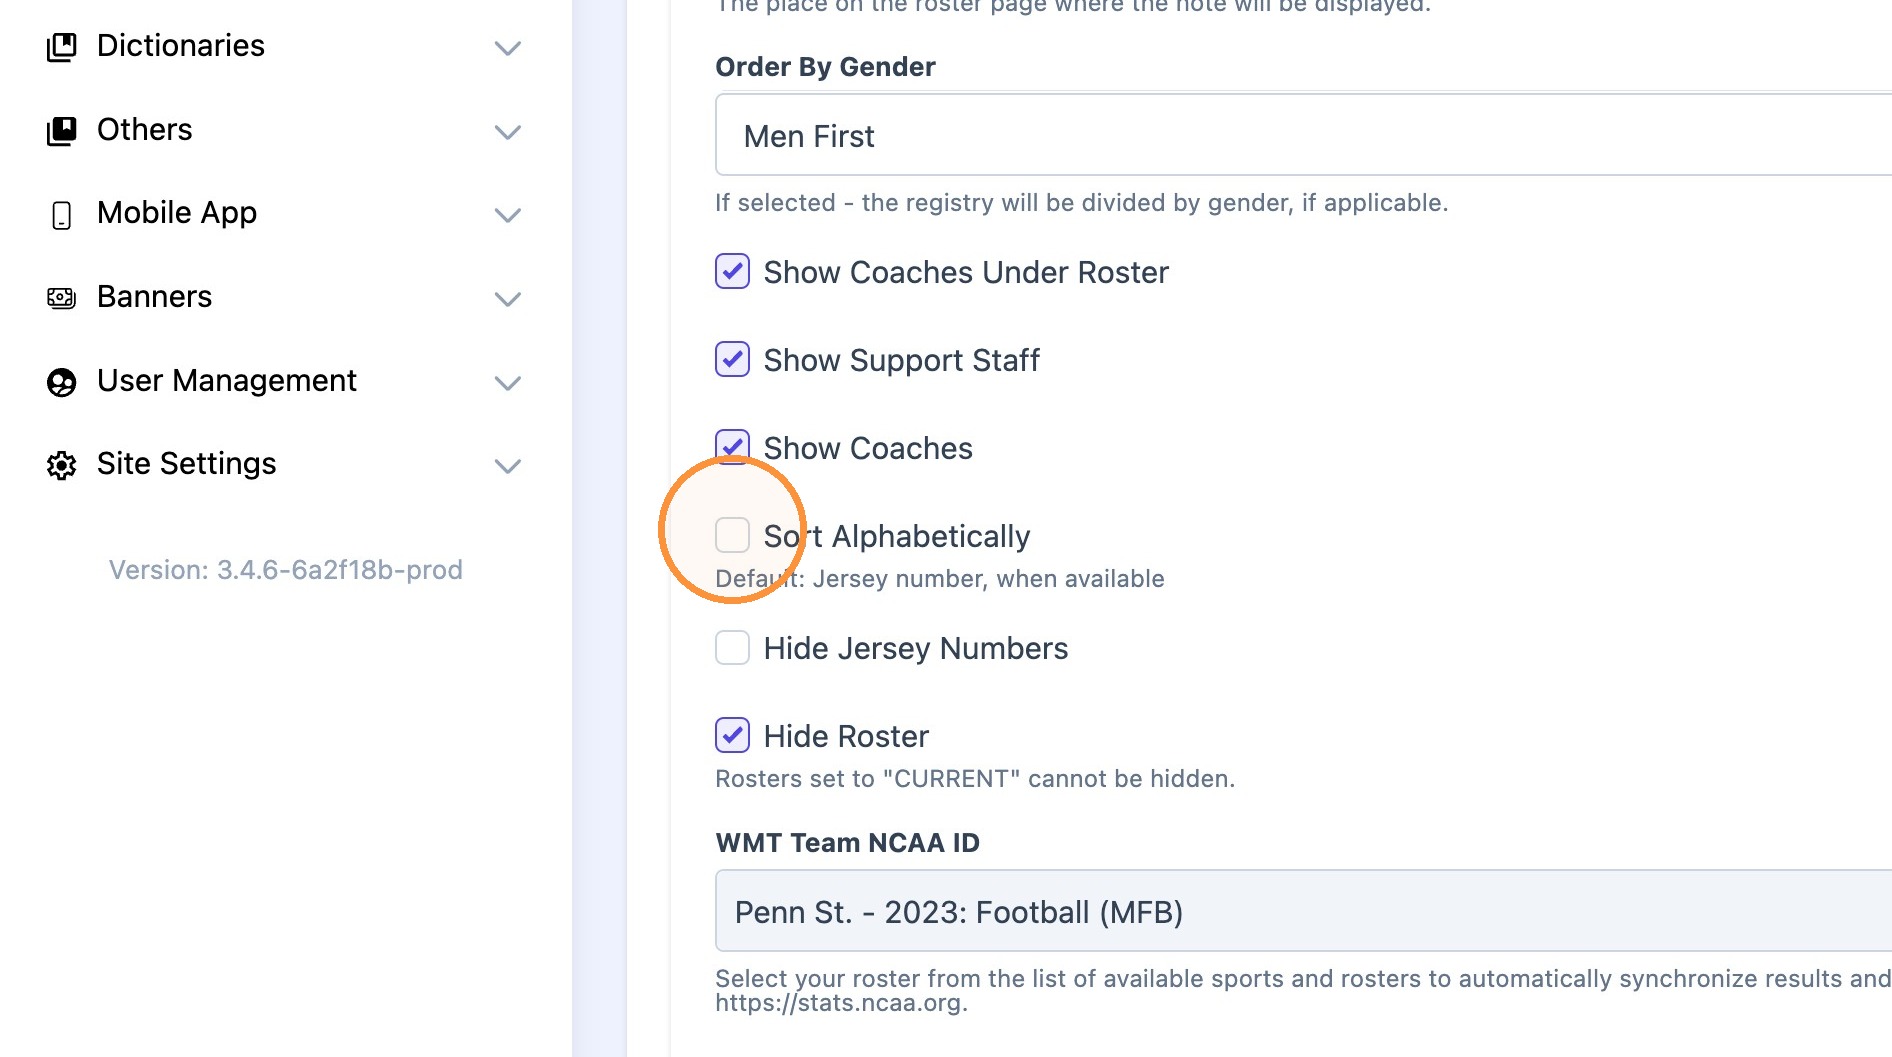
9. Choose respected check boxes if support staff or coaches need to be hidden.

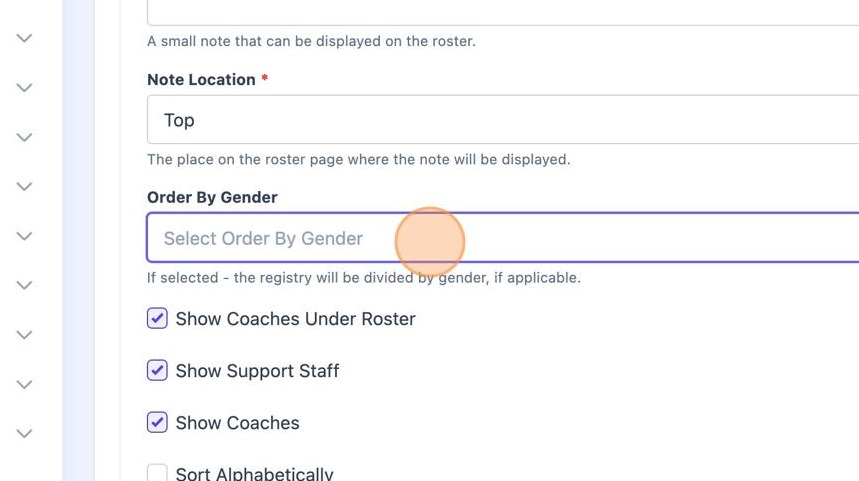
Tip: Tip! If working on a combined roster, use "Order By Gender" dropdown to select what gender should show first.
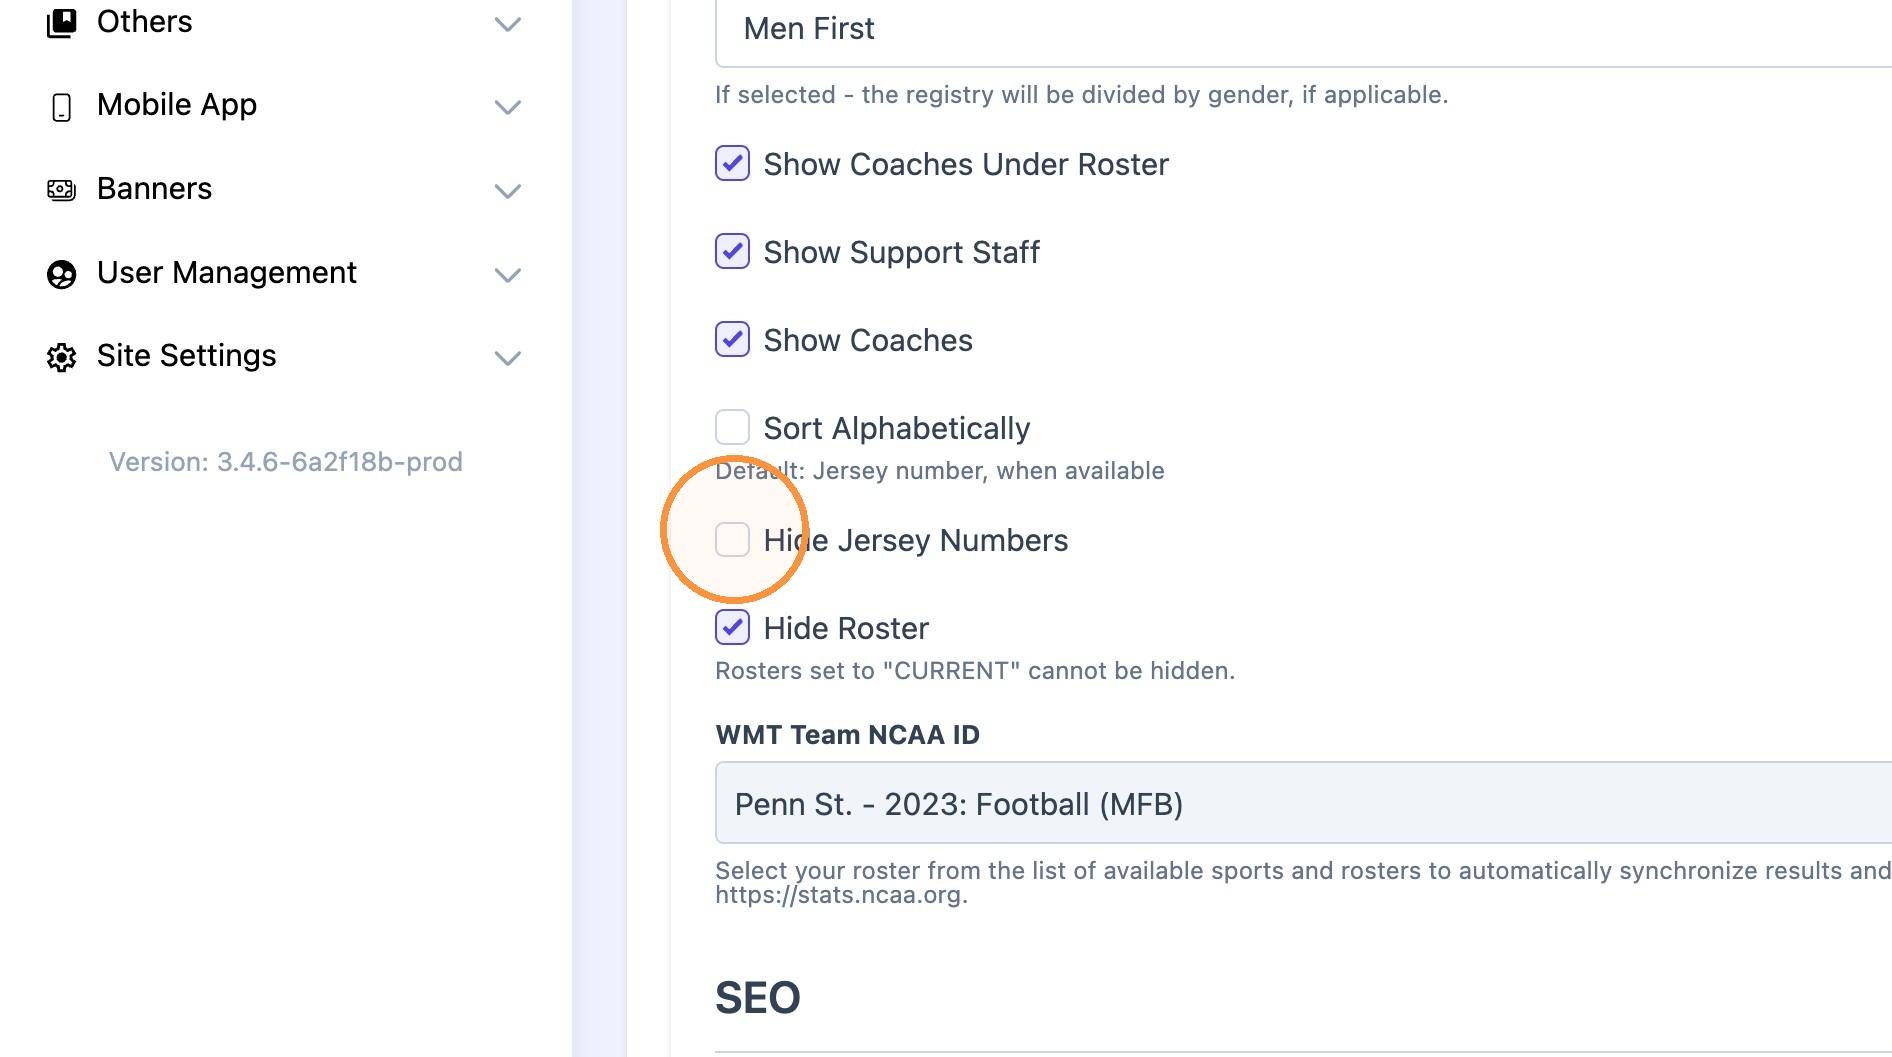
10. Check "sort alphabetically" if "jersey number" sorting is not applicable.
Check "hide jersey numbers" as well.
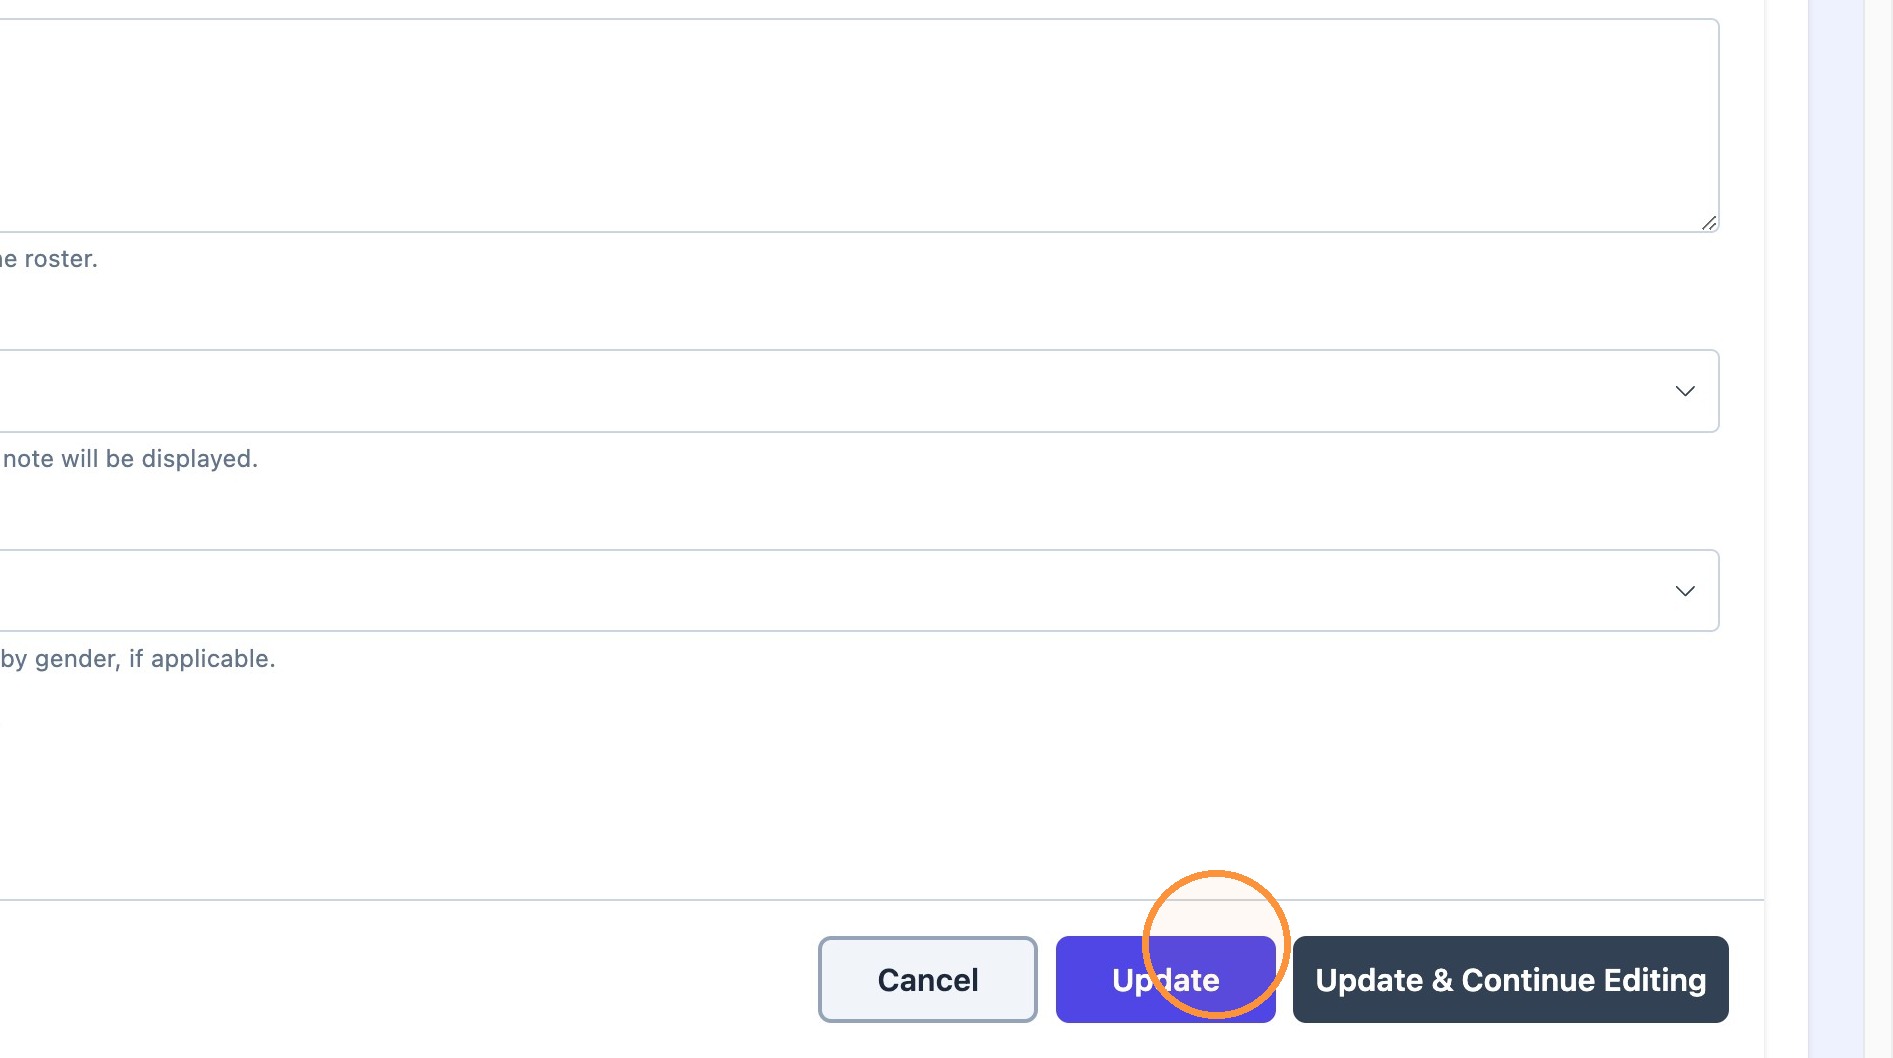
11. Click "Update" to save all changes.