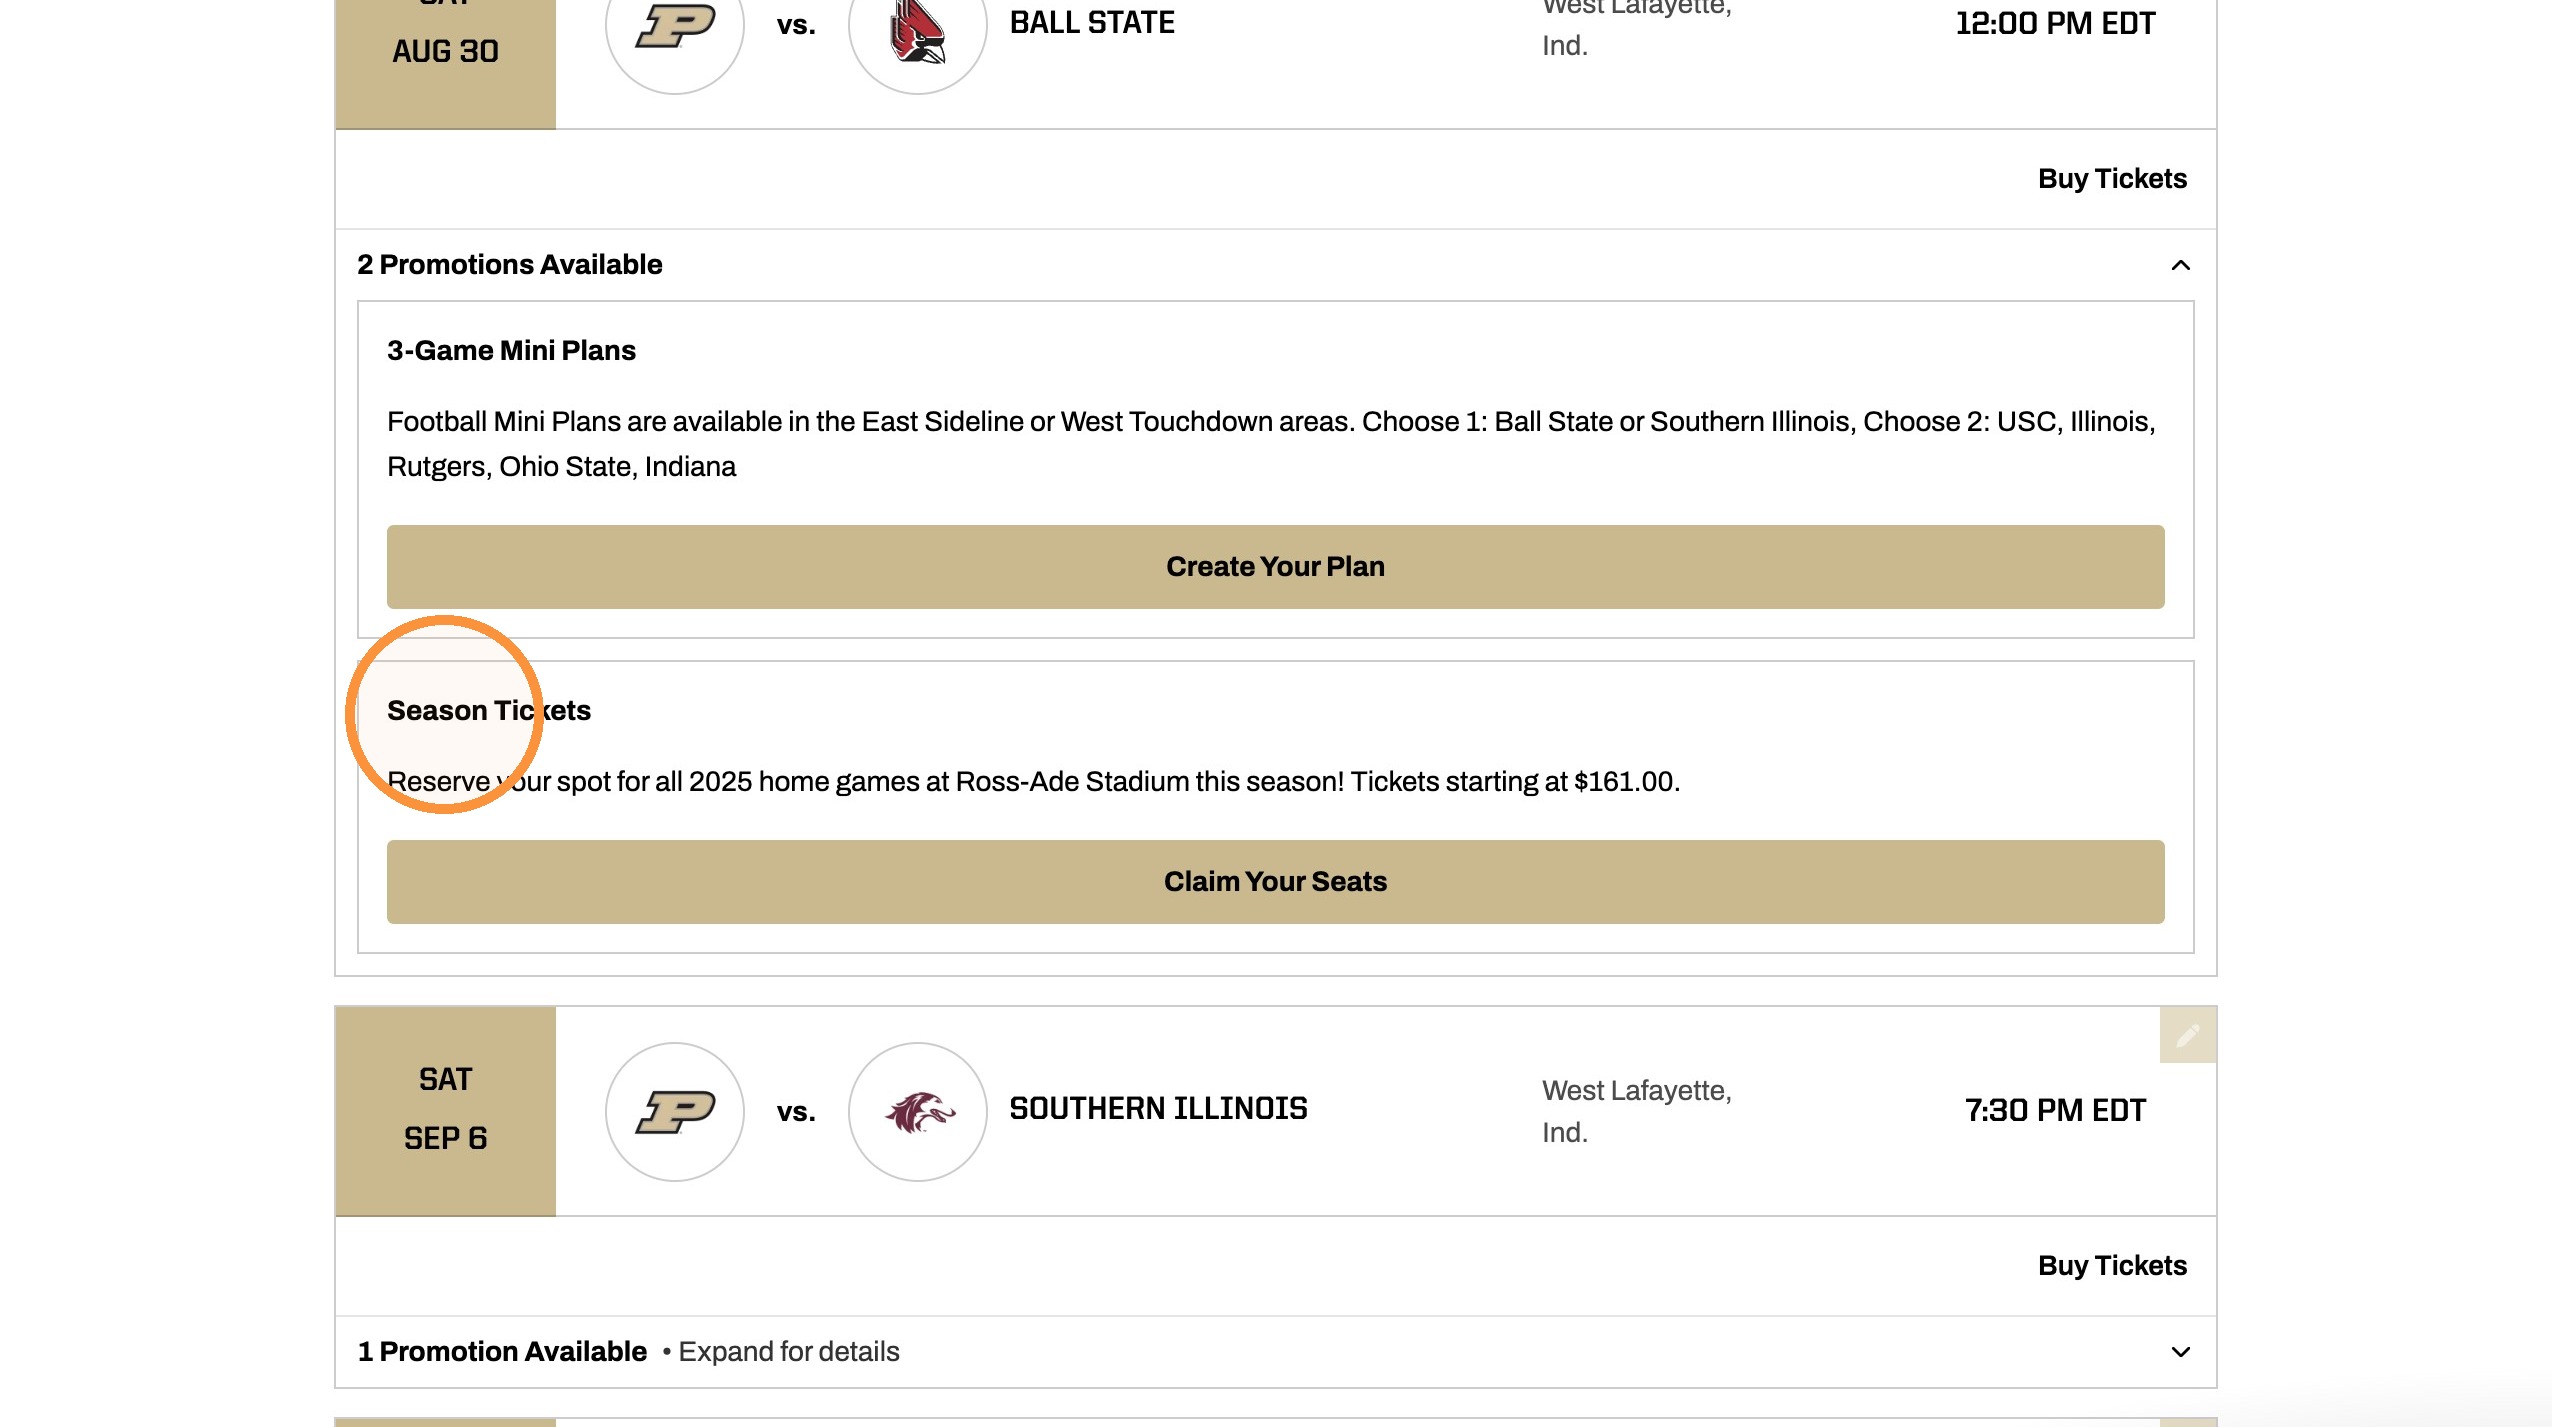
Add Promotional Items to Schedule Events
Last updated: September 20, 2026
Made by Finance WMT Digital with Scribe
1. Navigate to Schedule Events in the CMS
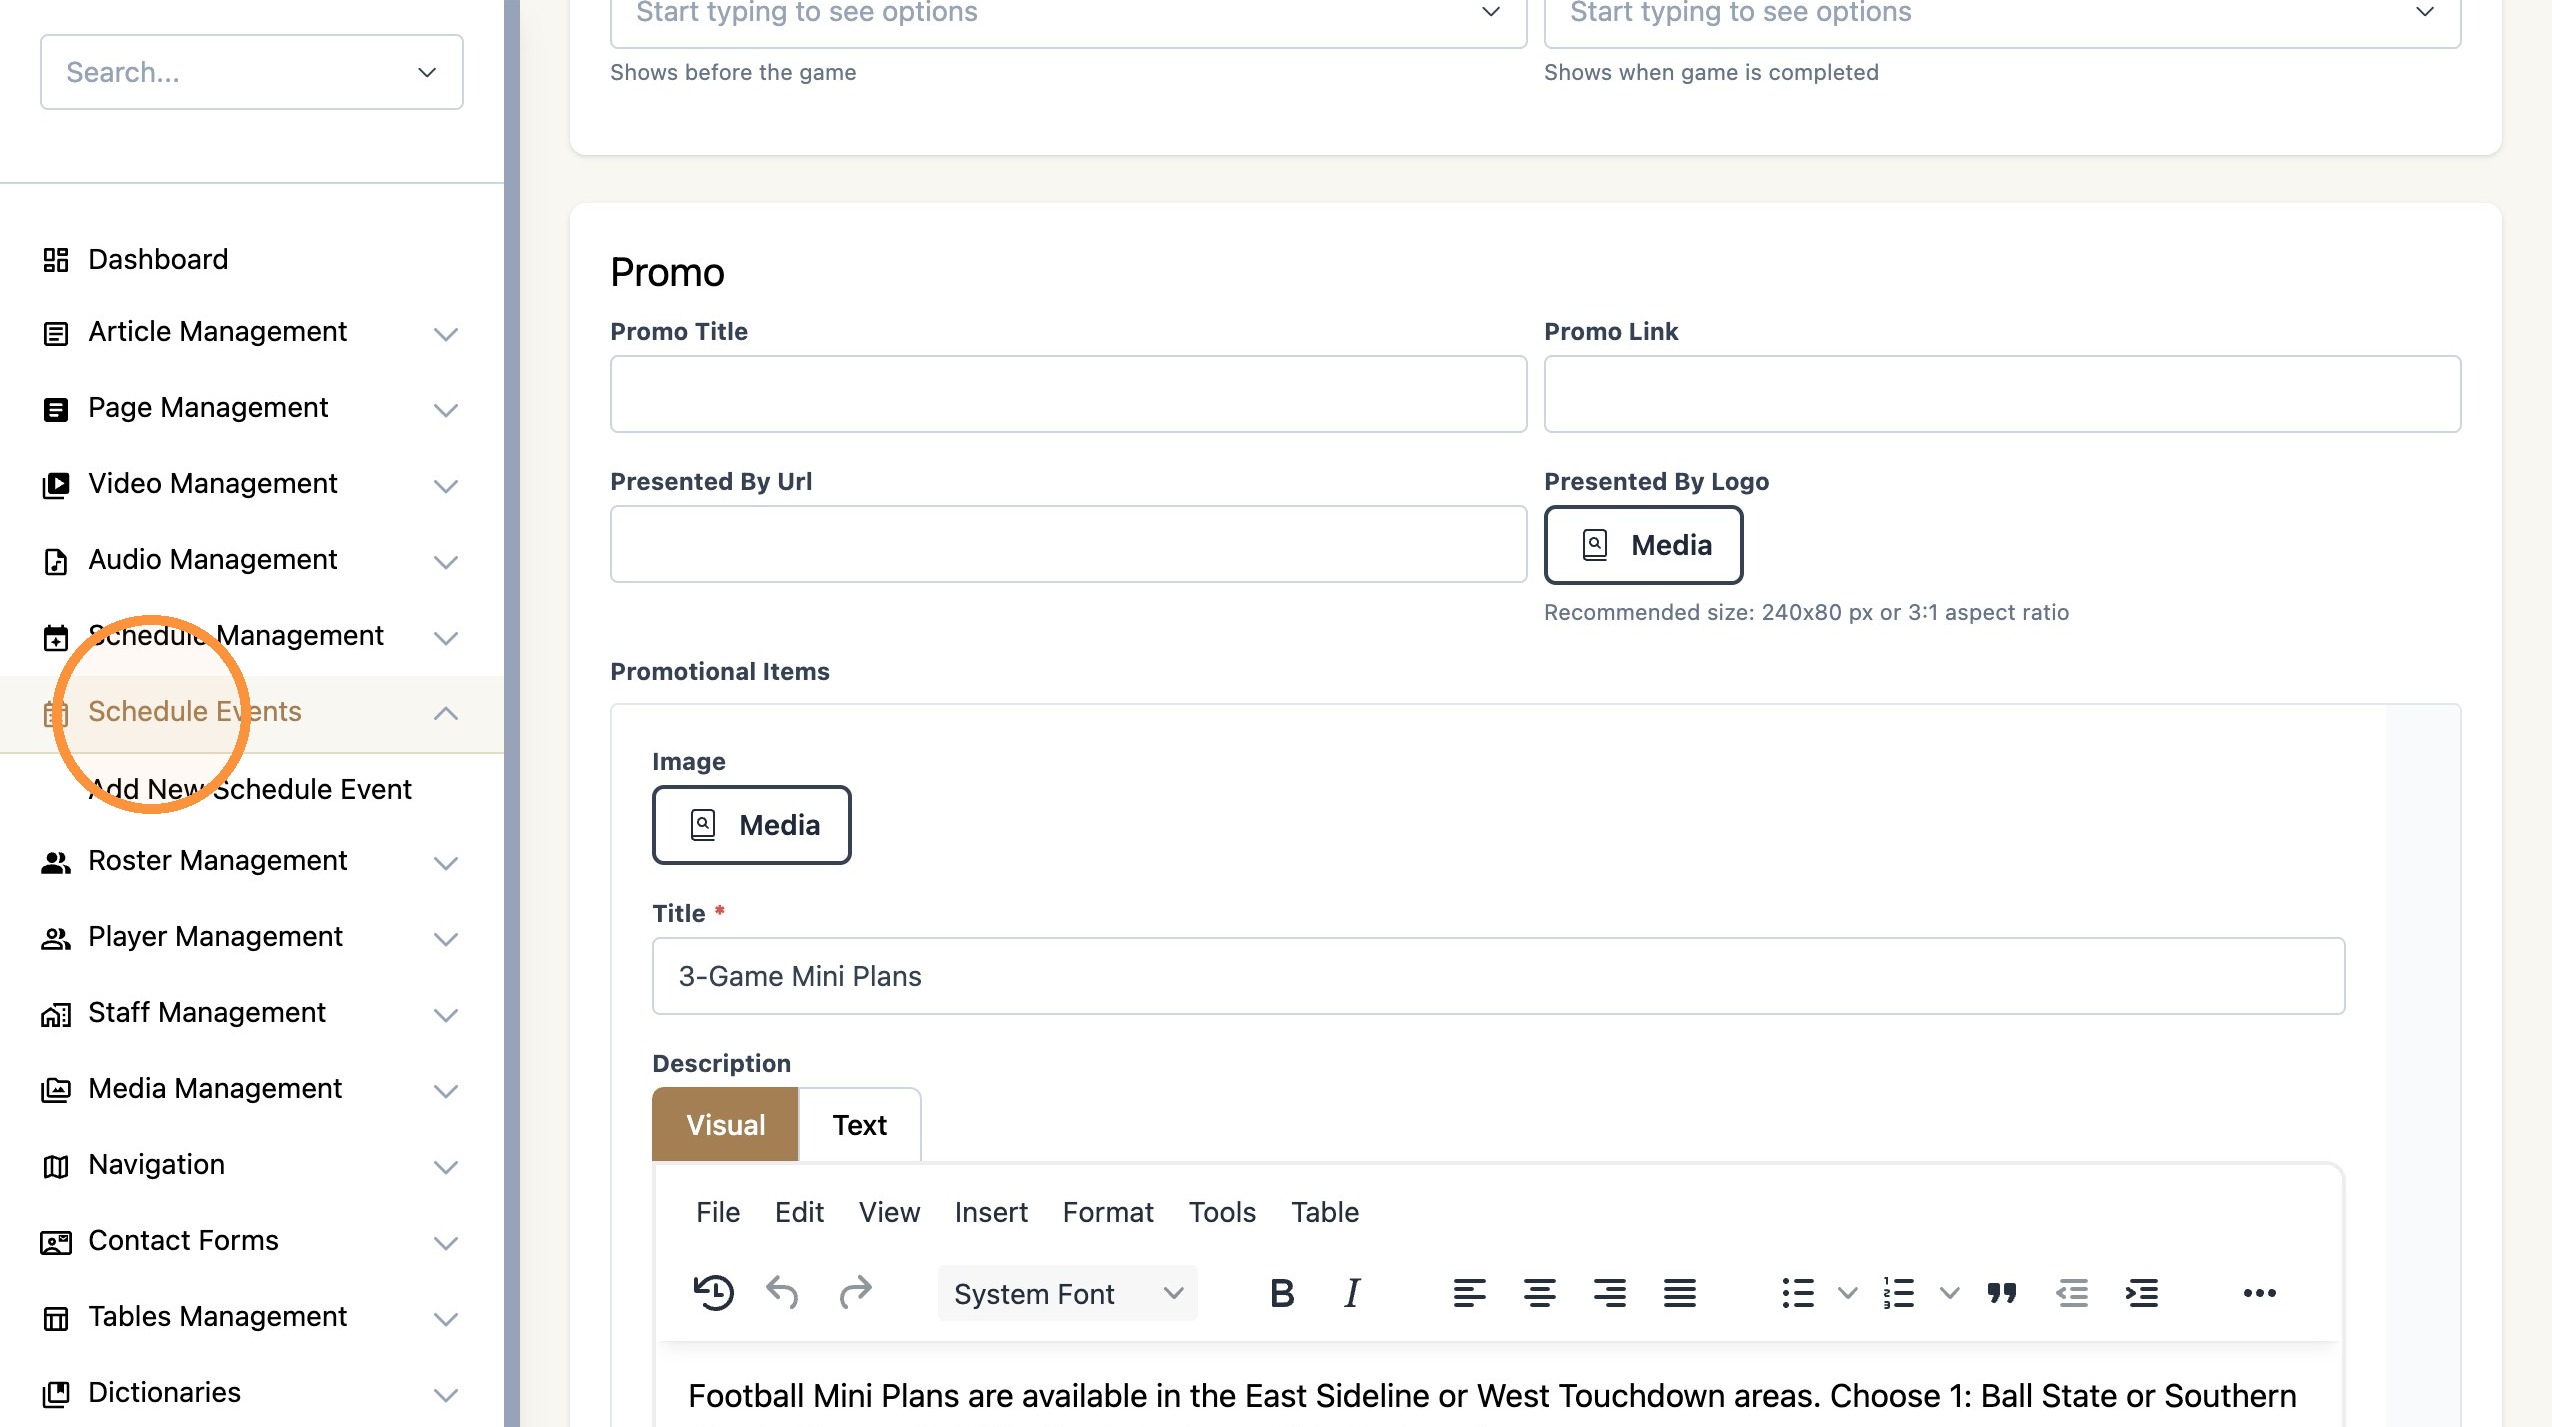
2. Find the event that you wish to update and select "Edit"

3. Scroll down to the 'Promo' section and locate the "Promotional Items" feature

4. Select "Add Promotional Items" to begin adding one promotional item to the event
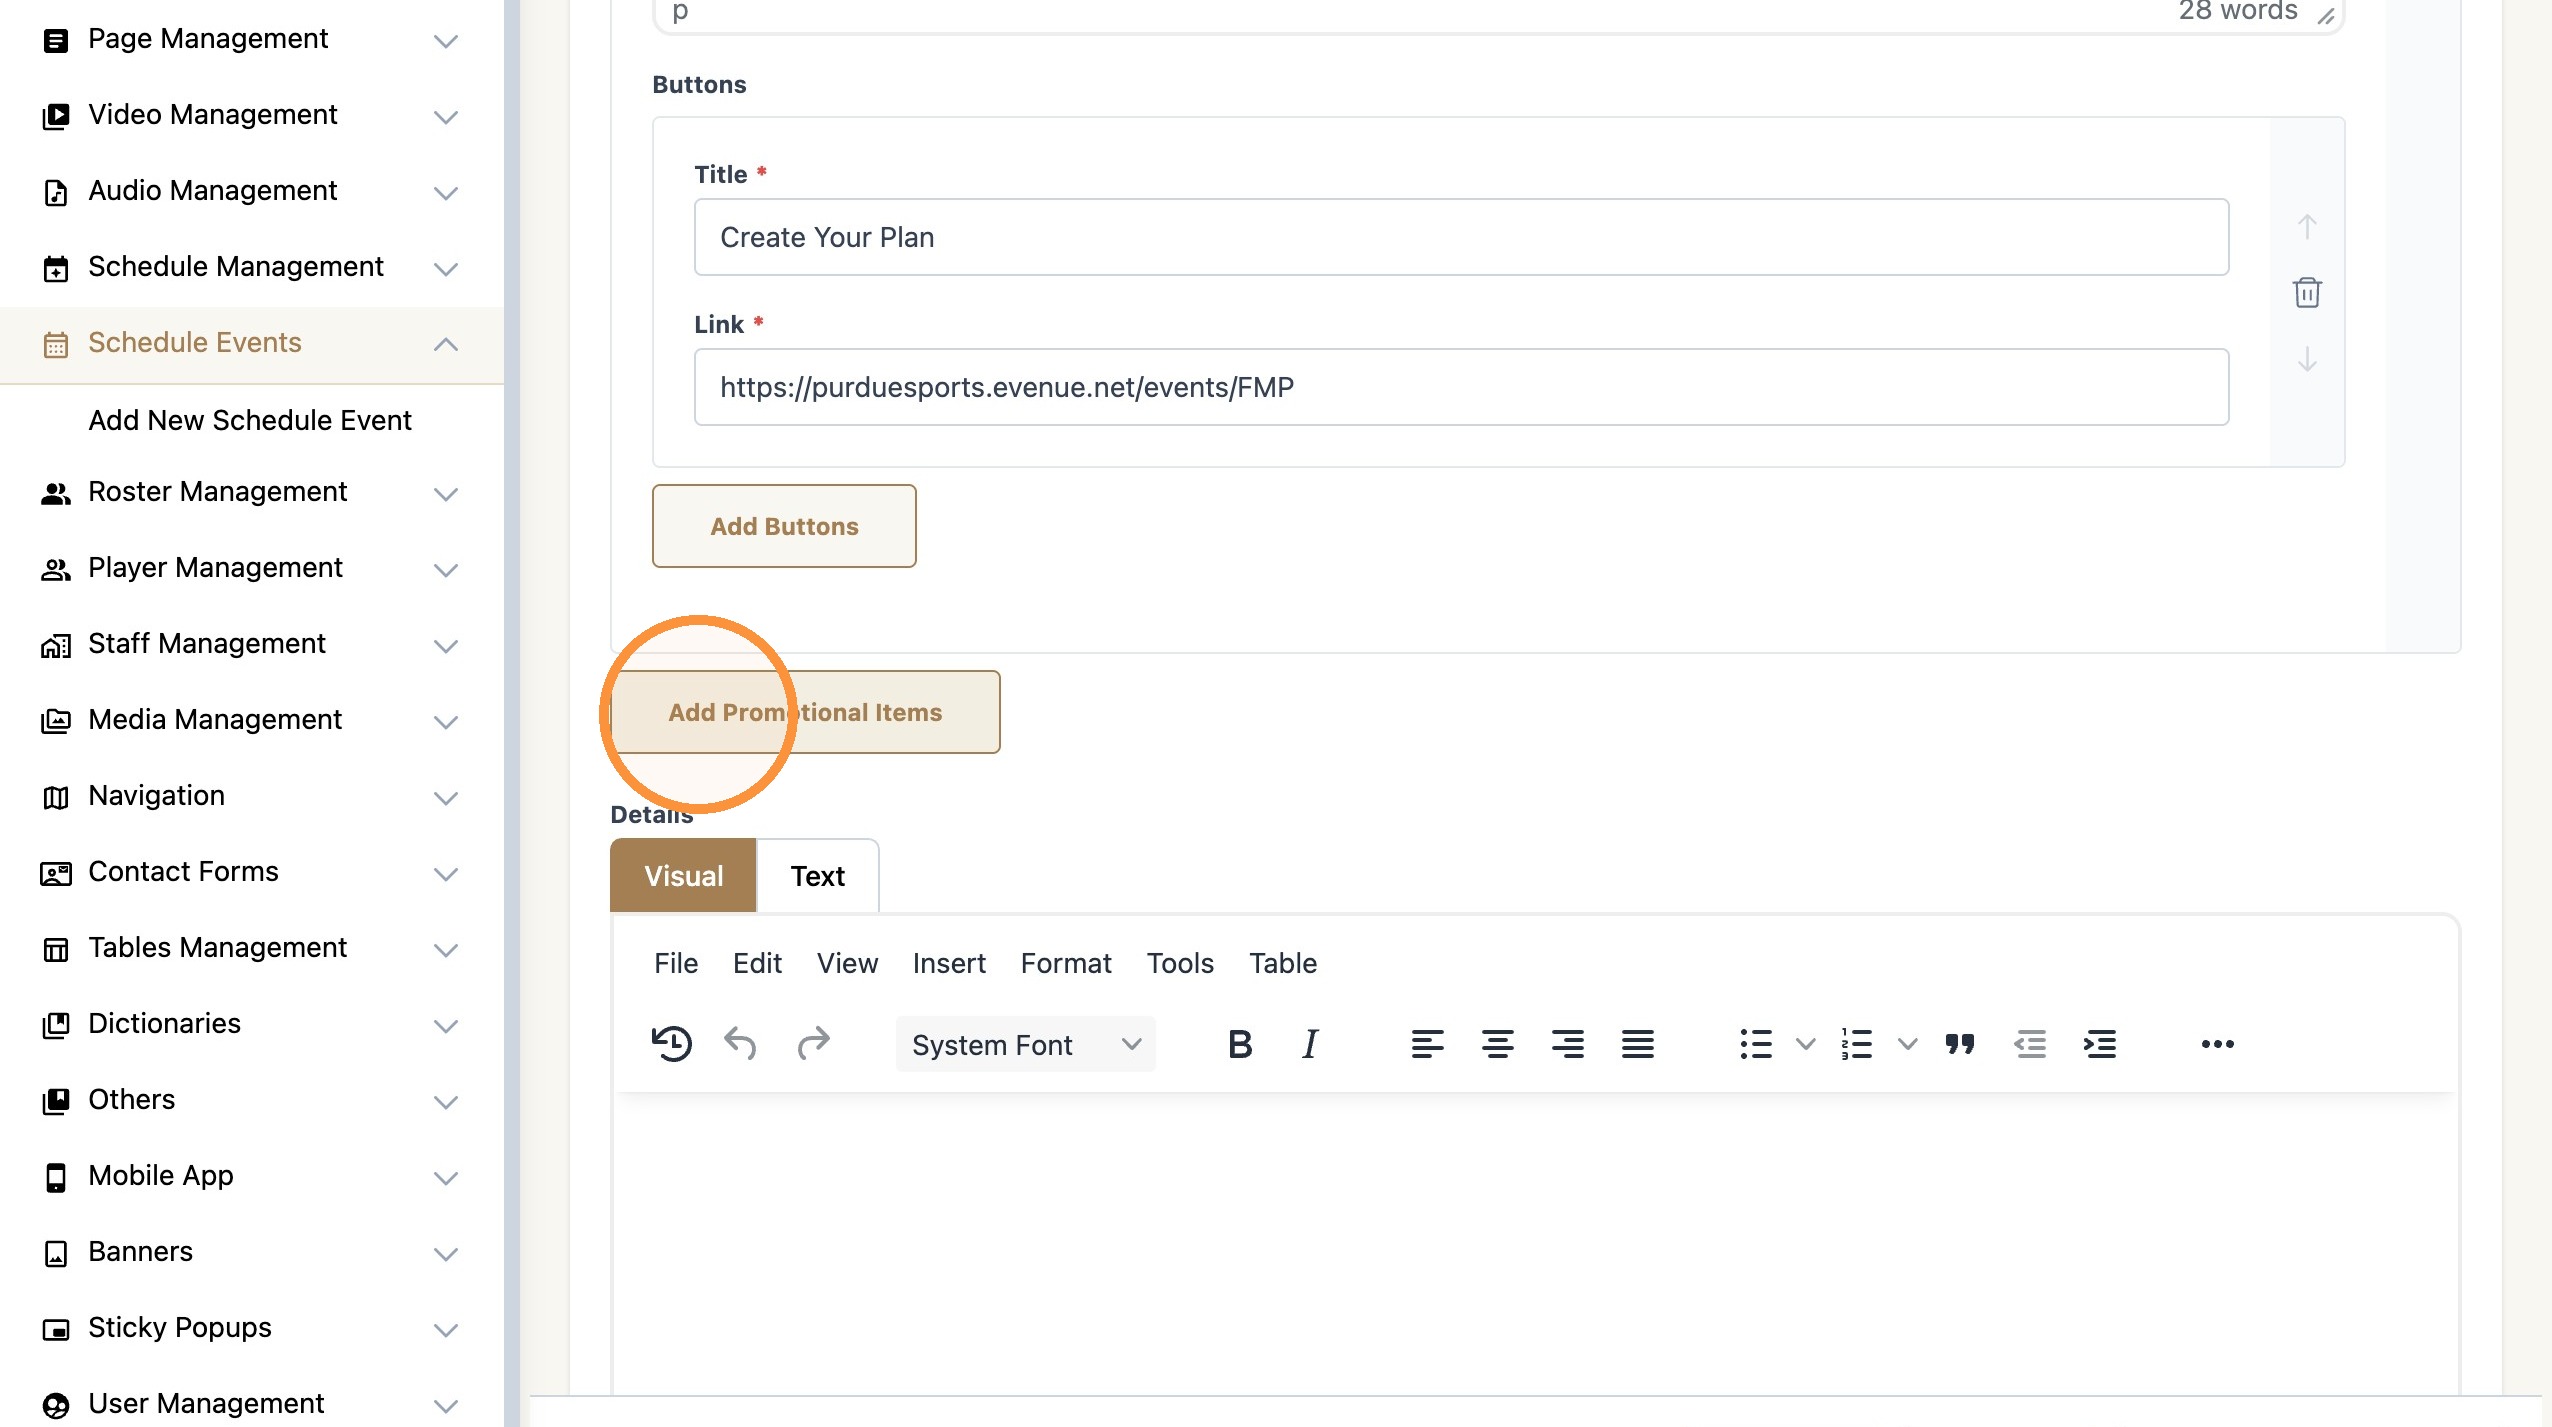
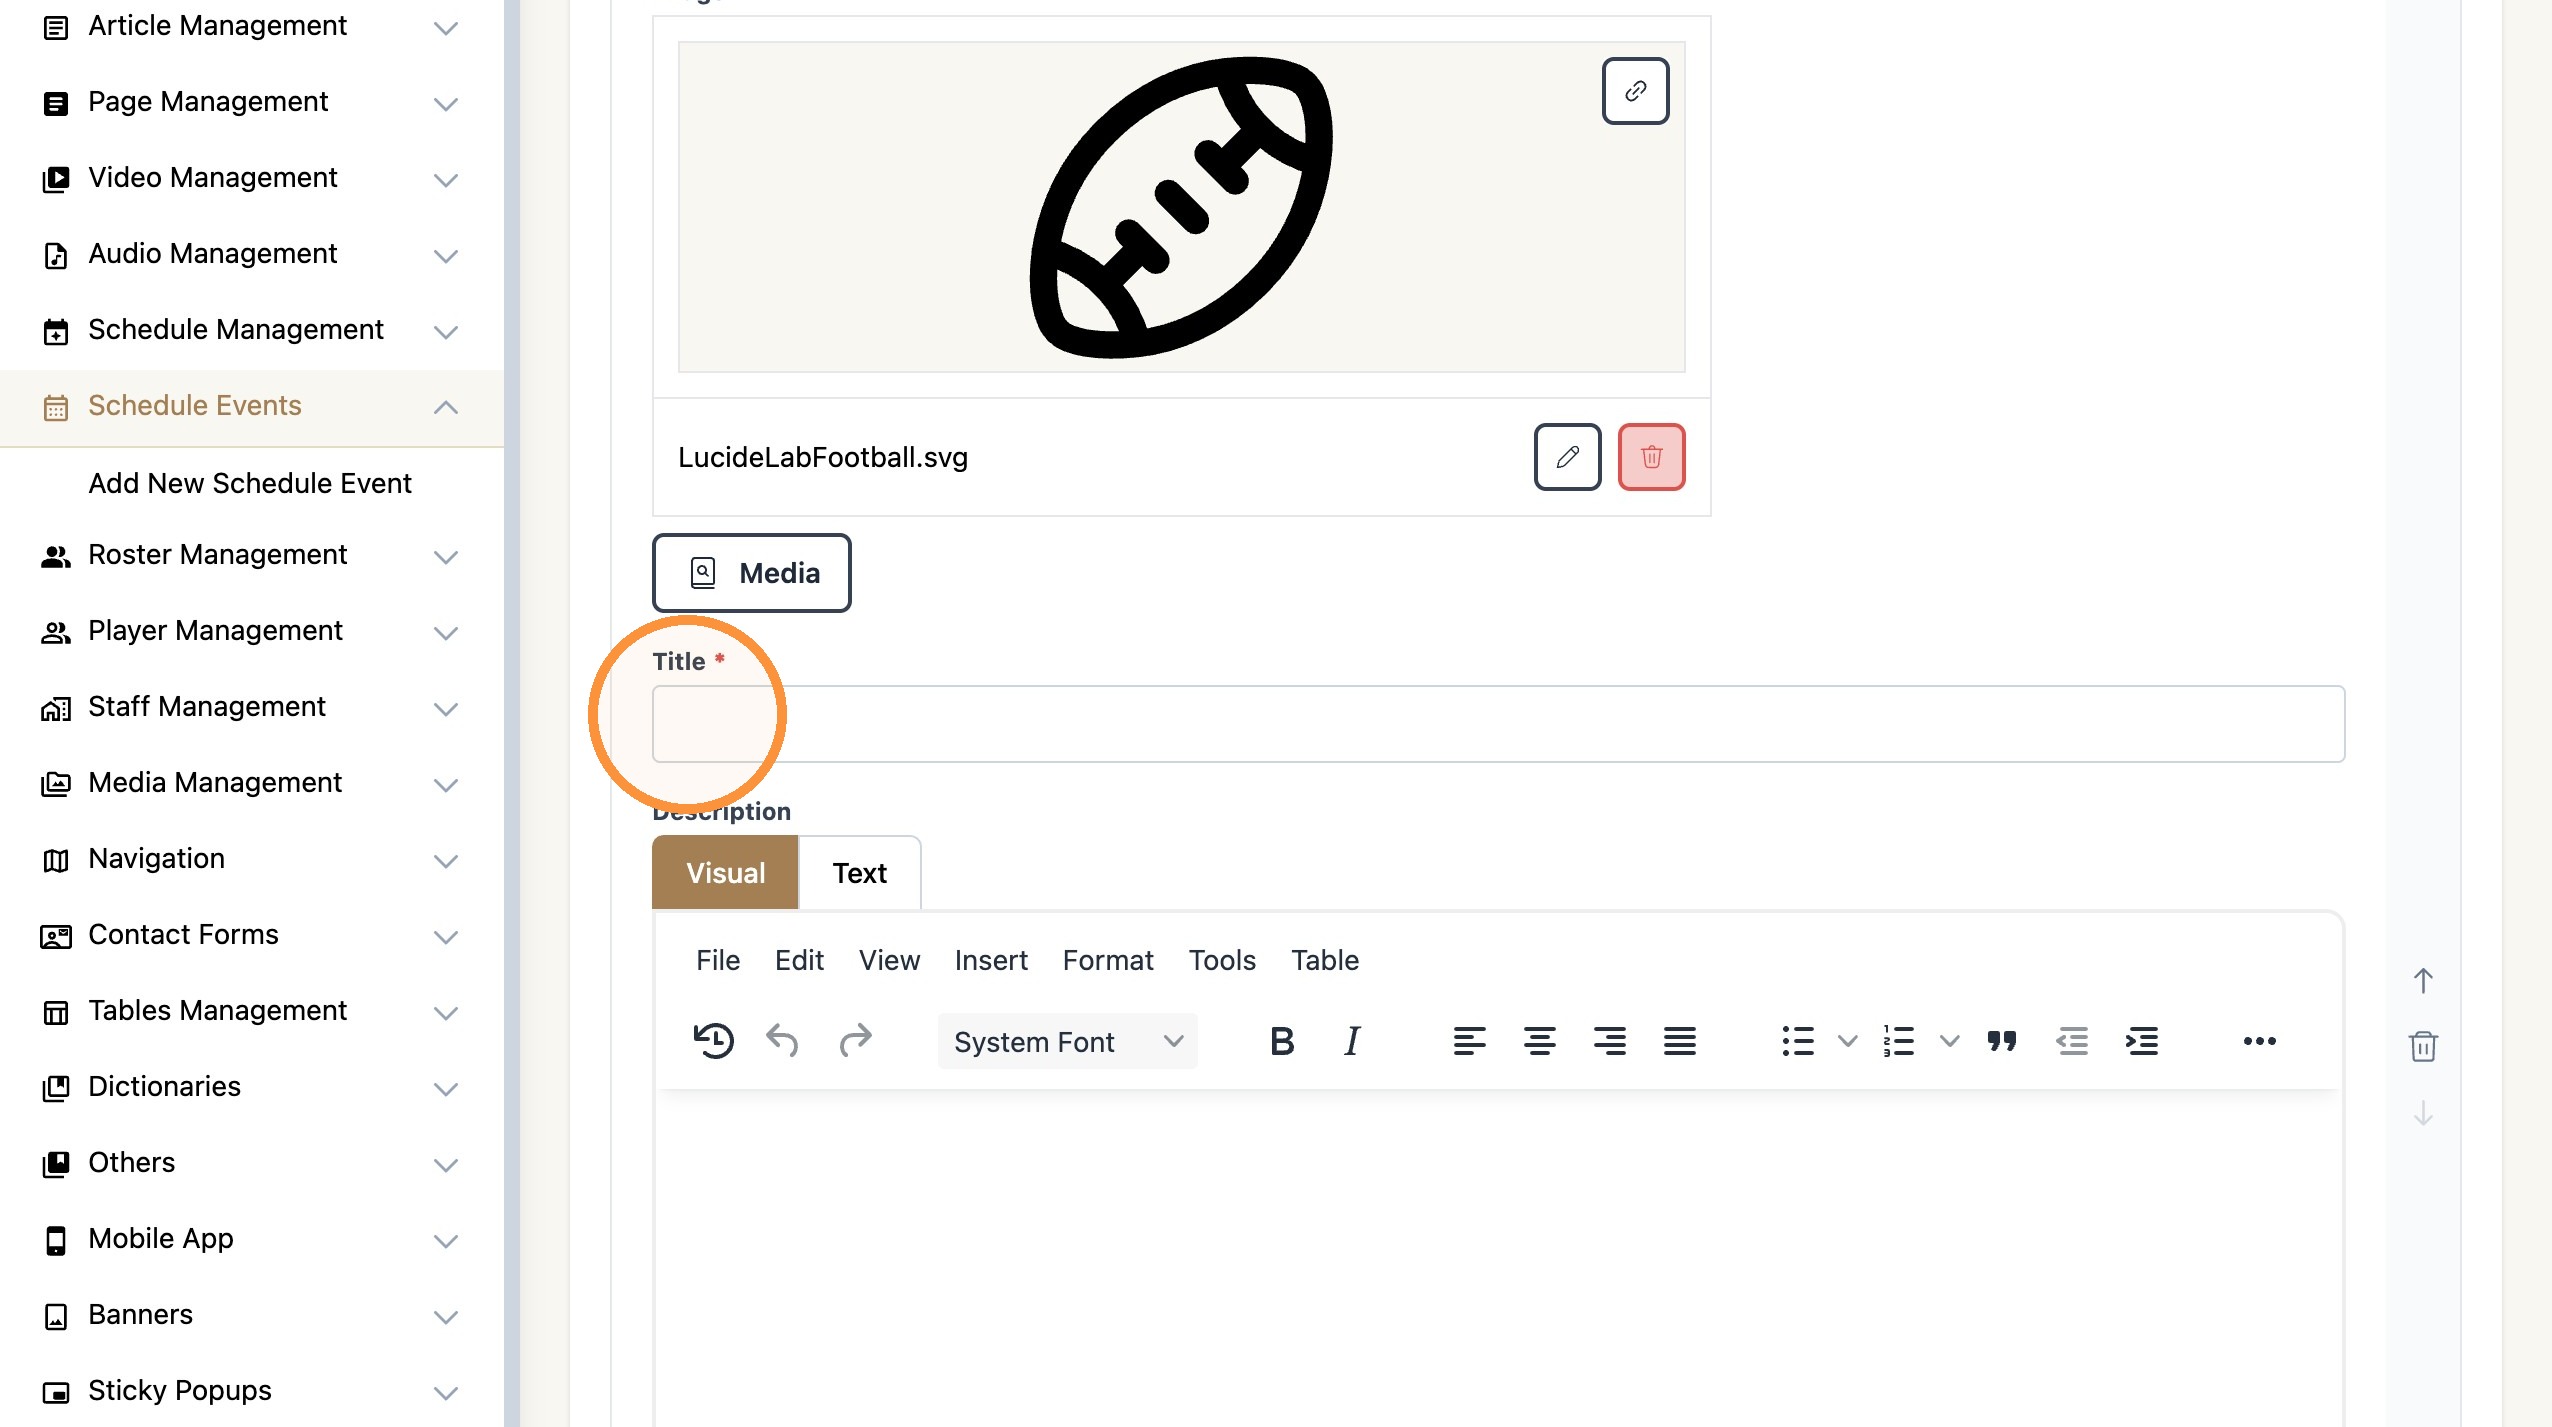
5. Use the "Image" field to display a small logo or icon.
Click the 'Media' button to upload and select your image.
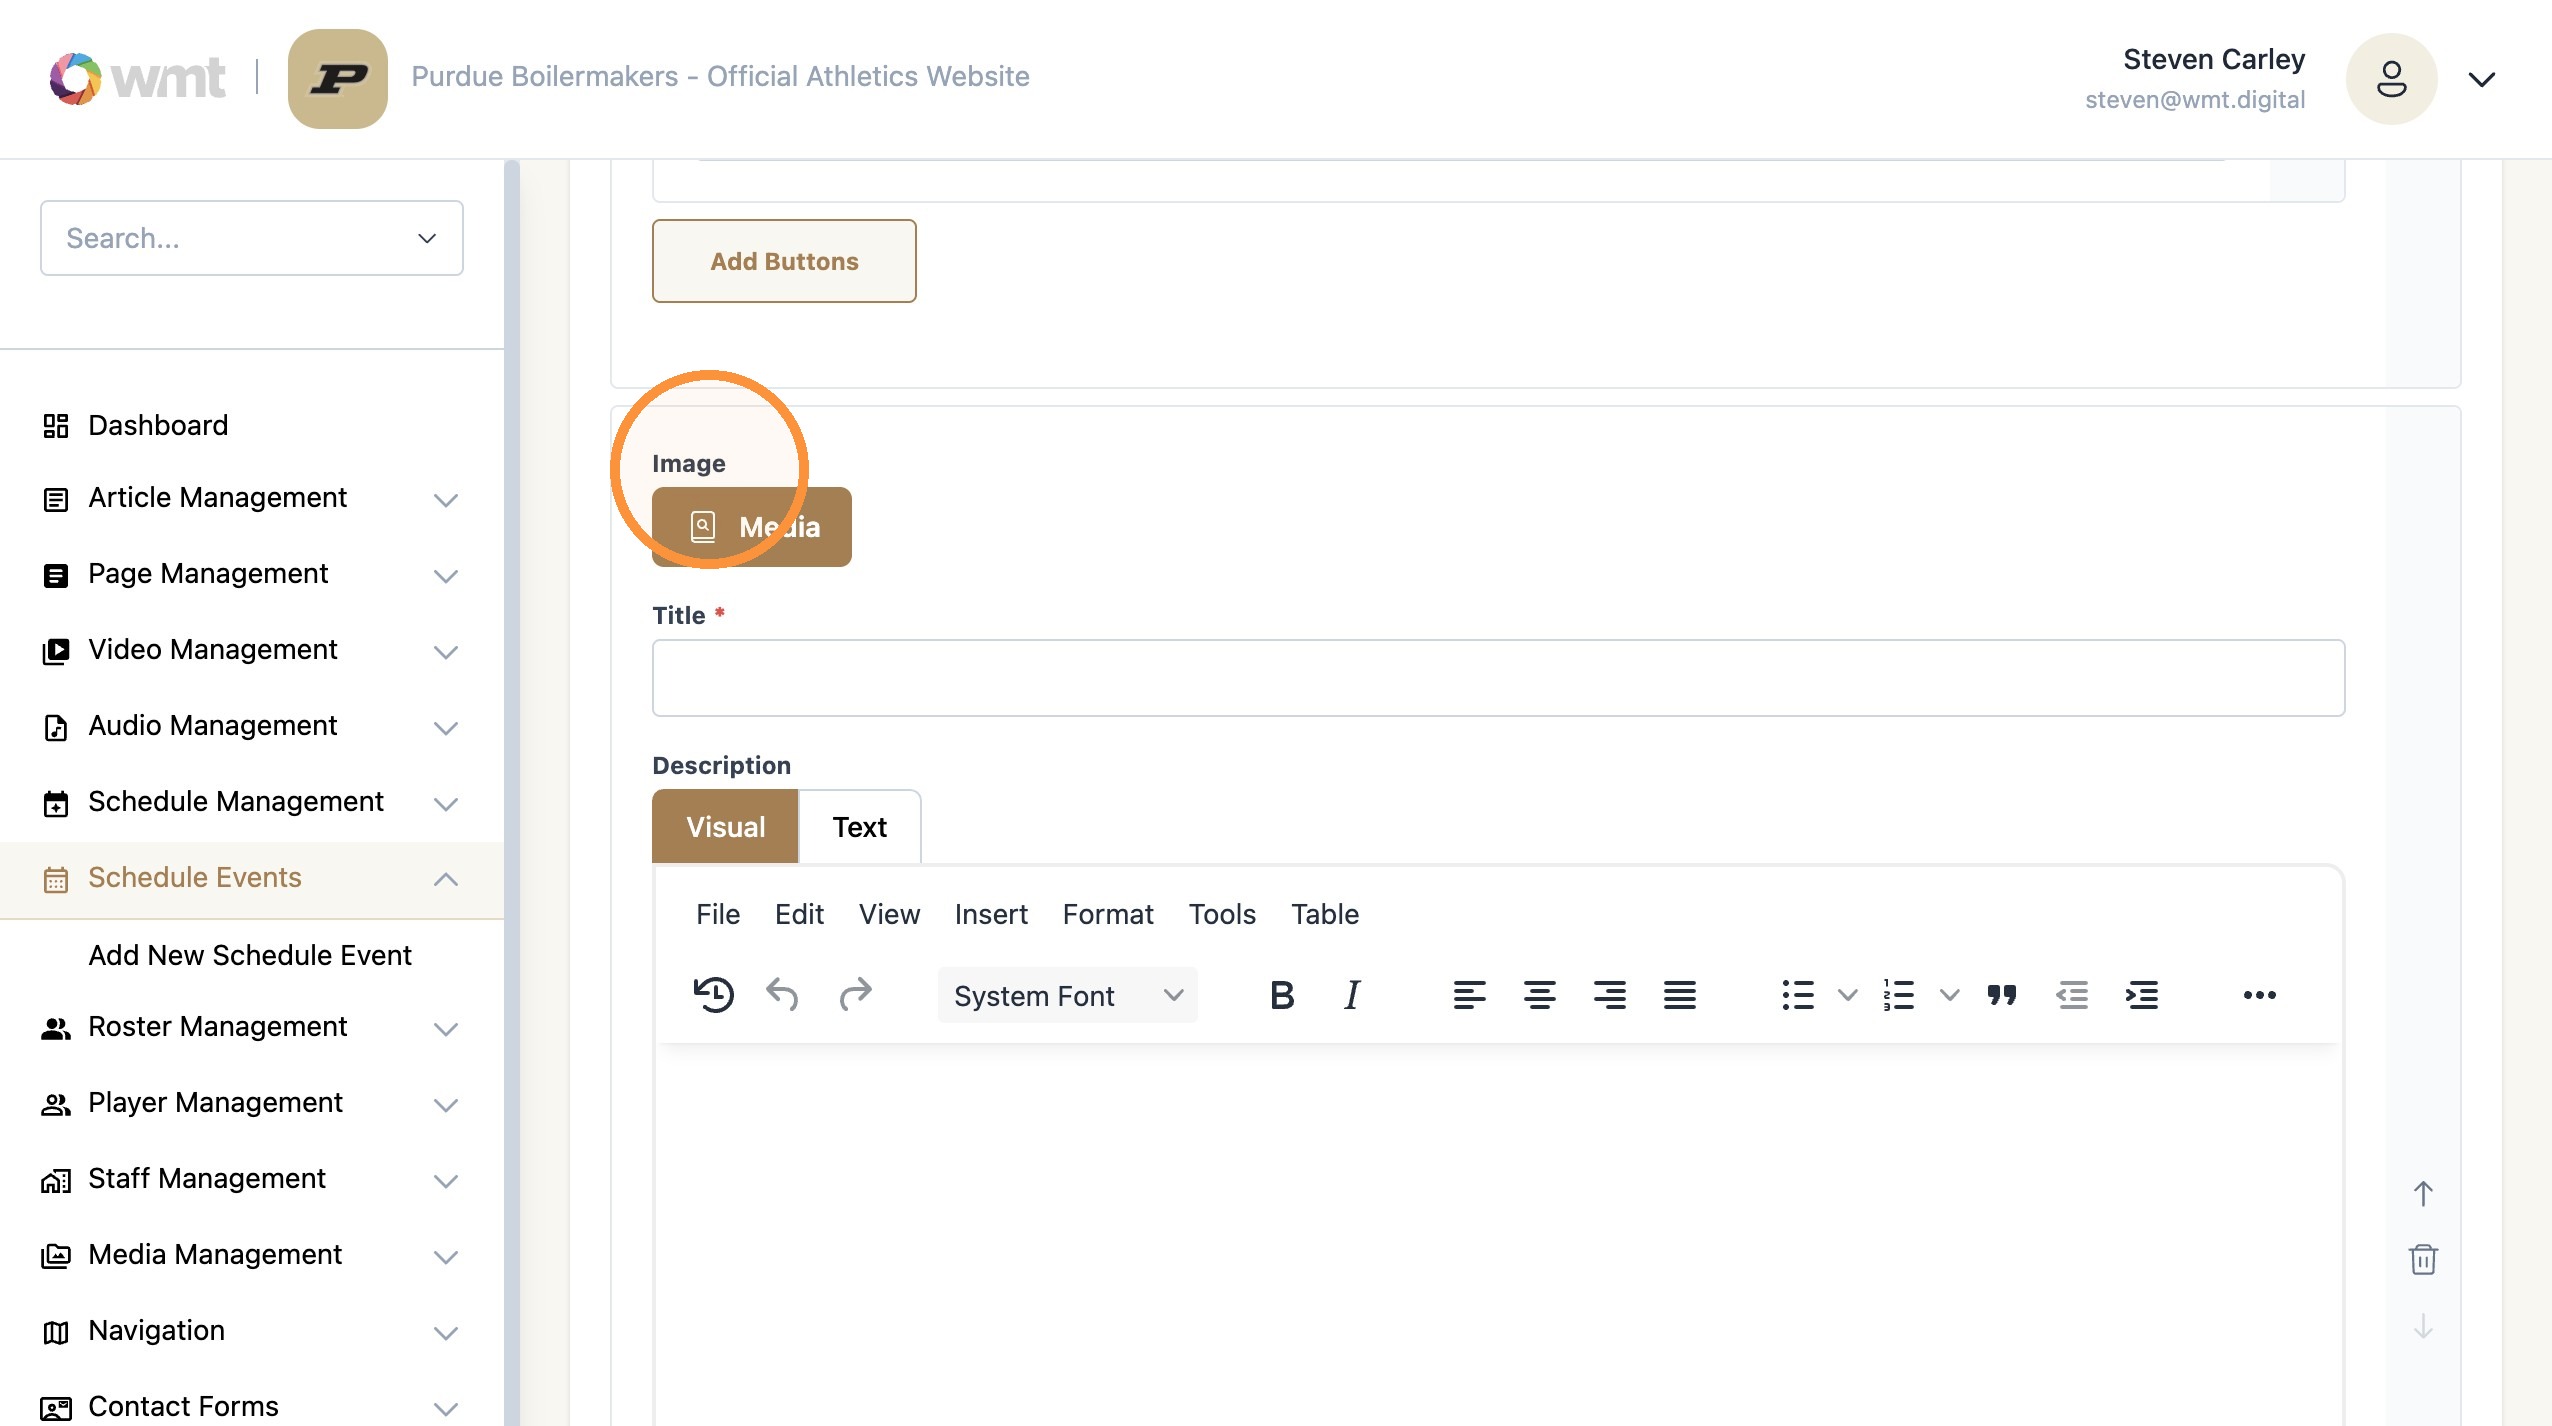
Tip: Recommended image dimensions are 40x40 or smaller.
6. Use the "Title*" field to type in the Promotional title.
Examples:
Mini Plans, Season Tickets, Group Tickets
Homecoming
Senior Day
Military Appreciation
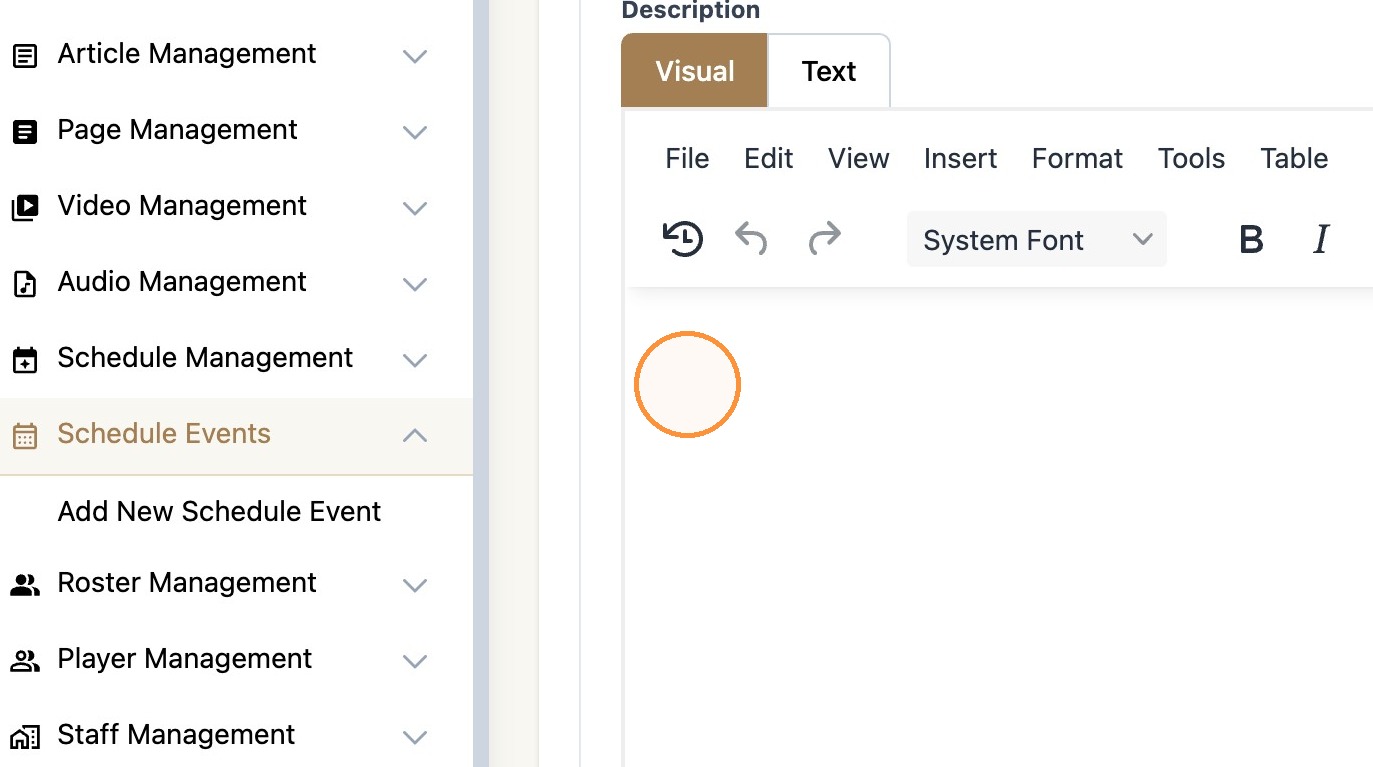
7. Click Use the 'Description' field to add a short 1-2 sentences describing the marketing promotion.
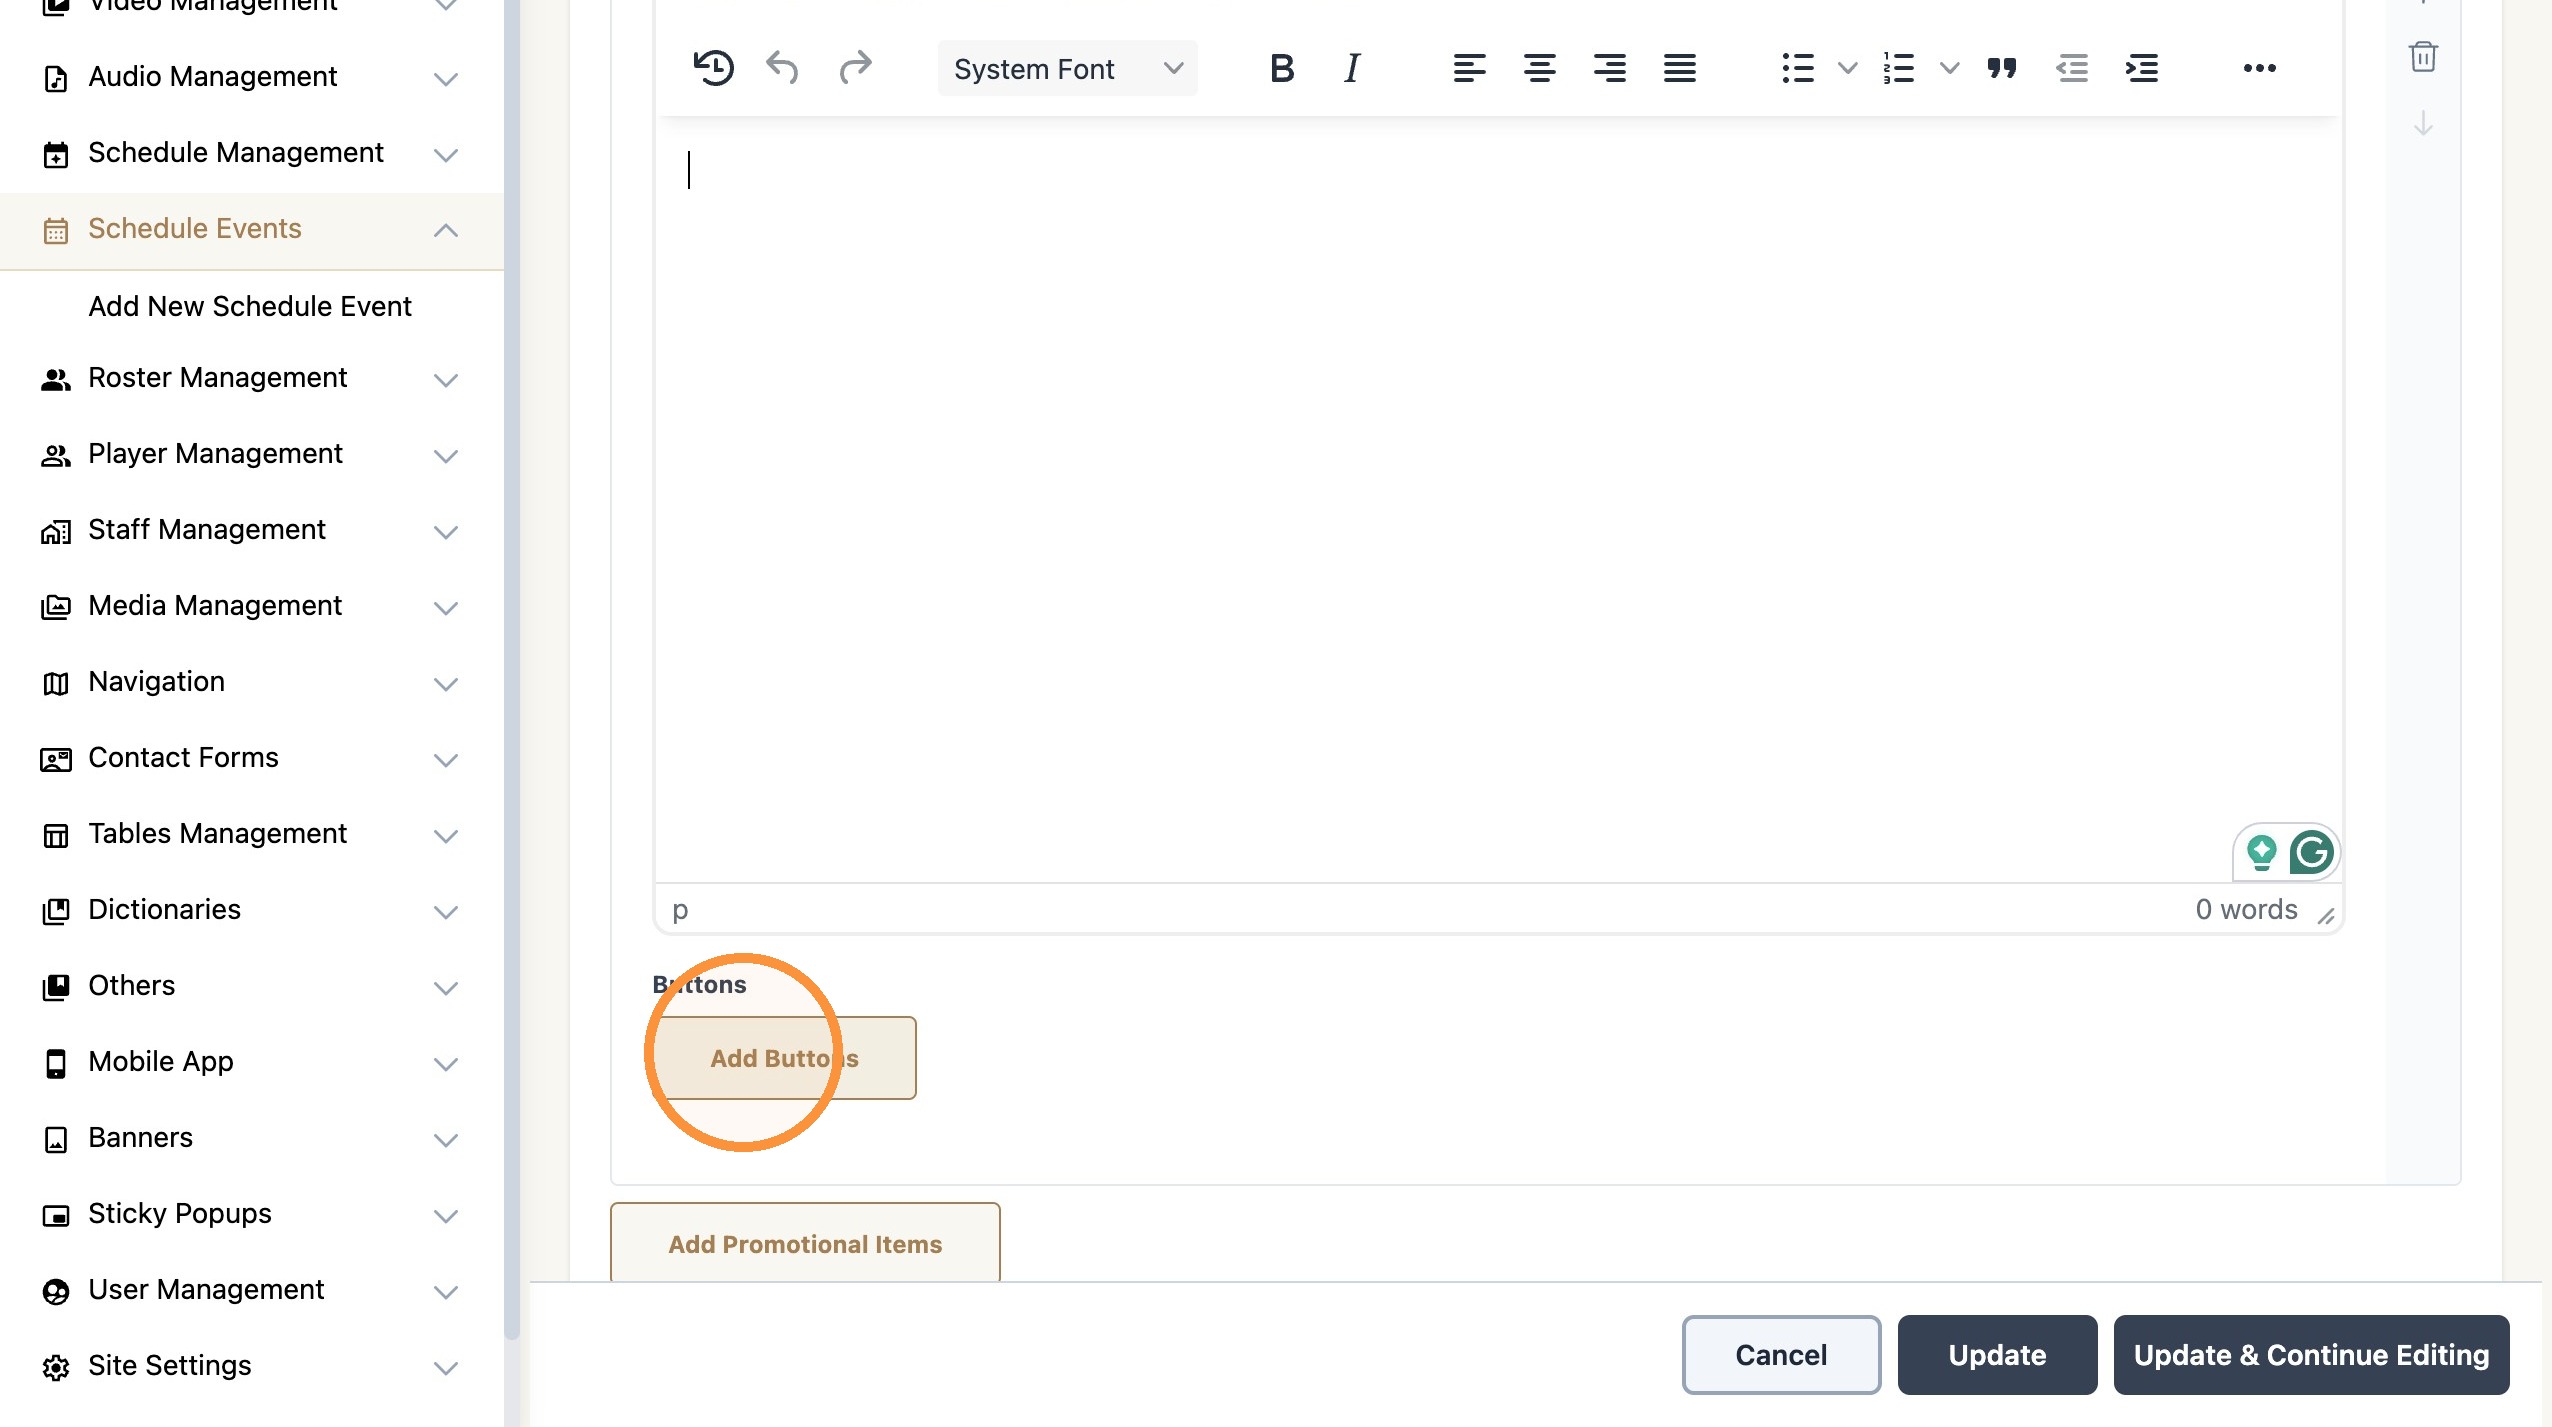
8. Click "Add Buttons" to add a call-to-action button that hyperlinks to a landing webpage.
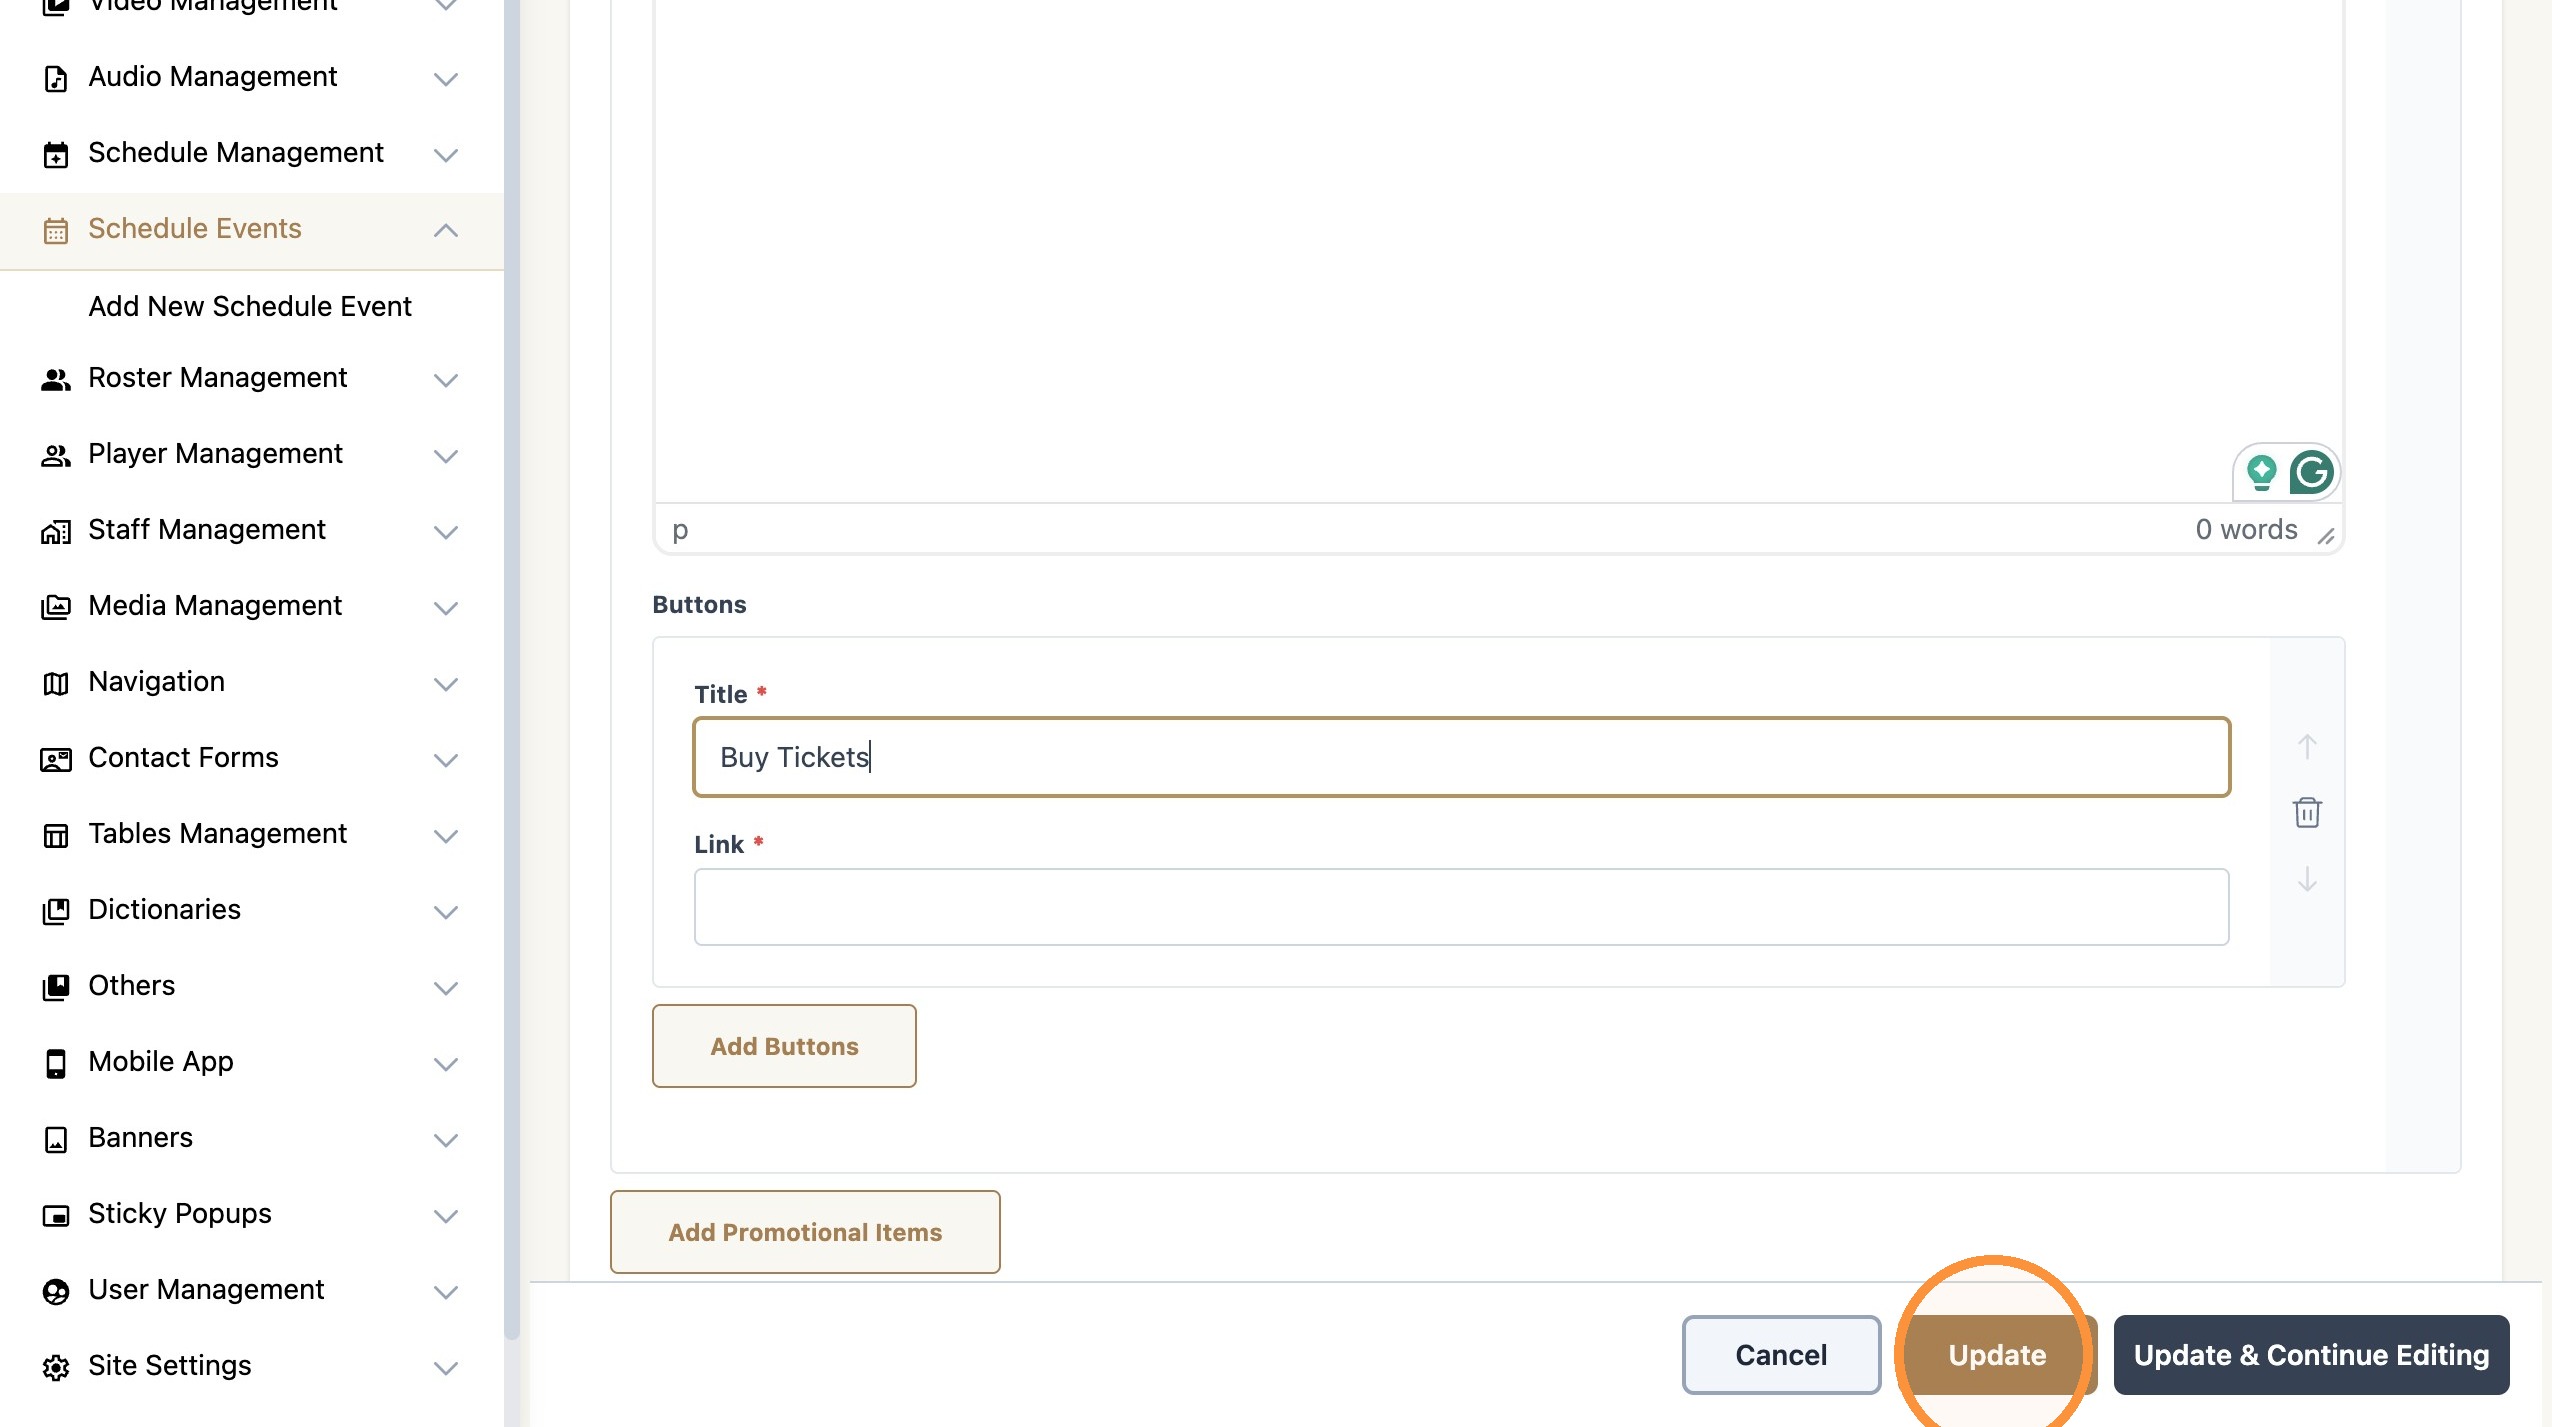
9. Use the "Title*" field to type in text that appears on the button.
Populate the "Link" field with the URL hyperlink target.
Select "Update" to save your work.
10. Go to the schedule page on the frontend of your website to view the event and the promotions added.
Find your event, and select the 'Promotions Available' accordion to expand and view the content.
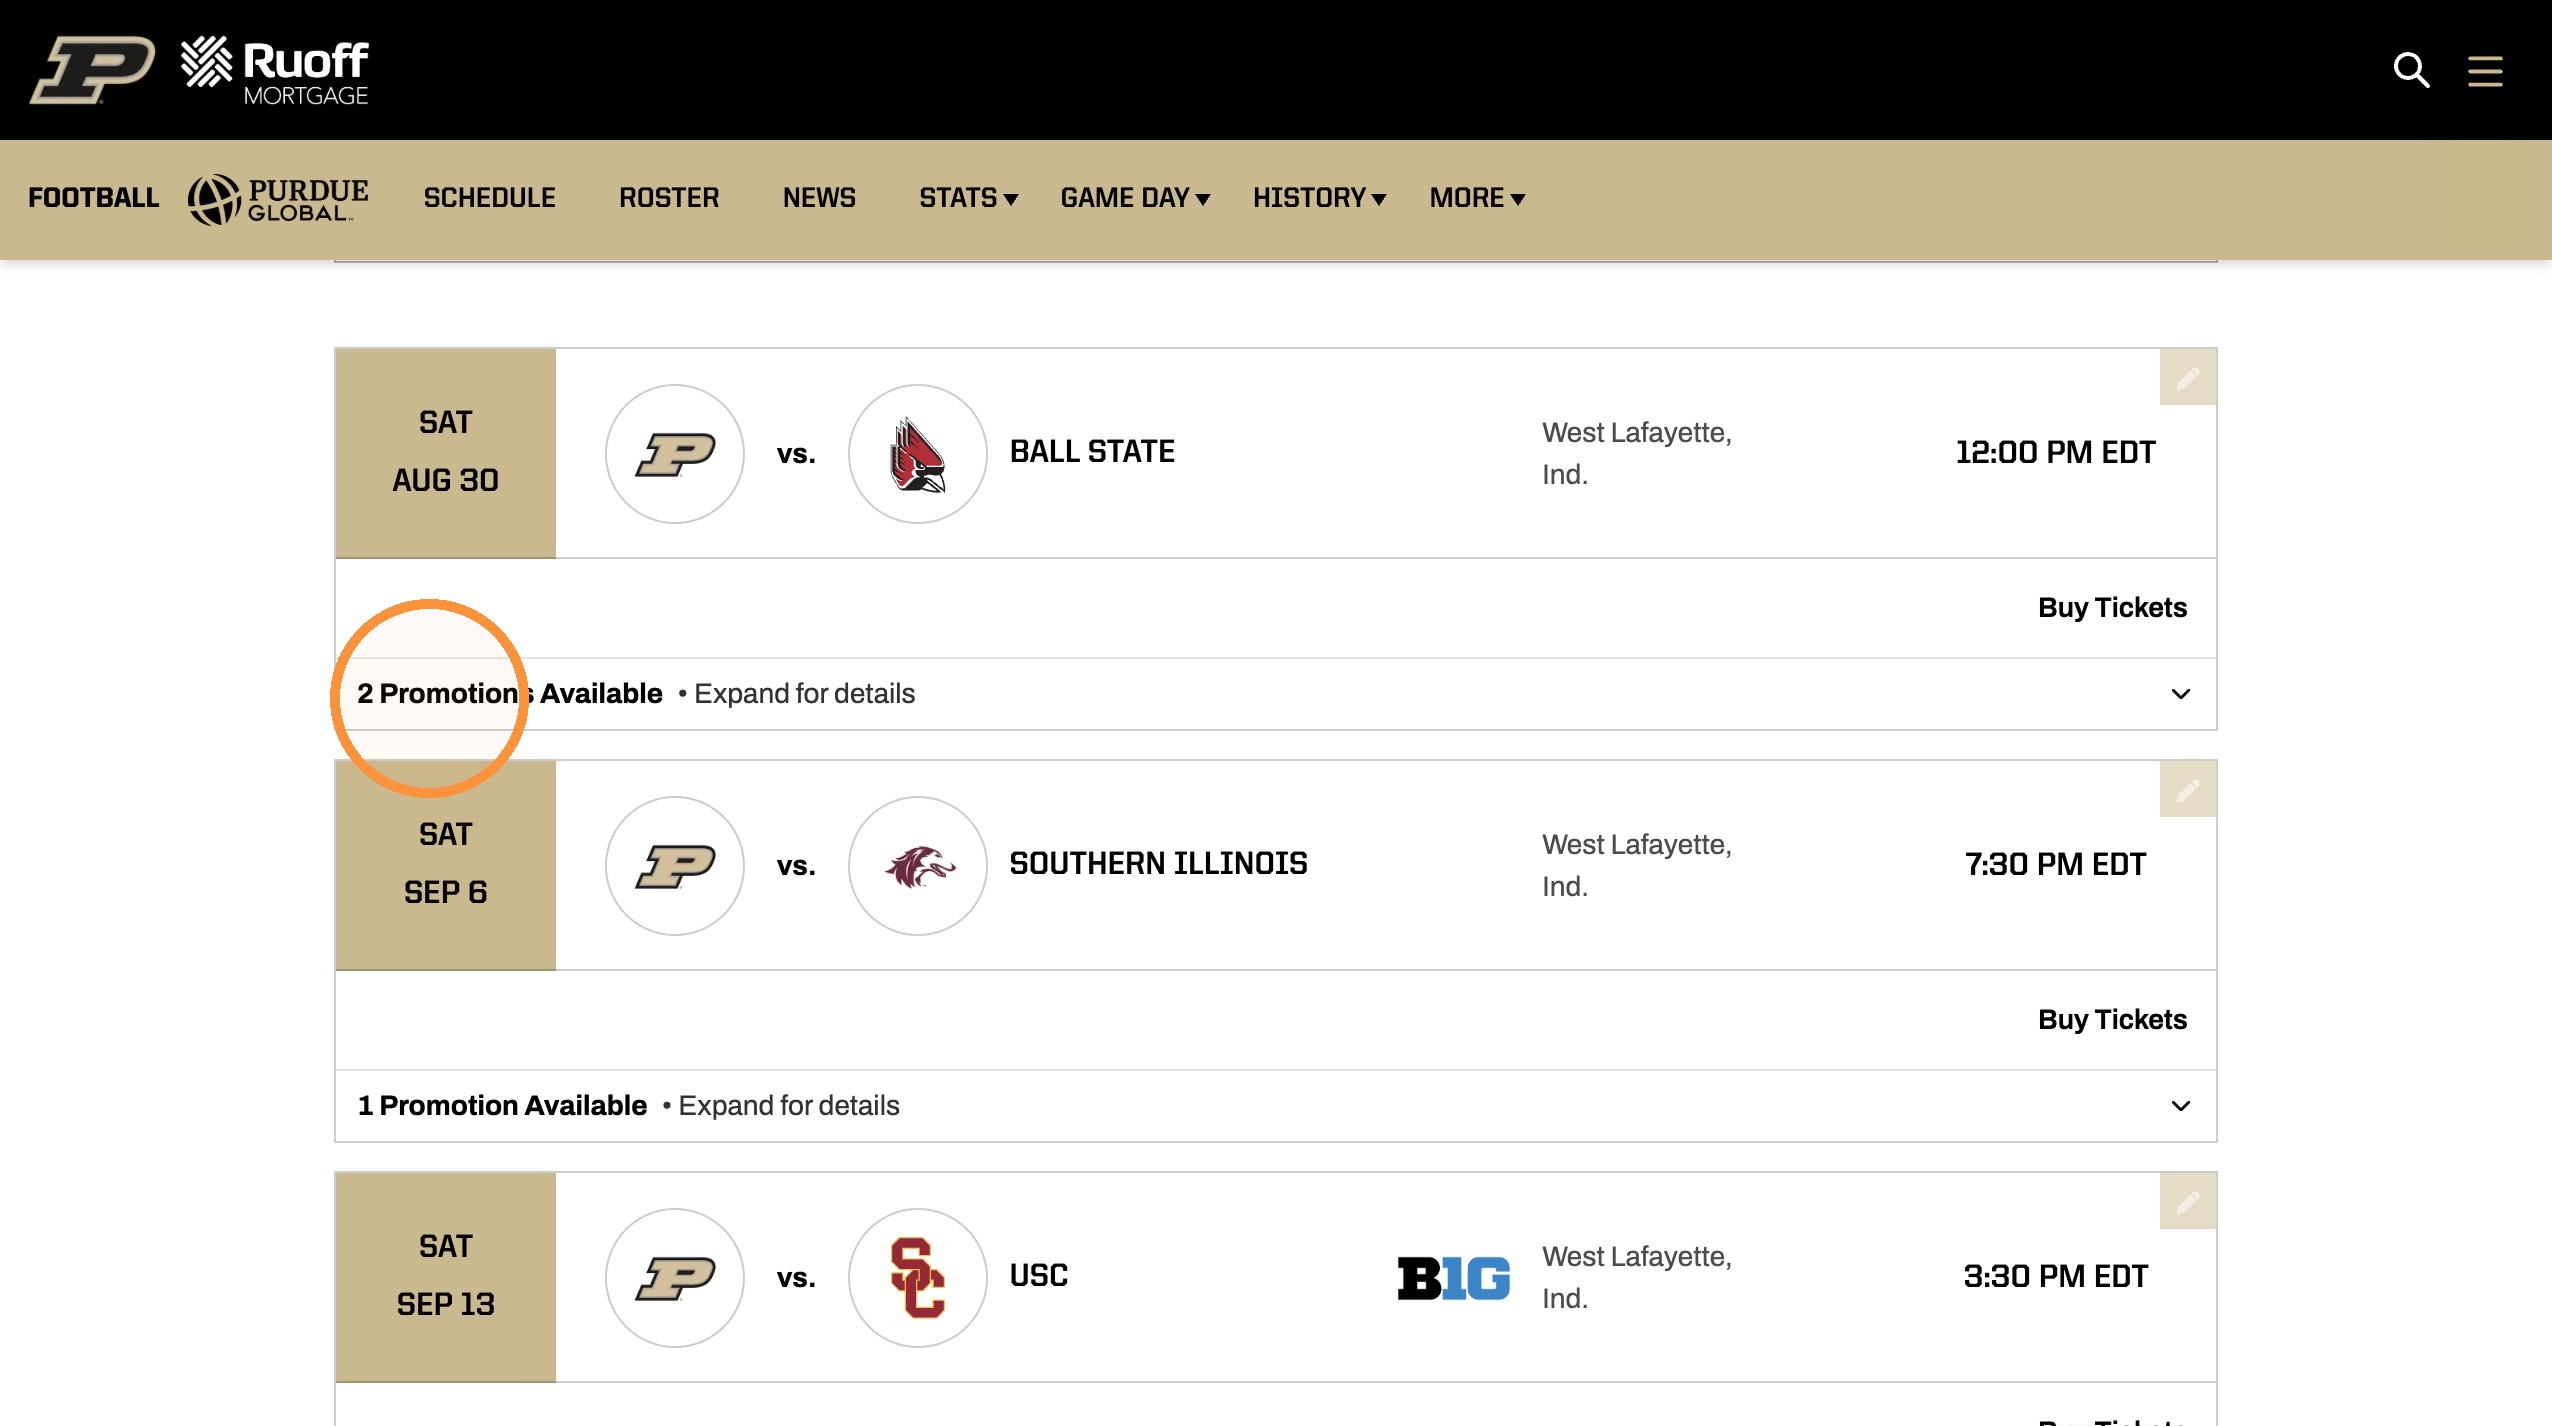
11. All "Promotional Items" added will display within the accordion on each event.
Multiple promotions may be added to each event as desired.